Multiplying Your Mountain Sandwort: A Guide to Propagating Arenaria grandiflora
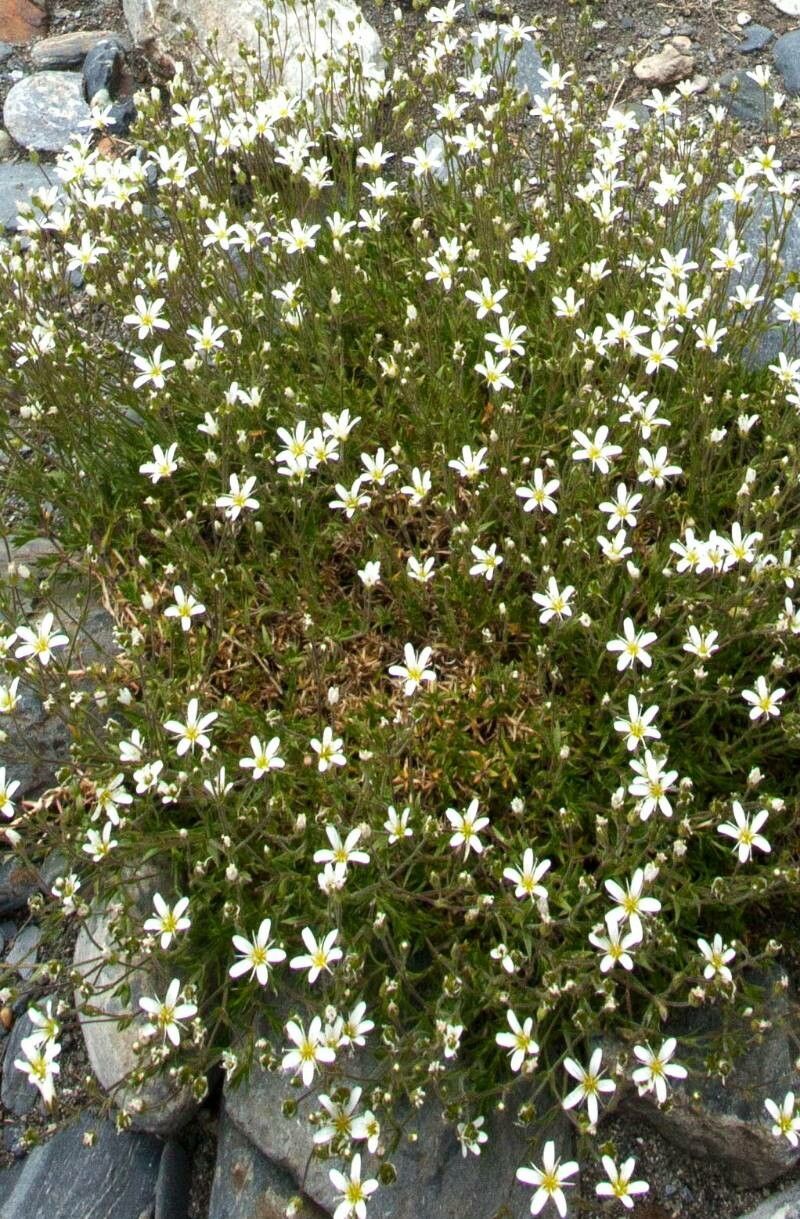
There’s something truly special about widening your garden’s embrace, and with a plant as charming as Arenaria grandiflora, or Mountain Sandwort, it’s a mission worth undertaking. Its delicate, starry white flowers spilling over rock walls and borders bring a touch of airy elegance. And honestly, the sheer joy of nurturing a tiny cutting into a thriving new plant? It’s pure garden magic! For those of you just dipping your toes into the world of propagation, I’d say Arenaria grandiflora is a friendly plant to start with. It’s got a good spirit for reproducing, and with a little care, you’ll be rewarded.
The Ripest Moment: When to Get Started
Timing is everything, isn’t it? For Arenaria grandiflora, late spring to early summer is your sweet spot. This is when the plant is actively growing after its spring burst. You want to take cuttings from healthy, non-flowering stems that are just starting to get a bit firm – not brand new, bright green and floppy, but not woody and old either. Think of it as the plant’s prime growing energy, ready to channel into new roots.
Gather Your Treasures: What You’ll Need
Before we dive in, let’s make sure you have your tools of the trade ready. A little preparation goes a long way in setting yourself up for success.
- Sharp, clean pruning shears or a sharp knife: For taking precise stem cuttings. Cleanliness is key to preventing disease.
- Rooting hormone (optional but recommended): A little boost can significantly improve your success rate. I like to use a powder form, but liquid works too.
- A quality potting mix: A well-draining mix is crucial. I usually use a blend of peat moss or coir, perlite, and a bit of coarse sand. You can find pre-made succulent or cactus mixes that work well too.
- Small pots or seed trays with drainage holes: Cleanliness is important here, too! Wash them thoroughly before use.
- A plastic bag or clear dome: To create a humid environment for your cuttings.
- Watering can with a fine rose: For gentle watering.
- Labels and a marker: So you don’t forget what you’ve planted where!
Nurturing New Life: Propagation Methods
Arenaria grandiflora is quite amenable to stem cuttings, which is my go-to method. It’s reliable and generally gives you the most bang for your buck.
Stem Cuttings:
- Select your cutting: Look for healthy stems about 3-4 inches long. Gently pull off or snip them from a mature plant.
- Prepare the cutting: Strip off the lower leaves. You want a clean stem ready to form roots. If your cutting has any flower buds, pinch them off. Energy is best directed towards roots, not blooms at this stage.
- Dip in rooting hormone (if using): Lightly moisten the bottom 1-inch of the cutting and dip it into your rooting hormone powder, tapping off any excess.
- Plant your cutting: Make a small hole in your prepared potting mix with a pencil or your finger. Gently insert the cutting, ensuring the leaf nodes (where leaves were removed) are below the soil surface. Firm the soil gently around the base.
- Water gently: Water thoroughly but gently, so the soil is moist but not waterlogged.
The “Secret Sauce”: Insider Tips for Blooming Success
Over the years, I’ve learned a few little tricks that make propagating Arenaria grandiflora even more of a breeze.
- The Humidity Tent is Your Friend: After planting your cuttings and giving them a good initial watering, I highly recommend covering your pots loosely with a clear plastic bag or placing a clear dome over them. This creates a mini-greenhouse, keeping the humidity high, which is vital for preventing cuttings from drying out before they can establish roots. Poke a few small holes in the bag if you notice excessive condensation.
- Think About Bottom Heat: While not strictly essential, if you have a propagation mat or can place your pots in a warm spot (but out of direct, intense sun), this can really speed up root development. The warmth encourages root growth from below.
Nurturing the Future: Aftercare and Troubleshooting
Once your cuttings are planted, the waiting game begins!
- Keep it moist: Check the soil regularly. It should feel consistently moist, but never soggy. Water when the top layer of soil starts to feel dry.
- Provide bright, indirect light: Place your pots in a location that gets plenty of bright, filtered light, but avoid direct, scorching afternoon sun, which can scorch the delicate cuttings.
- Patience is key: It can take 4-8 weeks or even longer for you to see signs of new growth or feel resistance when you gently tug on a cutting, indicating root development. Don’t be disheartened if it takes a while!
Troubleshooting:
The most common issue you might encounter is rot. This usually happens when the soil is too wet and lacks adequate drainage. If you see your cutting turning mushy and brown at the base, it’s likely gone too far. Learn from it, discard the failed cutting, and adjust your watering or soil mix for the next batch. If a cutting simply fails to root and looks perfectly healthy but doesn’t grow, it might just not have had the right energy or conditions. It happens!
Go Forth and Propagate!
Watching those tiny roots emerge and seeing new foliage unfurl is so incredibly rewarding. Don’t be afraid to experiment, and remember that even the most experienced gardeners have cuttings that don’t make it. The joy is in the process, the learning, and the abundance it brings to your garden. Happy propagating!
Resource:
https://identify.plantnet.org/k-world-flora/species/Arenaria%20grandiflora%20L./data