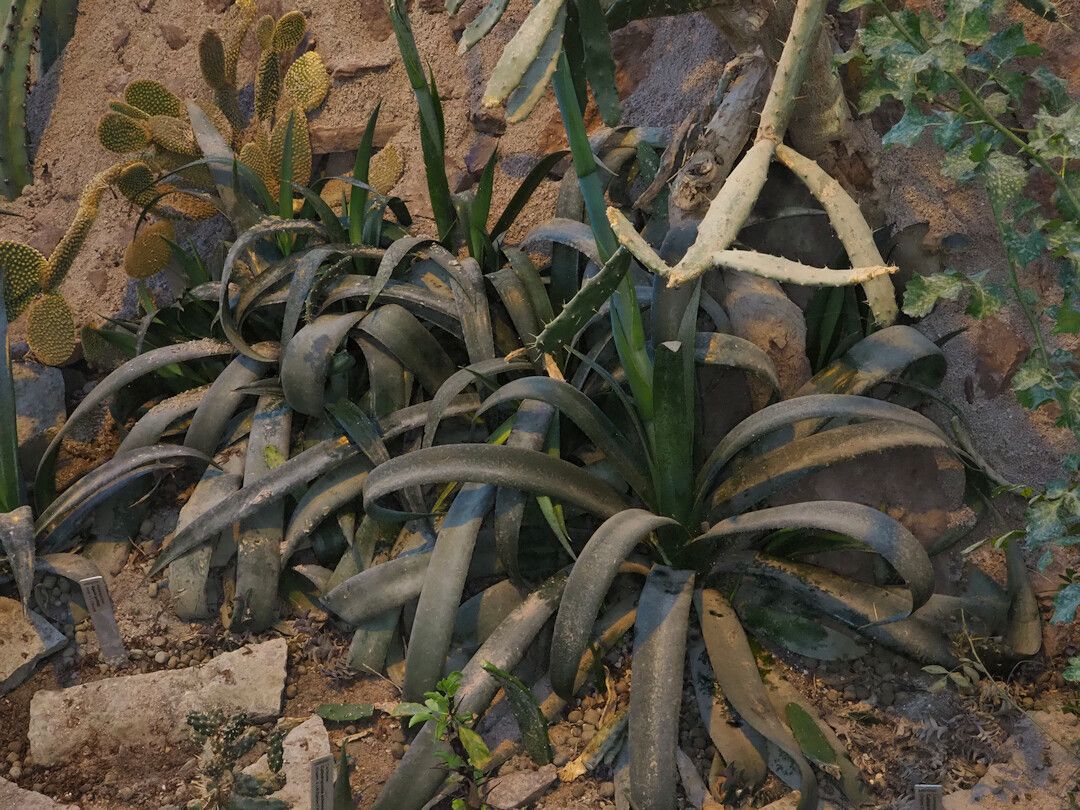
Oh, hello there! It’s wonderful to see you in my little corner of the garden. Today, we’re diving into the fascinating world of Agave guttata, also known as the Turtleback Agave. Its striking, architectural rosette of fleshy, pointed leaves with that signature pebbly texture is just so captivating. And the best part? Learning to propagate your own is incredibly rewarding. Think of it as giving the gift of green to yourself and your friends! For beginners, I’d say Agave guttata is moderately easy to propagate, but with a few key pointers, you’ll be a pro in no time.
The Best Time to Start
When it comes to coaxing new life from your agaves, the warmer months are your best bet. Spring and early summer are ideal. This is when the plant is actively growing and has a good reservoir of energy to put towards developing roots. You’ll typically be looking at young pups (those adorable baby agaves that pop up around the base) or perhaps even taking a cutting from a mature plant.
Supplies You’ll Need
Gathering your tools beforehand makes the whole process smoother. Here’s what you’ll want to have on hand:
- Sharp, clean pruning shears or a sharp knife: Essential for making clean cuts without crushing the plant tissue.
- Rooting hormone (optional but recommended): This can give your cuttings a helpful boost.
- Well-draining soil mix: A cactus and succulent mix is perfect. You can also make your own by combining equal parts potting soil, coarse sand, and perlite.
- Terra cotta pots or seedling trays: These allow for good air circulation and drainage.
- Gloves: Agave spines can be surprisingly poky!
- A small brush or mister: For applying rooting hormone and moistening soil gently.
Propagation Methods
Agave guttata typically propagates best through offsets, also known as pups. These are the baby plants that naturally emerge from the base of the mother plant.
Method 1: Dividing Offsets (Pups)
- Assess your mother plant and pups: Gently clear away some of the soil around the base of your mature agave to identify the pups. Look for ones that are at least a few inches tall and have developed their own root system, if possible.
- Carefully detach the pup: Using your sharp knife or pruning shears, make a clean cut between the pup and the mother plant. Try to get as much of the pup’s basal stem as you can, ideally with some roots already attached. If it’s a clean break and there are no roots, don’t worry too much yet!
- Allow the pup to callous: This is a CRUCIAL step for agaves. Place the detached pup in a dry, brightly lit spot (but out of direct, scorching sun) for 2-7 days. You want the cut surface to dry out and form a firm callus. This prevents rot when you plant it.
- Pot it up: Once calloused, carefully plant the pup in your well-draining soil mix. You can dust the cut end with rooting hormone before planting if you like. Plant it deep enough so it’s stable, but don’t bury the leaves.
- Water sparingly: Wait at least a week or two after planting before watering. Then, water only when the soil is completely dry. Patience is key here!
The “Secret Sauce” (Pro Tips)
If you want to really boost your success rate, here are a couple of tricks I’ve learned over the years:
- Embrace the “dry start” for pups: Just like callousing, resist the urge to water immediately after planting your pups. Let them establish their roots in dry soil for a good while. They’re desert plants, after all, and a little dryness helps them focus on root development rather than rotting.
- Consider a seedling heat mat: If you’re propagating in cooler weather or just want to give your new little agaves an extra nudge, a gentle seedling heat mat can make a surprising difference. Warm soil encourages root growth. Just ensure it’s set to a low, consistent temperature.
Aftercare & Troubleshooting
Once your pup has started to develop roots (you might see new growth or feel some resistance when gently tugging), you can gradually increase watering. Water thoroughly when the soil is dry, and make sure the pot drains completely. Light is essential, so place your new agave in a bright spot, gradually acclimating it to more direct sun as it matures.
The most common issue you’ll encounter is rot. This usually happens if the soil stays too wet or if the pup wasn’t properly calloused before planting. Signs of rot include mushy, blackened basal stems or leaves that turn yellow and limp. If you suspect rot, act quickly. Gently remove the plant from the soil, cut away any rotted material with your clean knife, and allow the healthy parts to callous over again before attempting to replant in fresh, dry soil.
An Encouraging Closing
Growing new agaves from cuttings or pups is such a satisfying process. It teaches you about patience, observation, and the sheer resilience of nature. Don’t be discouraged if your first attempt isn’t perfect; every gardener has had their share of planty mishaps! Just keep observing, keep learning, and enjoy the journey of watching those new little Turtlebacks grow. Happy propagating!
Resource:
https://identify.plantnet.org/k-world-flora/species/Agave%20guttata%20Jacobi%20&%20C.D.Bouché/data