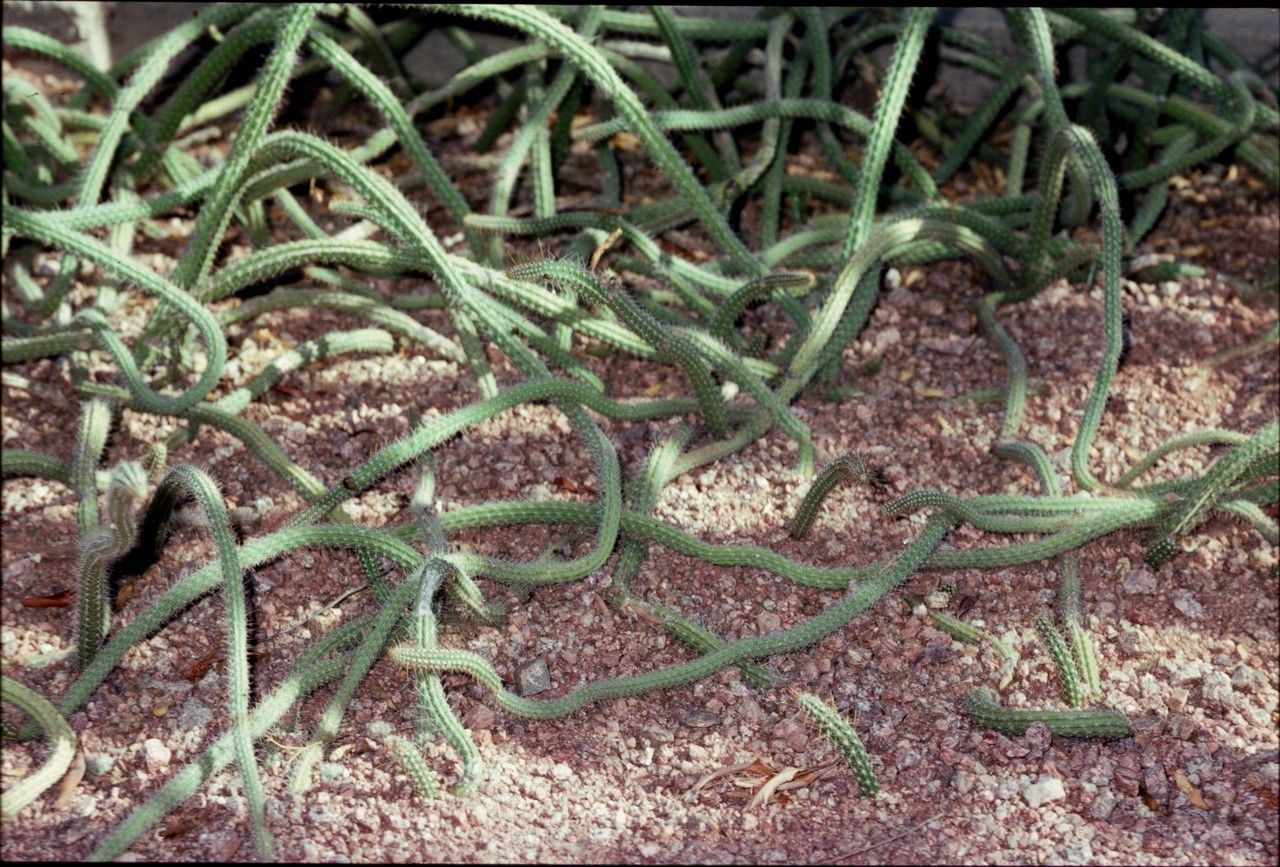
Hello there, fellow plant lovers! Today, we’re diving into the wonderful world of propagating Praecereus saxicola. If you’ve ever admired its striking columnar form and those beautiful cream-colored flowers (oh, those flowers!), you’re in for a treat. Growing these from cuttings is a truly rewarding experience, a chance to witness new life spring from a piece of what’s already thriving. Don’t be intimidated; while they demand a little attention, propagating Praecereus saxicola is definitely within reach for most keen gardeners, even those who are just starting out.
When to Get Your Hands Dirty
Timing is everything, isn’t it? For Praecereus saxicola, the golden window for propagation is during its active growing season. Think late spring through summer. This is when the plant has the energy reserves to push out roots and establish itself. Waiting until the plant has fully woken up from its dormancy will give you the best chance of success.
Your Propagation Toolkit
Here’s what you’ll want to gather before you begin:
- Sharp, clean pruning shears or a sharp knife. A clean cut is crucial for preventing disease.
- A well-draining potting mix. I like to use a cactus and succulent mix, or create my own with coir, perlite, and a bit of compost.
- Rooting hormone (optional, but recommended for good measure). A powder or gel works well.
- Pots or containers. Terracotta pots are fantastic because they breathe and help prevent overwatering.
- A spray bottle with water.
- Gravel or perlite. To aid drainage in the bottom of pots.
- Labels. Because we all forget what we planted where!
- A sunny, bright spot. But out of direct, scorching sun initially.
Let’s Get Growing: Propagation Methods
The most straightforward way to multiply your Praecereus saxicola is through stem cuttings. It’s a method that often yields fantastic results.
- Take Your Cuttings: Select a healthy, mature stem. Using your sharp, sterilized shears, make a clean cut. You want pieces that are at least 3-6 inches long. It’s best to take them from the upper part of the plant.
- Callus Over: This is a critical step for succulents and cacti. Do NOT plant your cuttings immediately. Let them sit in a dry, well-ventilated spot for 3-7 days (or even longer if your environment is humid). You’ll see a callus form over the cut end – this is like a protective scab, preventing rot.
- Prepare Your Pot: Fill your chosen pot with your well-draining potting mix. Add a layer of gravel or perlite at the bottom for extra drainage insurance.
- Apply Rooting Hormone (Optional): Dip the callused end of your cutting into the rooting hormone. Just a light coating is needed.
- Plant Your Cutting: Gently push the callused end about an inch or two into the potting mix. Don’t bury it too deeply. Make sure the cutting is stable. You can use small stakes if needed.
- Water Sparingly: After planting, wait a day or two before giving it its first light watering. You want the soil to be barely moist, not soggy. A spray bottle can be your best friend here, lightly misting the surface.
- Find the Right Spot: Place the pot in a bright location, but avoid direct, intense sunlight for the first few weeks. Too much sun can scorch a newly planted cutting.
The “Secret Sauce”: Insider Tips for Success
- Don’t Rush the Callus: I can’t stress this enough. Patience with the drying process is your best defense against rot. If you’re in a very humid climate, you might need to let those cuttings dry for a extra few days.
- Bottom Heat is Your Friend: If you can provide a touch of bottom heat, perhaps with a seedling heat mat set to a low temperature, you’ll significantly speed up root development. Cuttings love a little warmth from below, especially if your ambient room temperature is cooler.
- Observe, Don’t Over-Water: This is the mantra for all succulent propagation. Feel the soil. If there’s any hint of moisture an inch down, hold off watering. It’s far easier to revive an underwatered cutting than to save a rotted one.
What Happens Next & When Things Go Wrong
Once your cutting has been in its pot for a few weeks, you can gently tug on it (very gently!). If you feel resistance, congratulations – it’s rooting! You can then gradually introduce it to more direct sunlight and water a little more thoroughly, letting the soil dry out between waterings.
The most common problem you’ll encounter is rot. If you see your cutting turning mushy or dark and translucent, it’s likely rotted. This usually means it was kept too wet. Unfortunately, once rot sets in, it’s very difficult to save. In this case, you might need to discard the affected part and start again, paying extra attention to your watering and callusing practices.
Happy Rooting!
There you have it – a simple guide to bringing more Praecereus saxicola into your life. Remember to be patient; new roots take time to develop. Enjoy the process of nurturing these new little plants, and don’t be discouraged if you have a setback. Every gardener has them! Now go forth and propagate!
Resource: