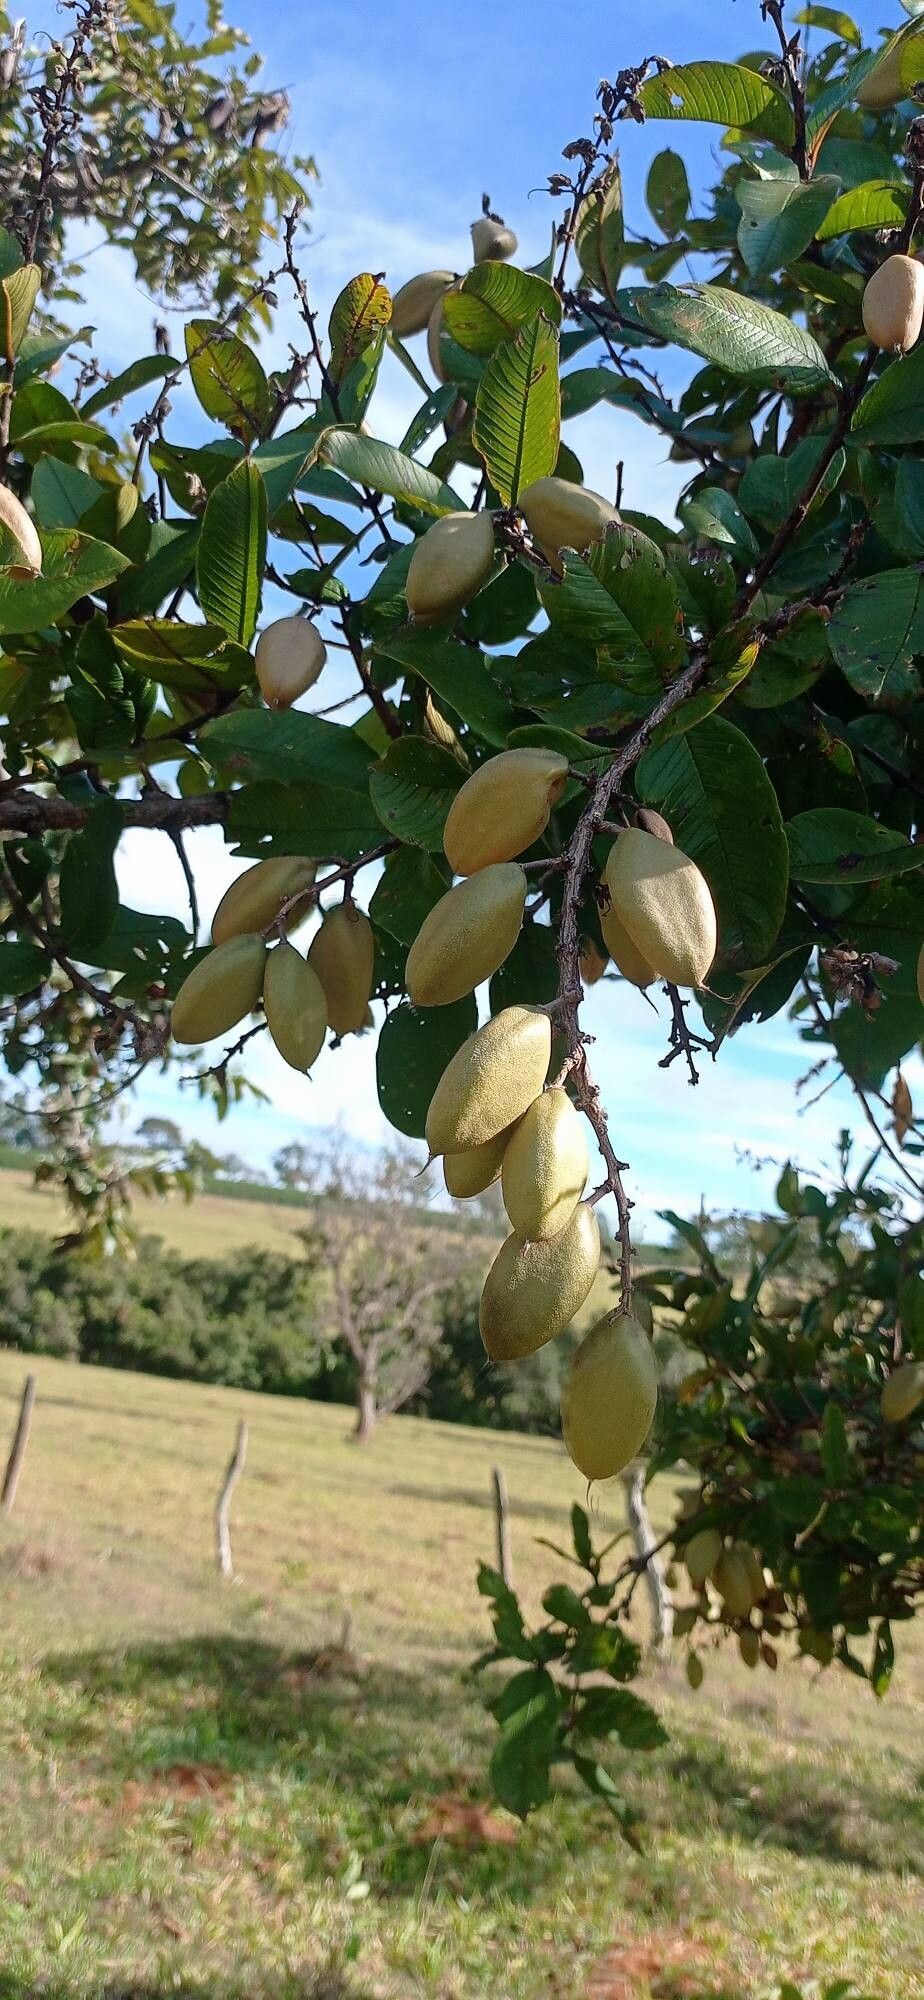
Oh, hello there! I’ve got some exciting news for you today, something to really get those green thumbs itching. We’re diving into the wonderful world of propagating Qualea multiflora. Honestly, this plant is a real charmer. Its delicate, often vibrant flowers are just breathtaking and bring such a unique beauty to any garden. Growing it from scratch is incredibly rewarding, like watching a tiny miracle unfold right before your eyes. Now, is it for absolute beginners? I’d say it’s more of a rewarding challenge. It requires a little patience and attention to detail, but with my tips, you’ll be well on your way.
The Best Time to Start
When it comes to Qualea multiflora, timing is everything! The absolute sweet spot for propagation is late spring to early summer. This is when the plant is actively growing, meaning it has plenty of energy to put into developing new roots. Look for healthy, new growth that’s still a bit soft and pliable – we call these “softwood cuttings.” Avoid anything that looks woody or dried out.
Supplies You’ll Need
Before we get our hands dirty, let’s gather our essentials. Think of this as gathering your ingredients for a delicious garden recipe!
- Sharp Pruning Shears or a Clean Knife: For making clean cuts.
- Rooting Hormone: A little magic powder or gel to encourage root development. Look for one with a good concentration of IBA.
- Well-Draining Potting Mix: I like a blend of 2 parts peat moss, 1 part perlite, and 1 part fine sand. This provides good aeration and moisture retention.
- Small Pots or Seedling Trays: Clean and with drainage holes!
- Plastic Bags or a Propagator Lid: To create a humid environment.
- Watering Can with a Fine Rose: For gentle watering.
- Optional: Bottom Heat Mat: Especially helpful if your propagation area is on the cooler side.
Propagation Methods
Let’s talk about the magic! For Qualea multiflora, stem cuttings are definitely my go-to method. It’s tried and true, and when done right, yields fantastic results.
Stem Cuttings:
- Select Your Cuttings: Find those healthy, new shoots we talked about. Aim for cuttings that are about 4-6 inches long.
- Make Your Cut: Using your sharp shears or knife, make a clean cut just below a leaf node. A leaf node is where a leaf attaches to the stem. This is where roots are most likely to form. Remove a few of the lower leaves, keeping at least two or three sets of leaves at the top.
- Apply Rooting Hormone: Dip the cut end of your stem into the rooting hormone, ensuring it’s well coated. Tap off any excess.
- Plant Your Cuttings: Fill your small pots or seedling trays with your prepared potting mix. Make a small hole in the center with your finger or a pencil. Gently insert the treated end of the cutting into the hole, making sure the lowest leaf nodes are below the soil surface. Firm the soil gently around the stem.
- Water Gently: Water thoroughly but gently, so you don’t dislodge your cuttings.
- Create Humidity: Cover the pot or tray with a clear plastic bag or propagator lid. This traps moisture and creates that essential humid environment many cuttings need. Make sure the leaves aren’t touching the plastic if possible.
The “Secret Sauce” (Pro Tips)
Alright, here are a few little tricks I’ve learned over the years that can really boost your success rate.
- The Bottom Heat Boost: If you can, place your pots on a bottom heat mat. This gently warms the soil, encouraging root development from below. It’s like giving your cuttings a warm hug!
- Don’t Overwater, But Don’t Let Them Dry Out: This is a delicate balance. The goal is consistently moist, but not soggy, soil. Check the moisture level by gently poking a finger into the soil. If it feels dry an inch down, it’s time for a gentle watering.
- Air Circulation is Key: While we want humidity, stagnant air can lead to fungal issues. Open the plastic bag or lid for a few minutes each day to allow for some air exchange.
Aftercare & Troubleshooting
Once your cuttings have rooted – and you’ll know when you see new growth or feel a gentle tug when you very lightly pull on the stem – it’s time for a little extra care.
Gradually acclimate your new plants to dryer air by slowly opening the plastic cover more each day over a week or so. Continue to water gently as needed. Keep them in bright, indirect light.
Now, what if things go wrong? The most common culprit is rot. If you see your cuttings turning mushy or black, it’s usually a sign of too much moisture and not enough air circulation. Ensure your soil is free-draining and continue to air out your propagator. Don’t be discouraged if some don’t make it; it’s all part of the learning process!
A Encouraging Closing
Propagating Qualea multiflora is a beautiful dance with nature. It requires a little bit of faith, a dash of patience, and a whole lot of love. Don’t get discouraged if your first attempts aren’t perfect. Each cutting, each plant, is a journey. Celebrate the successes, learn from the challenges, and most importantly, enjoy the incredibly rewarding process of creating new life. Happy gardening!
Resource:
https://identify.plantnet.org/k-world-flora/species/Qualea%20multiflora%20Mart./data