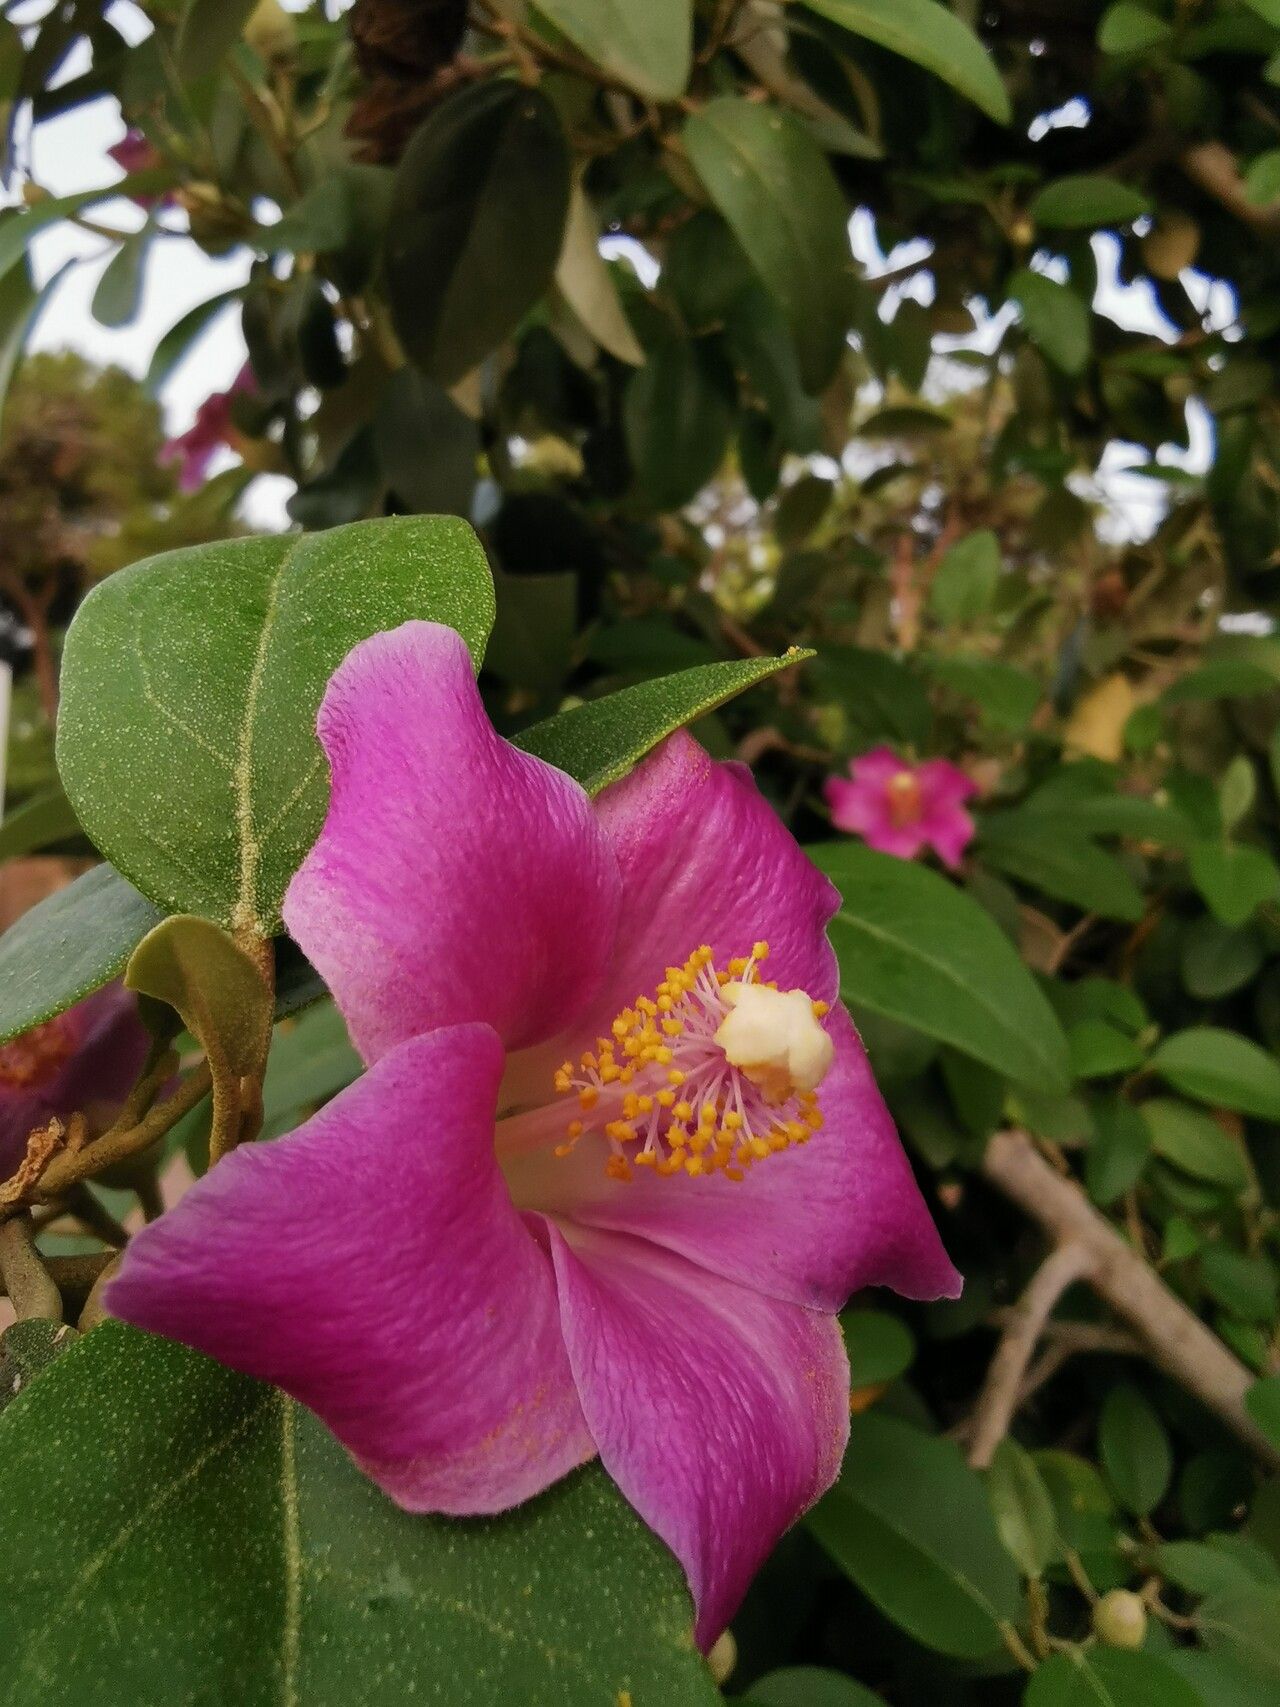
Oh, the Norfolk Island hibiscus! Lagunaria patersonia. Such a delightful plant. I’ve been growing them for years, and there’s just something about those vibrant pink blooms that brightens up any garden. Plus, they have that lovely, slightly fuzzy foliage that feels so lush.
And the best part? You can easily make more of these beauties yourself. Propagating them is a truly rewarding experience. It’s not overly difficult, either. Even if you’re just starting out with propagating plants, you’ll likely find success with Lagunaria. Think of it as your first step into a wonderfully addictive gardening hobby!
The Best Time to Start
For Lagunaria, I find the spring and early summer are absolutely prime time. This is when the plant is actively growing, or “coming into its own” after the cooler months. New growth is your friend here – it typically has more vigor and is more receptive to rooting. Aim for when you see fresh, healthy shoots appearing.
Supplies You’ll Need
Here’s what you’ll want to have on hand to get started:
- Sharp pruning shears or a clean, sharp knife: For making clean cuts.
- Potting mix: A well-draining, light mix is crucial. I often use a blend of peat moss or coco coir with perlite or coarse sand. You can also buy specialized propagation mixes.
- Small pots or seed trays: Clean ones are essential to prevent disease.
- Rooting hormone (optional but recommended): This can give your cuttings a significant boost. Look for one containing IBA.
- Watering can with a fine rose or a spray bottle: For gentle watering.
- Plastic bags or a propagator lid: To create a humid environment.
- Gravel or small stones: For drainage in pots.
Propagation Methods
I primarily use stem cuttings for Lagunaria, and it works like a charm.
- Take Your Cuttings: On a mild morning, select a healthy, semi-hardwood stem from a mature plant. You want a piece that’s about 4-6 inches long. Look for a stem that has hardened off a bit but still has some flexibility. Make a clean cut just below a leaf node (where a leaf attaches to the stem). This node is where the magic happens for root formation.
- Prepare the Cuttings: Gently remove the lower leaves from your cutting. You want to leave just a few leaves at the very top to help with photosynthesis. If the remaining leaves are very large, I sometimes like to cut them in half horizontally to reduce water loss.
- Dip in Rooting Hormone: If you’re using rooting hormone, dip the cut end of the stem into the powder or gel. Tap off any excess.
- Plant the Cuttings: Fill your clean pots with your well-draining potting mix. Make a small hole in the center of the soil with a pencil or your finger. Insert the prepared cutting into the hole, ensuring the leaf nodes you cleared are below the soil surface. Gently firm the soil around the base of the cutting.
- Water Gently: Water your cuttings thoroughly but gently. You want the soil to be moist but not waterlogged.
- Create Humidity: This is key! Cover each pot with a clear plastic bag (propped up so it doesn’t touch the leaves) or place them in a propagator with a lid. This creates a humid microclimate that prevents the cuttings from drying out before they form roots.
The “Secret Sauce” (Pro Tips)
Now, for a couple of little tricks that have helped me over the years:
- Bottom Heat is Your Friend: If you have the option, placing your pots on a gentle heated propagator mat can make a world of difference. This warmth encourages root formation from below, giving your cuttings that extra push. Just a gentle warmth, not hot!
- Fungal Prevention is Paramount: Always use clean tools and pots. If you notice any signs of mold starting on the soil surface, a light dusting of cinnamon powder can act as a natural antifungal. It sounds odd, but it really works wonders!
Aftercare & Troubleshooting
Once your cuttings are in their happy humid environment, check them regularly. You’ll know they’re rooting when you see new leaf growth appearing after a few weeks or months. You can also try a gentle tug – if there’s resistance, roots have likely formed.
At this point, you can gradually acclimatize your new plants to normal humidity. Start by opening the plastic bag for longer periods each day. Once they’re unfurling new leaves confidently, you can remove the cover entirely. Continue to keep them warm and well-watered, but allow the soil surface to dry slightly between waterings.
The most common issue you might encounter is rot. This usually happens when cuttings are kept too wet, or the drainage isn’t adequate. If a cutting turns black and mushy, it’s best to discard it to prevent spread. Don’t be disheartened! Sometimes it’s just a matter of tweaking your watering or drainage.
A Encouraging Closing
There you have it! Propagating Lagunaria patersonia is a journey of patience and observation. Don’t get discouraged if your first attempt isn’t perfect. Gardening is all about learning from our plants. Enjoy the process, nurture those little cuttings, and soon you’ll have a whole new collection of these lovely Norfolk Island hibiscus to admire! Happy propagating!
Resource:
https://identify.plantnet.org/k-world-flora/species/Lagunaria%20patersonia%20(Andrews)%20G.Don/data