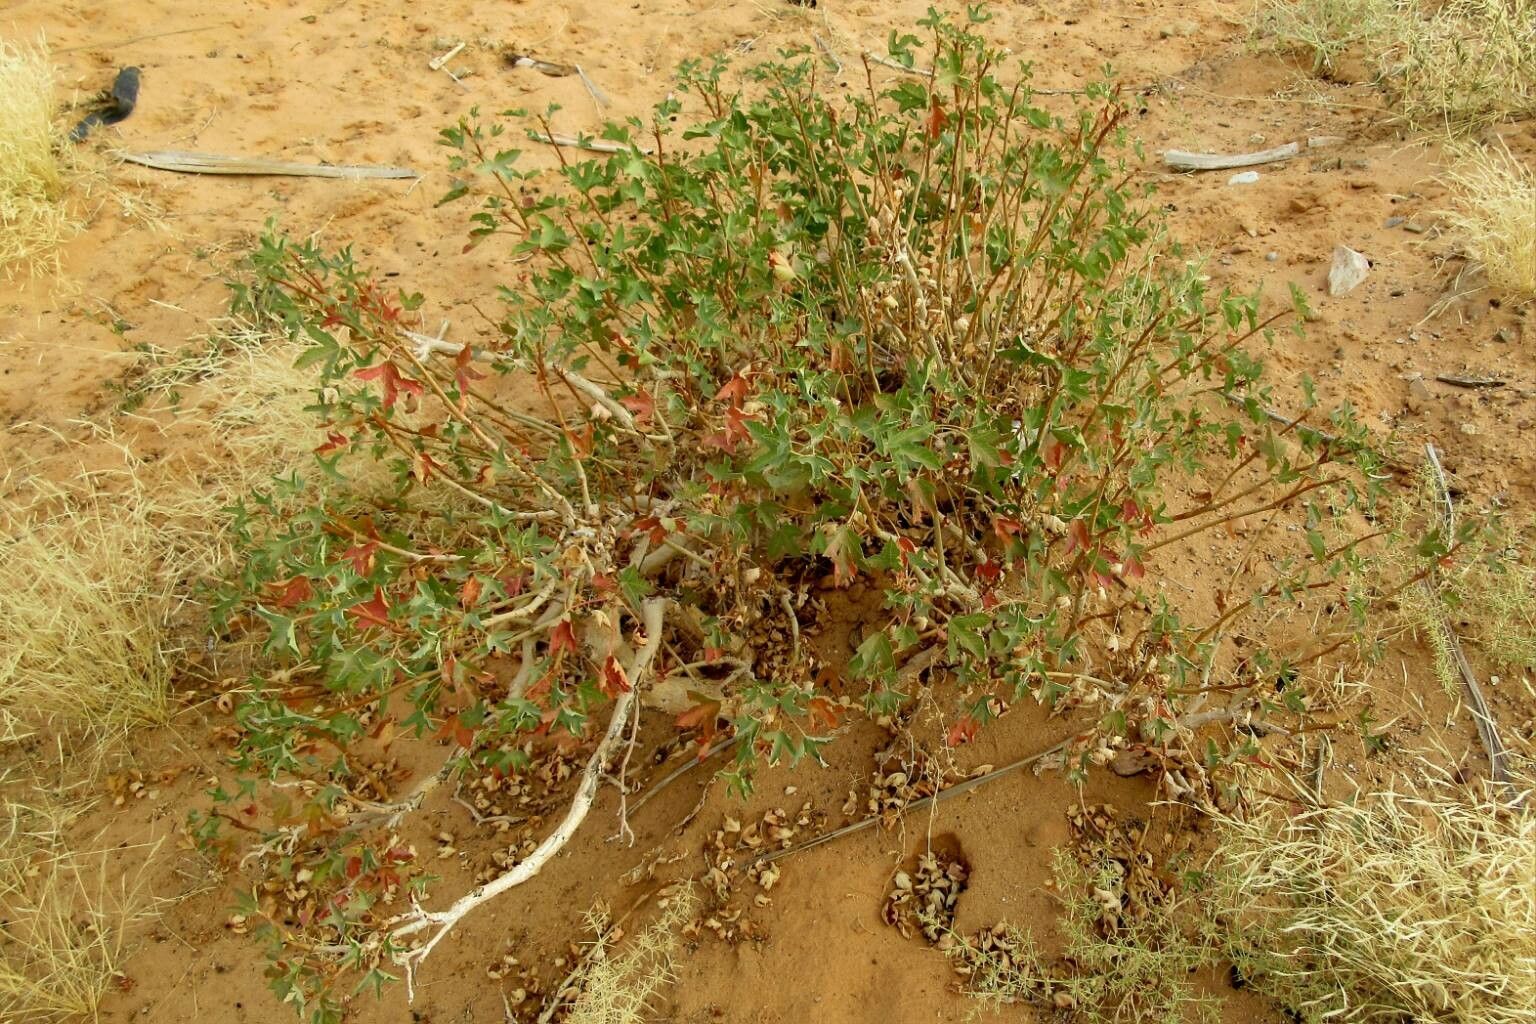
Hey there, fellow plant lovers! It’s so good to have you joining me today. We’re going to dive into the wonderful world of Jatropha chevalieri. If you’re anything like me, you’ve probably admired its striking silvery foliage and those vibrant, fiery blooms. It truly is a showstopper in any garden, and the joy of multiplying that beauty yourself? Well, that’s just priceless. Now, if you’re new to propagation, this little gem can be a bit of a journey, but don’t fret! With a little patience and a few key techniques, you’ll soon be surrounded by Jatropha babies.
The Best Time to Start
I’ve found that the absolute sweet spot for propagating Jatropha chevalieri is during its active growing season. Think late spring through summer. When the plant is full of vigor, it’s much more likely to be enthusiastic about putting out new roots. Waiting until the plant has finished its main flush of growth and before it starts to slow down for cooler weather is often your best bet for success.
Supplies You’ll Need
Before we get our hands dirty, let’s gather our tools:
- Well-draining potting mix: A cactus or succulent mix works wonders. You can also create your own with equal parts perlite, coarse sand, and peat moss.
- Sharp, clean pruning shears or a knife: Sterilize them with rubbing alcohol to prevent disease.
- Rooting hormone (optional, but recommended): Look for one that contains IBA.
- Small pots or containers: Cleaned thoroughly.
- Watering can with a fine rose or a spray bottle: For gentle watering.
- Clear plastic bags or a propagation dome: To create a humid microclimate.
- Small labels and a marker: To keep track of your cuttings.
Propagation Methods
There are a couple of ways to go about this, and I find the stem cutting method to be the most reliable for Jatropha chevalieri.
Stem Cuttings
- Select your parent plant: Choose a healthy, vigorous Jatropha chevalieri that’s been growing actively.
- Take your cuttings: Using your sterilized shears, make clean cuts just below a leaf node. Aim for cuttings that are about 4-6 inches long. Remove any lower leaves that might rot if they’re buried in the soil or submerged in water.
- Allow to callus (optional but helpful): Let the cut end of the cuttings dry out for a day or two in a cool, dry spot. This helps form a protective callus, reducing the risk of rot.
- Apply rooting hormone: Dip the cut end of each cutting into your rooting hormone, tapping off any excess.
- Plant your cuttings: Fill your pots with your well-draining mix. Make a hole with a pencil or your finger and insert the callused end of the cutting. Gently firm the soil around it.
- Mist and cover: Lightly mist the soil and the leaves of the cuttings. Then, cover the pot with a clear plastic bag, securing it with a rubber band, or place it under a propagation dome. This keeps the humidity high, which is crucial for root development.
- Provide bright, indirect light: Place your pots in a location that receives plenty of bright, indirect sunlight. Avoid direct, scorching sun.
Water Propagation (Use with Caution)
While I generally prefer soil propagation for Jatropha chevalieri, some folks have success with water.
- Prepare your cuttings: Follow steps 1 and 2 from the stem cutting method.
- Place in water: Put the cuttings in a clean jar or vase filled with fresh water. Make sure the leaf nodes are submerged, but do not let any leaves touch the water.
- Change water regularly: Change the water every few days to keep it fresh and prevent bacterial growth.
- Location: Place the jar in a bright spot with indirect light.
- When to transplant: Once you see a good network of roots forming (usually a few weeks), you can carefully transplant them into well-draining soil. Be gentle, as water roots are more delicate.
The “Secret Sauce” (Pro Tips)
Here are a few tricks I’ve learned over the years that can really boost your success rate:
- Bottom Heat is Your Friend: If you can, place your pots on a gentle heat mat designed for seedlings. This warmth stimulates root growth from below, often much faster than without it. It’s like giving your little cuttings a cozy spa treatment!
- Don’t Drown Them: While humidity is key, overwatering is the quickest way to kill a Jatropha cutting. The soil should be consistently moist but never soggy. If you poke your finger in and feel a significant amount of water, you’ve gone too far. Let it dry back a bit.
- Patience with the Parent: When taking cuttings, try to select stems that are a bit mature and woody, not overly soft and green. These tend to have a better chance of forming strong roots without collapsing. Think pencil-thick, not straw-thin.
Aftercare & Troubleshooting
Once you start seeing new growth or feel resistance when you gently tug on a cutting (a good sign of roots!), it’s time to adjust their care.
- Acclimate gradually: If you’ve used a plastic bag or dome, start by gradually opening it a little more each day over a week. This helps the new plant adjust to the drier air outside.
- Continue with bright, indirect light: Keep them in a bright spot, but still avoid harsh, direct sun for a while.
- Watering: Water when the top inch of soil feels dry. Water thoroughly until you see it drain from the bottom.
Now, what if things go wrong? The most common issue is rot. If your cutting starts to turn mushy, black, or gets a fuzzy mold on it, it’s likely due to too much moisture and poor air circulation. Unfortunately, there’s usually not much you can do once rot sets in. Learn from it, clean your tools thoroughly, and try again! Sometimes, a cutting just won’t root, and that’s okay too. Not every attempt is a success, and that’s part of the learning curve.
A Encouraging Closing
So there you have it! Propagating Jatropha chevalieri might take a little practice, but the reward of creating new life from a beloved plant is truly magnificent. Be patient with yourself and the process, keep a positive outlook, and most importantly, enjoy the journey of watching your new Jatropha take root and thrive. Happy gardening!
Resource:
https://identify.plantnet.org/k-world-flora/species/Jatropha%20chevalieri%20Beille/data