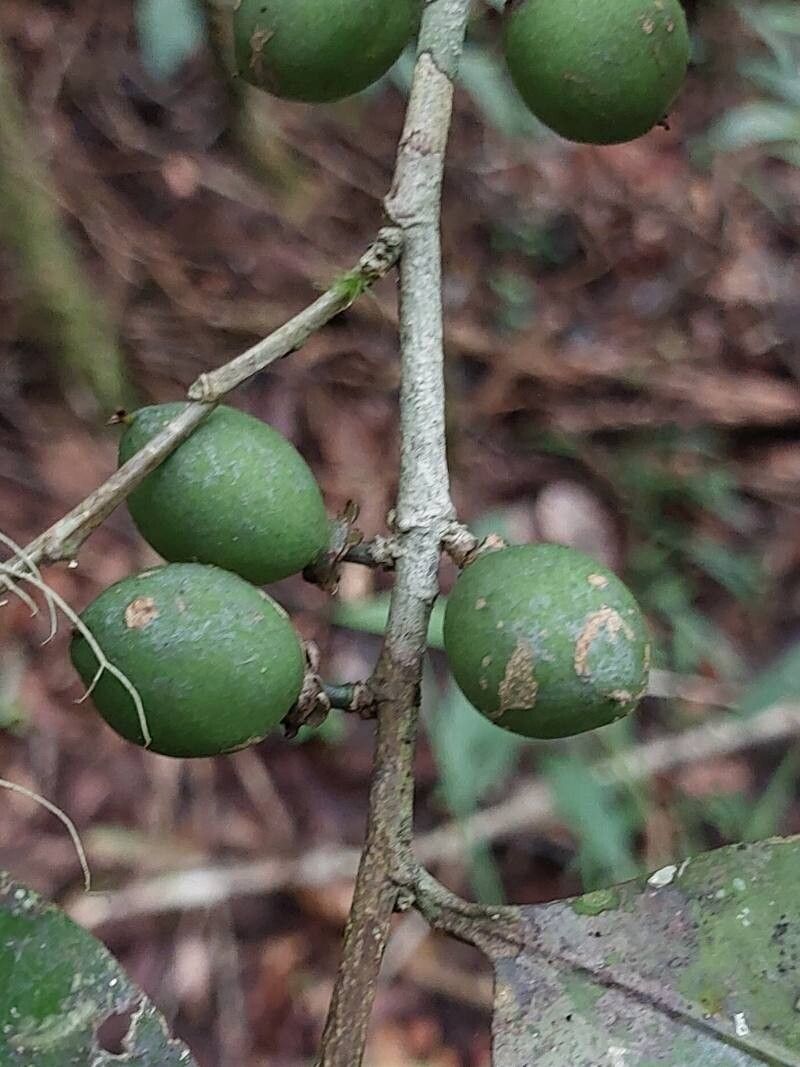
Hello there, fellow plant lovers! I’ve got a real gem to talk about today, a plant that brings a touch of the exotic and a whole lot of charm to our gardens: Drypetes madagascariensis. You might know it as the Madagascar Olive or, more commonly, the Water Berry. I’ve spent a good two decades nurturing these beauties, and let me tell you, getting them to grow from a tiny cutting to a robust new plant is one of the most satisfying garden projects you can undertake.
What I love about the Water Berry is its glossy, dark green leaves and its ability to produce those little olive-like fruits. It’s a wonderful shrub for adding structure and lushness, and honestly, it’s not as tricky to propagate as some might think. For those of you just starting out, I’d say it’s moderately easy. With a little attention and these tips, you’ll be well on your way to success.
The Best Time to Start
For the best results with Drypetes madagascariensis, I always aim to take cuttings in late spring or early summer. This is when the plant is actively growing and has plenty of youthful energy to put into developing roots. You want to look for new, leafy stems that are still a bit soft and flexible, not the old, woody growth. These are often called “semi-hardwood” cuttings.
Supplies You’ll Need
Before we get our hands dirty, let’s gather our tools. Having everything handy makes the process so much smoother:
- Sharp Pruning Shears or a Clean Knife: For making clean cuts that heal well.
- Rooting Hormone: A powder or gel that seriously boosts your chances of root formation.
- Well-Draining Potting Mix: I prefer a blend of equal parts perlite and peat moss or coco coir. This keeps things light and airy.
- Small Pots or Seed Trays: With drainage holes, of course!
- Plastic Bags or a Propagator: To create a humid environment.
- Watering Can with a Fine Rose: For gentle watering.
- Labels and a Marker: So you don’t forget what you’ve planted where!
Propagation Methods: Stem Cuttings
This is my go-to method for Water Berries, and it’s wonderfully effective.
- Select Your Cuttings: Find those healthy, semi-hardwood stems I mentioned. Look for pieces that are about 4-6 inches long.
- Make the Cut: Using your clean shears, make a cut just below a leaf node. This is where roots are most likely to emerge. Remove any flowers or developing fruits from the cutting.
- Prepare the Cutting: Strip off the lower leaves, leaving just 2-3 leaves at the top. This reduces water loss and prevents leaves from rotting in the soil.
- Apply Rooting Hormone: Dip the cut end of the stem into your rooting hormone, ensuring it’s coated. Tap off any excess.
- Plant Your Cuttings: Fill your small pots with the well-draining mix. Make a hole in the center with a pencil or your finger and gently insert the cutting, firming the soil around it. You can fit a few cuttings in one pot, making sure they don’t touch.
- Provide Humidity: Water gently until the soil is moist but not soggy. Then, cover the pot with a clear plastic bag or place it inside a propagator. This is crucial for keeping the humidity high.
The “Secret Sauce” Pro Tips
Here are a few things I’ve learned over the years that can really make a difference:
- Don’t Let Water Gather: When watering, be sure there’s no water pooling in the leaf axils or at the base of the stem if using water propagation (which I’ll touch on briefly below, though cuttings in soil are my preference here). Standing water is an open invitation for rot.
- Bottom Heat is Your Friend: If you can, place your pots on a heated propagator mat. This gentle warmth from below encourages roots to form much faster and more reliably.
Aftercare & Troubleshooting
Once your cuttings are planted, the real waiting game begins, but it’s an exciting one!
- Placement: Keep your newly planted cuttings in a bright spot, but out of direct, harsh sunlight. A north-facing windowsill or a spot under grow lights works perfectly.
- Watering During Rooting: Mist the leaves occasionally and check the soil moisture regularly. You want the soil to stay consistently moist but never waterlogged. If you’re using the plastic bag method, open it for a bit each day to let in fresh air and prevent mold.
- Signs of Success: You’ll know your cutting has rooted when you see new leaf growth! You can also give the cutting a very gentle tug; if there’s resistance, it’s a good sign that roots have formed.
- Troubleshooting Rot: The most common issue is rot. If you see your cutting turning black and mushy, it’s usually a sign of too much moisture and not enough air circulation. Unfortunately, these are often lost causes. It’s better to sacrifice a few cuttings than to lose them all to rot. Make sure your drainage is excellent and that you’re not overwatering.
A Encouraging Closing
Propagating Drypetes madagascariensis is a journey, and like any good journey, it requires a little patience. Don’t be discouraged if your first attempt isn’t a roaring success. Each time you try, you learn a bit more. Enjoy the process of nurturing these little pieces of potential plant life. Soon enough, you’ll have your very own Water Berry to admire, and perhaps even share with friends! Happy propagating!
Resource: