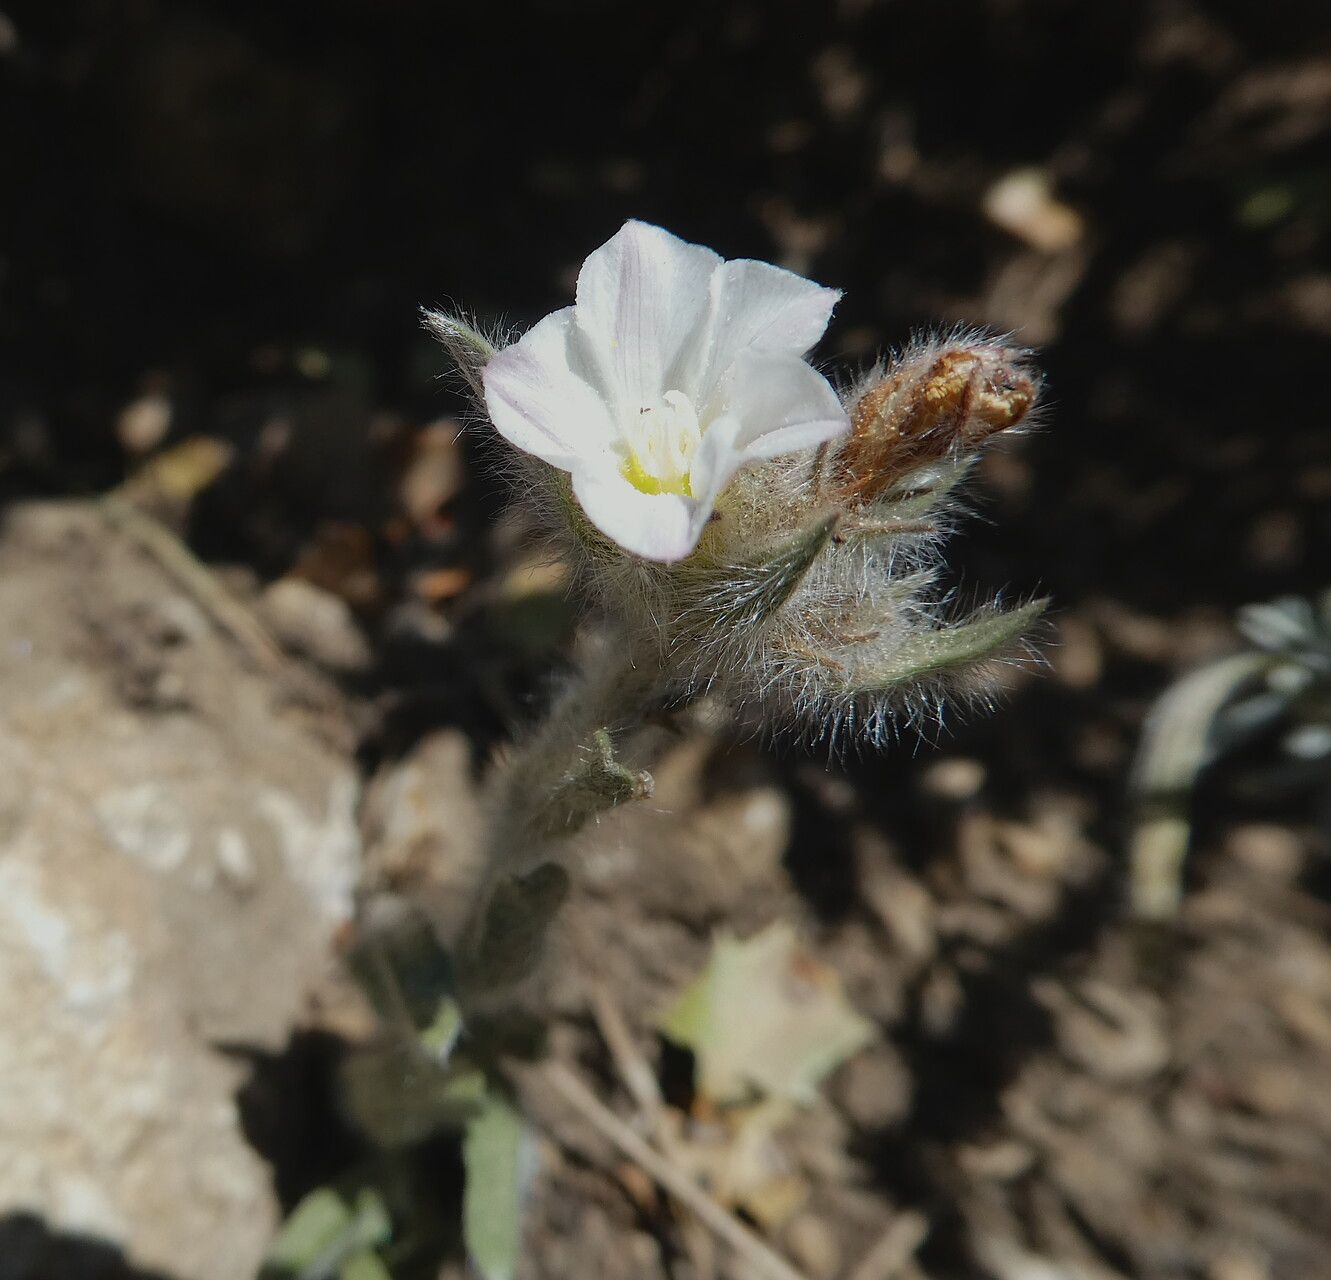
Hello fellow garden enthusiasts! Today, we’re diving into the delightful world of Convolvulus lanuginosus. If you haven’t met this beauty yet, imagine soft, silver-grey, woolly leaves and charming, delicate trumpet-shaped flowers that just beg to be admired. It’s a plant that adds a wonderful texture and a touch of wildness to any garden, rambling happily over walls or spilling out of containers. Propagating it yourself? It’s incredibly rewarding, like unlocking a little garden secret. And for those wondering – you’ll find this one to be quite beginner-friendly!
The Best Time to Start
For the best success with Convolvulus lanuginosus, I find that late spring to early summer is your golden window. This is when the plant is actively growing, so it has plenty of energy to put into developing new roots. Aim for stems that are new and somewhat woody, but not so old and brittle that they snap. A stem that’s just starting to firm up usually has the best chance of rooting.
Supplies You’ll Need
Before we get our hands dirty, gather these essentials:
- Sharp pruning shears or a clean knife: For making clean cuts.
- Rooting hormone (optional but recommended): A little boost can make a big difference. I prefer a powder form.
- Potting mix: A well-draining mix is crucial. I usually use a seed starting mix or a blend of equal parts peat moss, perlite, and coarse sand. You want something that won’t hold onto too much moisture.
- Small pots or trays: Clean pots are a must to prevent disease.
- Plastic bags or a propagator lid: To create a mini greenhouse effect.
- Watering can or spray bottle: For gentle watering.
Propagation Methods
Stem cuttings are your best bet for Convolvulus lanuginosus. It’s straightforward and usually yields great results.
Stem Cuttings:
- Take the cuttings: Select healthy, non-flowering shoots from your established plant. Using your sharp shears or knife, cut a piece about 4-6 inches long. Make sure each cutting has at least two sets of leaves.
- Prepare the cuttings: Gently remove the lower leaves from the cutting, leaving just one or two pairs at the very top. This prevents them from rotting in the soil. If the leaves are quite large, you can even cut them in half horizontally to reduce water loss from transpiration.
- Apply rooting hormone (optional): Dip the cut end of the stem into your rooting hormone, tapping off any excess.
- Pot them up: Fill your small pots or trays with your well-draining potting mix. Make a small hole in the center of the mix with a pencil or your finger. Insert the cut end of the Convolvulus cutting into the hole, pushing it down gently so the hormone stays on. Firm the soil around the stem.
- Water gently: Water the soil thoroughly but gently. You want it moist, not soggy.
- Create humidity: Cover the pots or tray with a clear plastic bag or a propagator lid. This will create a humid environment that helps the cuttings stay turgid while they root.
- Find a bright spot: Place the pots in a bright location out of direct sunlight. A windowsill that gets morning sun is often perfect.
The “Secret Sauce” (Pro Tips)
Here are a few things I’ve learned over the years that can really help your cuttings thrive:
- Don’t let the leaves touch the water in the soil: This sounds simple, but if lower leaves are submerged even a little, they’re prone to rot. Always trim them off before planting.
- Bottom heat is your friend: If you have a heated propagator or can place your pots on a heat mat, it can significantly speed up the rooting process. The warmth encourages root development from below.
- Be patient with the humidity: While you want that humid environment, it’s also important to open the bag or lid for about 10-15 minutes each day to allow for some air circulation. This helps prevent fungal issues.
Aftercare & Troubleshooting
Once you’ve potted your cuttings, keep the soil consistently moist but never waterlogged. You should start to see signs of new growth, like tiny leaves unfurling at the tip, within 3-6 weeks. When you see this, it’s a good indication that roots have formed. You can gently tug on a cutting; if it offers slight resistance, it has rooted.
If your cuttings develop mushy, dark stems or completely wilt and blacken, it’s likely a sign of rot. This often happens from too much moisture and not enough air circulation. If you spot this, often the best course is to discard the affected cutting and ensure your remaining ones have better drainage and more frequent air exchange. Sometimes, a stem might just seem to do nothing for a long time. Don’t give up too quickly! Some hardy plants can take their sweet time.
Encouraging Closing
Growing new plants from cuttings is such a satisfying journey. You’ve nurtured a tiny piece of your beloved Convolvulus lanuginosus into a new life. Be patient with your little ones, celebrate each new leaf, and enjoy the process of watching them grow. Happy gardening!
Resource:
https://identify.plantnet.org/k-world-flora/species/Convolvulus%20lanuginosus%20Desr./data