Hello, fellow garden enthusiasts! It’s so lovely to be sharing a cup of coffee with you today, virtually of course, as we talk about one of my absolute favorite plants: Magnolia delavayi.
Why You’ll Want to Propagate Your Own Magnolia delavayi
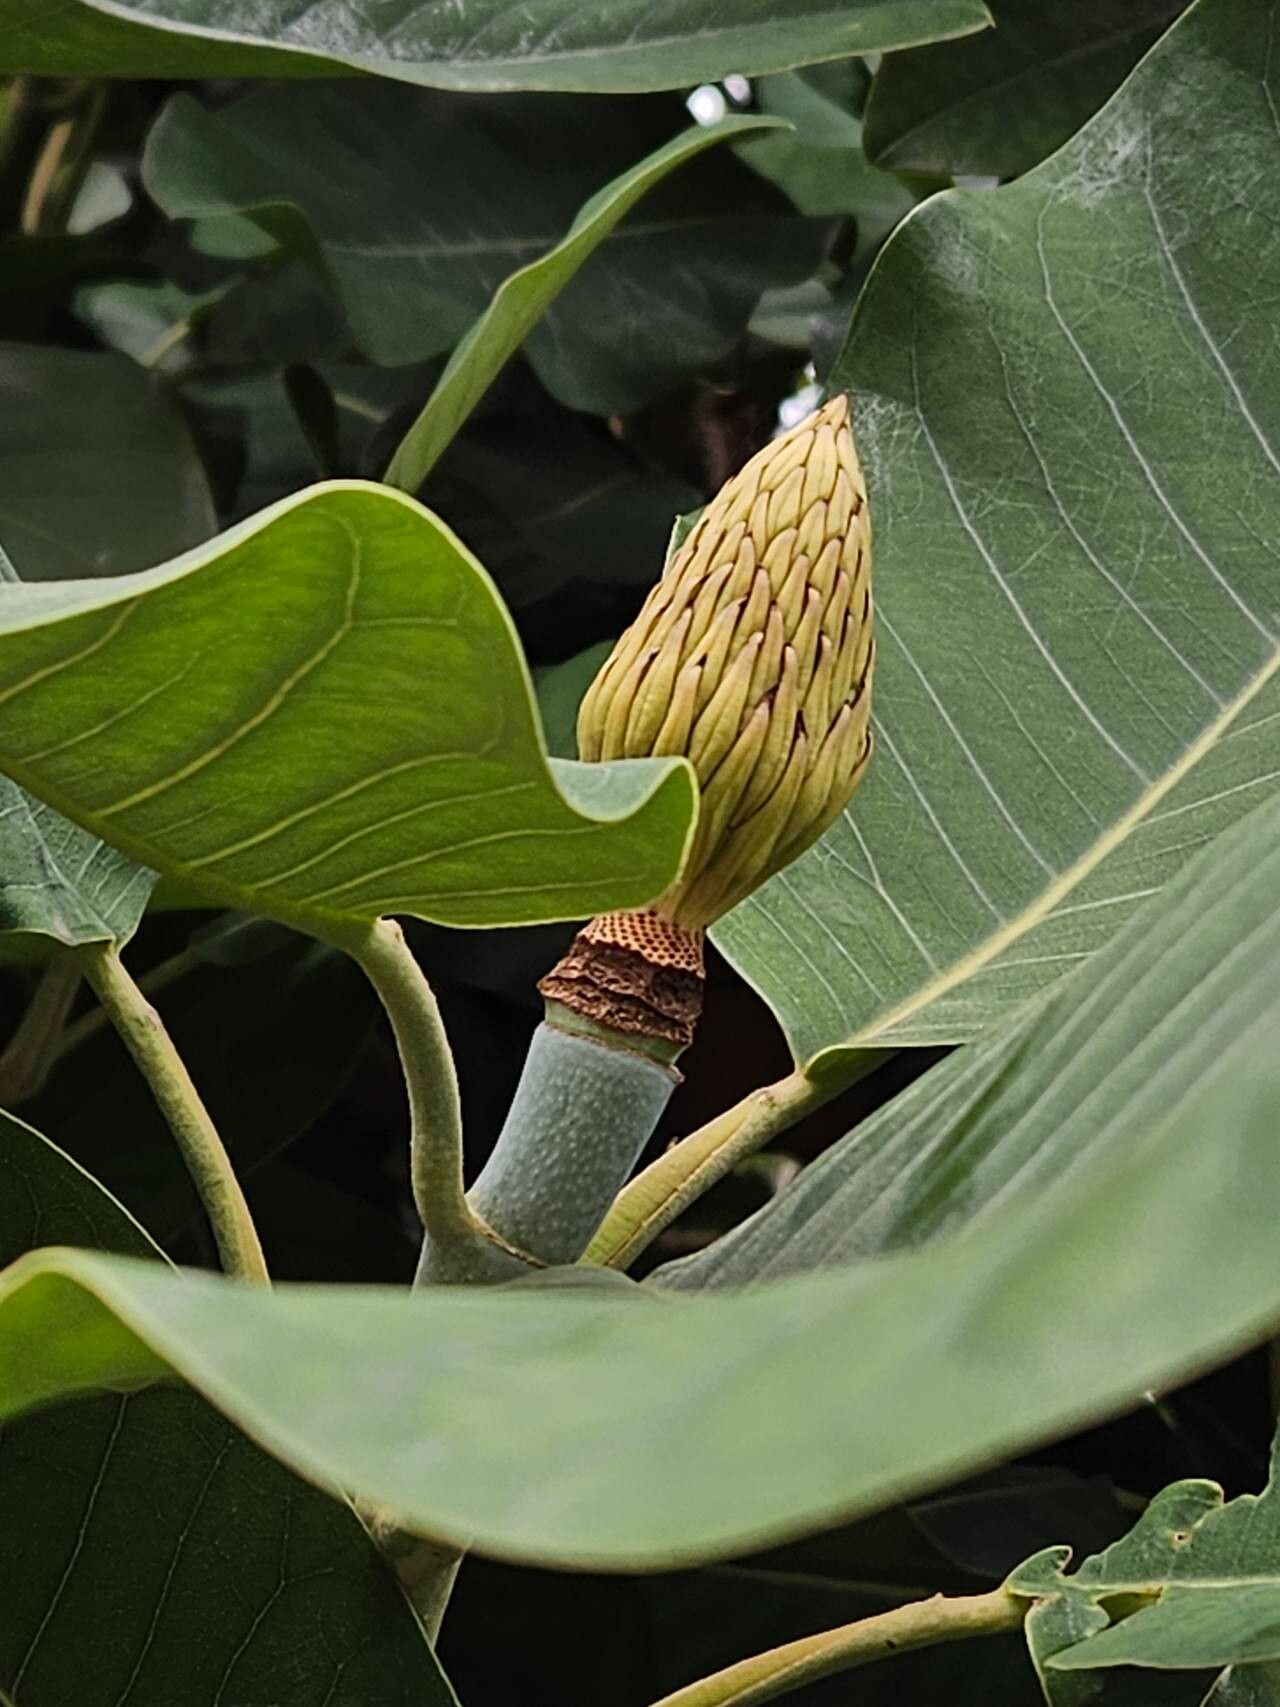
There’s something truly magical about Magnolia delavayi. Its glorious, dinner-plate-sized, fragrant white flowers that bloom in late spring and early summer are simply breathtaking. Plus, its glossy, evergreen foliage offers elegance year-round. The idea of creating more of these beauties from your existing plant is wonderfully rewarding. It’s a way to share this garden treasure with friends or simply expand your own collection without breaking the bank. Now, for the beginner gardener, I’d say Magnolia delavayi can be a little challenging, but with a bit of patience and the right approach, you absolutely can succeed!
The Best Time to Start
For Magnolia delavayi, spring is really your sweet spot. I like to take cuttings just as the plant is waking up from dormancy, or very early in the growing season when new growth is still soft and flexible. This is when the plant has the most energy to put into root development. Think late April or early May here in my neck of the woods.
Supplies You’ll Need
Here’s what I always have on hand when I’m propagating:
- Sharp, clean pruning shears or a sharp knife: Essential for making clean cuts that heal well.
- Rooting hormone: This is a powdered or liquid substance that really encourages root formation. I favor the powdered kind, but liquid works great too.
- Well-draining potting mix: A 50/50 blend of perlite and peat moss or coco coir is perfect. You want good aeration for the developing roots.
- Small pots or trays: Clean containers are a must to prevent disease.
- Plastic bags or a propagation dome: To create a humid environment for your cuttings.
- Watering can with a fine rose: For gentle watering.
- Willow twigs or a small sharp stick: For making drainage holes.
Propagation Methods: Let’s Get Our Hands Dirty!
I’ve found success with stem cuttings for Magnolia delavayi. It’s a tried-and-true method.
Stem Cuttings:
- Select Your Cuttings: Look for healthy, non-flowering stems that are about the thickness of a pencil. You want pieces that are about 4-6 inches long. Make sure each cutting has at least two or three leaf nodes (where leaves grow from the stem).
- Make the Cut: Using your clean shears, make a clean cut just below a leaf node. This is where the roots will most readily form.
- Prepare the Cutting: Gently remove the leaves from the bottom half of the cutting. If the remaining leaves are very large, I often like to cut them in half horizontally. This reduces water loss through transpiration while still allowing the plant to photosynthesize.
- Dip in Rooting Hormone: Moisten the cut end of the stem slightly with water, then dip it into your rooting hormone powder, tapping off any excess.
- Plant Your Cuttings: Fill your small pots with your prepared potting mix. Make a hole in the center using your willow twig or finger, deep enough to accommodate the cut end. Insert the cutting into the hole and gently firm the soil around it.
- Water Gently: Water thoroughly but gently, making sure the soil is moist but not waterlogged.
- Create Humidity: Place the pot inside a clear plastic bag, ensuring the leaves don’t touch the sides too much, or cover it with a propagation dome. This traps moisture and creates a humid environment that’s crucial for root development.
- Provide Light and Warmth: Place your potted cuttings in a bright location that receives indirect sunlight. Avoid direct sun, which can scorch the delicate cuttings. A warm spot is beneficial, so if you have a sunny windowsill or can use a heat mat, that’s fantastic!
The “Secret Sauce” (Pro Tips from My Garden Journal)
- Don’t Drown Your Leaves: When misting or watering, try your best not to let the leaves of your cuttings sit in standing water. This is a quick invitation for fungal rot, and we definitely don’t want that!
- Bottom Heat is Your Best Friend: If you can, use a seedling heat mat under your pots. This gentle bottom warmth encourages root formation much faster and gives your cuttings a significant advantage. It’s like a little spa day for their roots!
- Be Patient with the Parent Plant: When taking cuttings, I always try to select from mature, healthy plants. If your Magnolia delavayi is still quite young or stressed, it’s probably not the best time to take cuttings from it. Let it establish itself first.
Aftercare & Troubleshooting
Once your cuttings have rooted, you’ll start to see signs of new growth. You might gently tug on a cutting, and if you feel resistance, that’s a good sign! You can also look for tiny white roots peeking out of the drainage holes.
When roots have formed, gradually acclimate your new plants to normal room humidity. You can do this by slowly opening the plastic bag or ventilation on your dome over a few days. Water whenever the top inch of soil feels dry.
The most common issue you’ll encounter is rot. If a cutting turns black and mushy, it’s usually a sign of too much moisture and not enough air circulation. Don’t be disheartened if a few don’t make it – it’s all part of the learning process! Remove any rotted cuttings immediately to prevent it from spreading.
Keep Growing!
Propagating Magnolia delavayi takes a little time and care, but the satisfaction of nurturing a new plant from a humble cutting is immense. Be patient, observe your cuttings, and don’t be afraid to experiment. Happy gardening, and I hope you soon have your own magnificent magnolias to enjoy!
Resource:
https://identify.plantnet.org/k-world-flora/species/Magnolia%20delavayi%20Franch./data