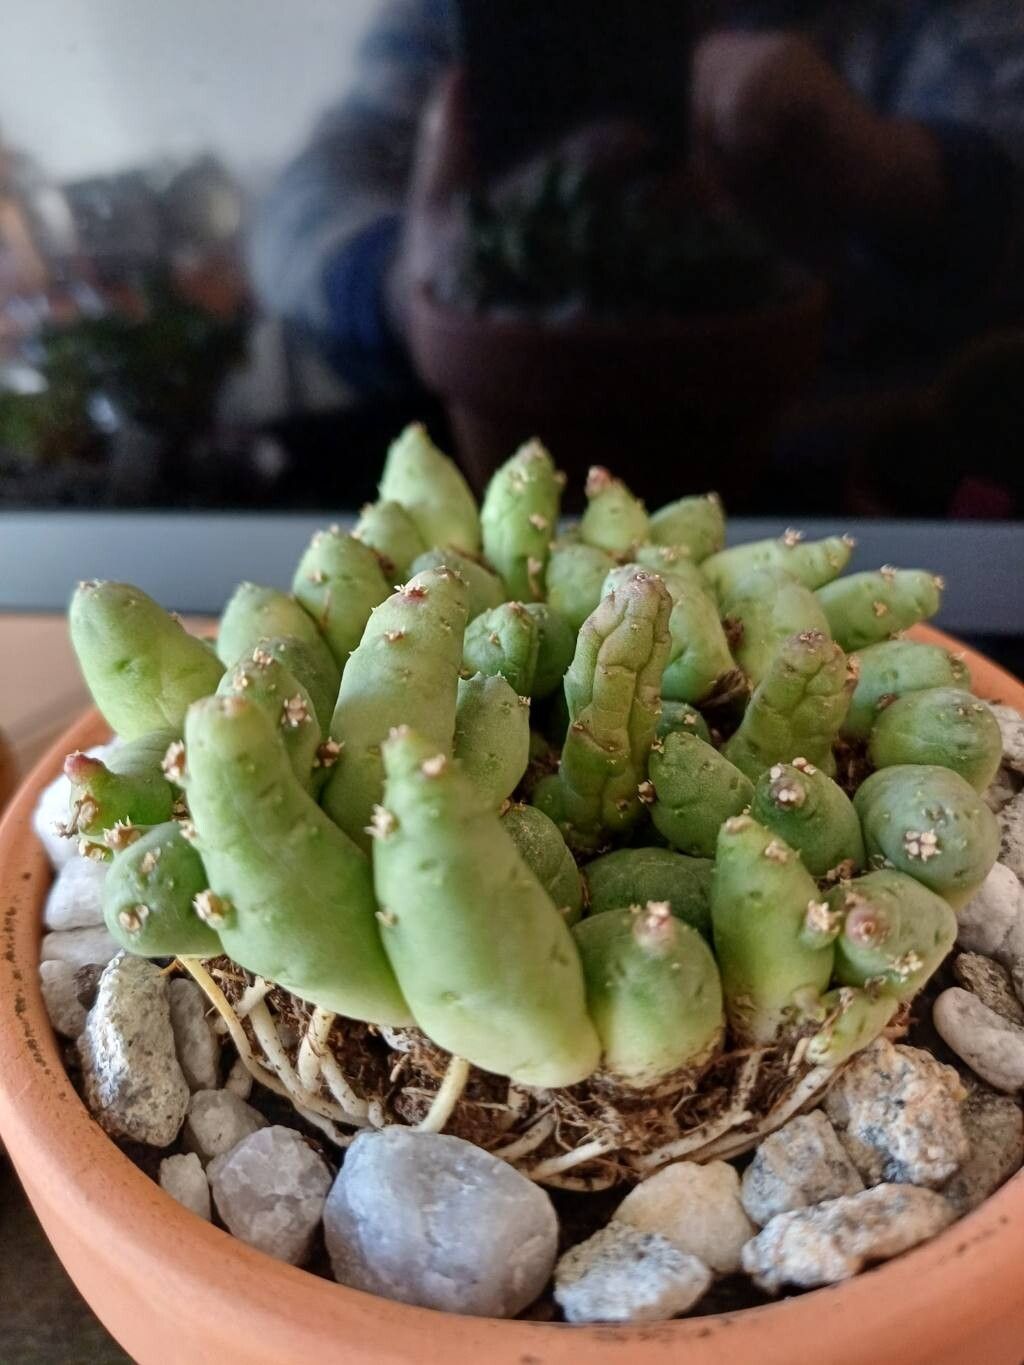
Oh, hello there! Come on in and have a seat. We were just about to chat about one of my favorite little succulents: Piaranthus geminatus. You know, those adorable little star-shaped flowers that can pop up in clusters? They’re so cheerful, and propagating them always feels like a special little victory. If you’re new to the plant parent scene, don’t fret. While some succulents can be a bit fussy, I find Piaranthus geminatus to be quite rewarding, even for beginners willing to give it a little attention.
When to Get Your Hands Dirty
The best time to start propagating your Piaranthus geminatus is during its active growing season. For most of us, this means late spring through summer. You’ll see the plant putting on new growth – plump stems and perhaps even a bud or two. This is prime time for it to root easily.
Your Propagating Toolkit
Before we dive in, let’s gather our essentials. You won’t need a whole elaborate setup, just a few key things:
- Sharp pruning shears or a clean knife: For making those precise cuts.
- Well-draining potting mix: A cactus or succulent mix is perfect. You can also amend regular potting soil with perlite or pumice.
- Small pots or trays: Clean ones are a must to avoid disease.
- Rooting hormone (optional, but helpful): Just a little dip can give your cuttings a boost.
- A watering can with a fine rose or a spray bottle: For gentle watering.
- A warm spot: Somewhere bright but out of direct, scorching sun.
Let’s Get Propagating!
Piaranthus geminatus is quite forgiving, and I’ve had success with a couple of straightforward methods.
Stem Cuttings: My Go-To Method
This is my absolute favorite way to multiply my Piaranthus.
- Select a healthy stem: Look for a mature, firm stem that’s at least a few inches long.
- Make a clean cut: Using your sharp shears or knife, make a clean cut just above a leaf node. This is where roots will typically form.
- Let it callous: This is crucial! Lay your cutting out on a clean surface in a spot with good air circulation for 2-3 days. You want the cut end to dry and form a protective callus. This prevents rot when you plant it.
- Dip in rooting hormone (optional): If you’re using it, lightly dip the callused end into your rooting hormone powder.
- Plant it up: Fill your small pot with your well-draining mix. Make a small indentation and gently place the callused end of your cutting into the soil. You want it to be stable but don’t pack the soil too tightly.
- Water sparingly: Give it a light watering, just enough to moisten the soil. You don’t want soggy feet!
Water Propagation: A Clear View
Sometimes, I just like to watch the magic happen!
- Prepare your cutting: Follow steps 1 and 2 from the stem cutting method. You don’t need to let this one callous, as it will be going straight into water.
- Place in water: Find a clean jar or glass. Fill it with fresh water and place your cutting in it, ensuring the cut end is submerged but that no leaves are touching the water. This is key to preventing rot.
- Find a bright spot: Pop your jar in a bright location, but again, avoid direct, harsh sunlight.
- Change the water: Change the water every few days to keep it fresh.
The “Secret Sauce” for Extra Oomph!
Here are a couple of little tricks that have always served me well:
- Warmth is Your Friend: Piaranthus geminatus loves a bit of warmth to encourage root development. If you have a heat mat designed for seedlings, placing your pots on top of it can really speed things up. Even a sunny windowsill that stays consistently warm is usually enough.
- Don’t Rush the Potting: If you’ve chosen water propagation, wait until you see noticeable root growth – at least an inch long – before you attempt to pot your cutting into soil. Trying to plant too soon can sometimes shock the delicate new roots.
What Happens Next: Aftercare & Keeping an Eye Out
Once your cutting has developed a good root system (either in soil or water and ready for potting), you can treat it much like a mature plant. Water when the soil dries out completely, and make sure it gets plenty of indirect sunlight.
Now, every gardener encounters a little bump in the road now and then. The most common sign of trouble with Piaranthus geminatus propagation is rot. If your cutting turns mushy, dark, or smells funky, it’s likely succumbed to rot. This is usually due to too much moisture or not allowing the cutting to callous properly. Don’t get discouraged! It happens. Just discard the affected part and try again. Sometimes a cutting just isn’t as robust as another.
Go Forth and Propagate!
Taking cuttings from your beloved Piaranthus geminatus is such a rewarding way to share its charm or simply expand your own collection. Be patient with your little ones, give them consistent love and attention, and you’ll be rewarded with new plants before you know it. Happy gardening!
Resource:
https://identify.plantnet.org/k-world-flora/species/Piaranthus%20geminatus%20(Masson)%20N.E.Br./data