Well hello there, fellow garden enthusiasts! Grab a warm mug, and let’s chat about something truly special: coaxing new life from the magnificent Cunninghamia lanceolata, also known as the Chinese Fir.
Bringing on the Beauty: Why Propagate Cunninghamia?
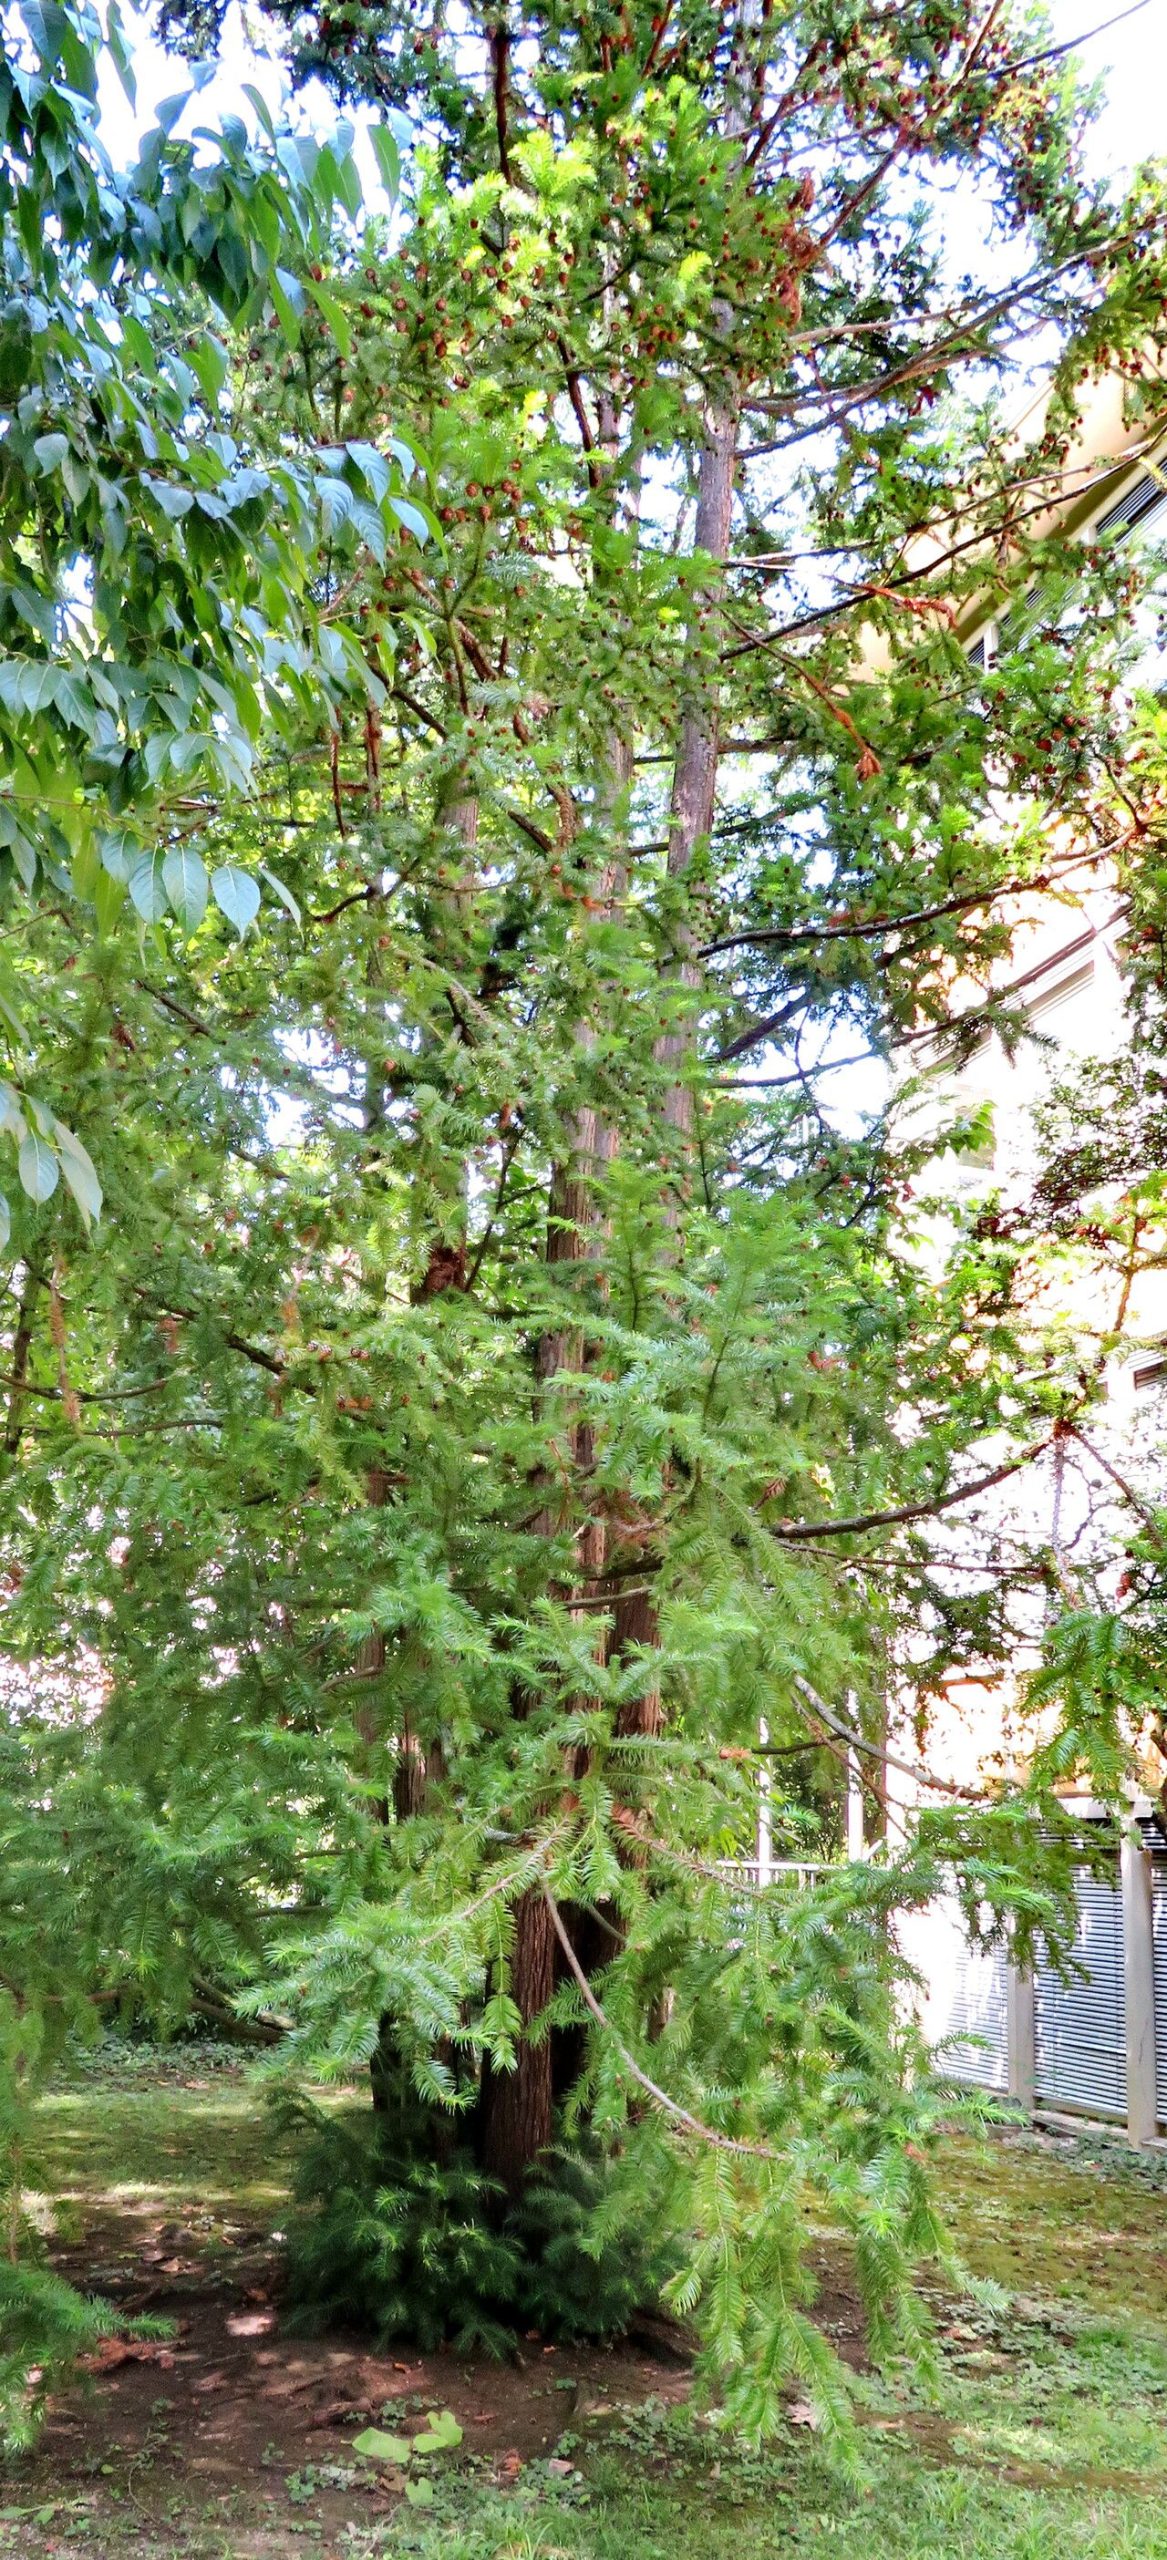
There’s something incredibly satisfying about growing a plant from a tiny cutting or seed. Cunninghamia lanceolata is a tree that brings architectural elegance to any landscape. Its graceful, weeping branches and fragrant foliage make it a standout, and being able to create more of them feels like unlocking a wonderful garden secret. Is it beginner-friendly? Honestly, it can be a bit of a patient process, but with a few good tips, you’ll be well on your way to success.
The Sweet Spot: When to Get Started
For the best chance of success, I find that late spring to early summer is your golden window. This is when the plant is actively growing after its initial spring flush. You want to work with softwood or semi-hardwood cuttings – those that are new and flexible but have started to firm up a bit. Trying to propagate too early or too late in the season can be disheartening.
Your Propagation Toolkit
Here’s what you’ll want to have on hand. Think of it as your starter pack for creating new Cunninghamia babies:
- Sharp, clean pruning shears or a sharp knife: Essential for making clean cuts.
- Rooting hormone powder or gel: This really gives your cuttings a helpful boost.
- A well-draining potting mix: I like to use a blend of peat moss, perlite, and a bit of coarse sand. Around a 2:1:1 ratio works beautifully.
- Small pots or seed trays: Clean ones, of course! Small 4-inch pots are usually perfect.
- A plastic bag or humidity dome: To keep the moisture levels high around your cuttings.
- A spray bottle filled with water: For gently misting.
- Labels and a marker: To keep track of your precious ventures!
The Art of Multiplication: Cutting Your Way to More Trees
I’ve found the most reliable way to propagate Cunninghamia lanceolata is through stem cuttings. Here’s how I do it:
- Select Your Cuttings: Look for healthy, vigorous stems from the current season’s growth. You want sections that are about 4-6 inches long.
- Make the Cut: Using your clean pruning shears or knife, make a clean cut just below a leaf node (where a leaf attaches to the stem). This is where roots are most likely to form.
- Prepare the Cutting: Gently remove the lower leaves from the bottom 2-3 inches of the stem. This prevents them from rotting in the soil. If the leaves are particularly large, you can even cut them in half horizontally to reduce water loss.
- Apply Rooting Hormone: Dip the cut end of the stem into your rooting hormone powder or gel, tapping off any excess. This is a crucial step!
- Plant Your Cuttings: Fill your small pots with the prepared well-draining potting mix. Make a small hole with your finger or a pencil and insert the cutting, ensuring the nodes where you removed the leaves are below the soil line. Gently firm the soil around the stem.
- Water Gently: Water the pot thoroughly but gently. You want the soil to be moist, not waterlogged.
- Create a Humid Environment: Place a plastic bag over the pot, securing it around the rim with a rubber band or tape. Alternatively, use a clear plastic humidity dome. This keeps the humidity high, which cuttings desperately need.
- Provide Light: Place your pots in a location that receives bright, indirect light. Avoid direct sunlight, which can scorch the tender cuttings.
The “Secret Sauce”: My Gardener’s Whispers
Through years of trial and error, I’ve picked up a few tricks that elevate my propagation game:
- Bottom Heat is Your Friend: If you can swing it, placing your pots on a gentle heat mat can make a huge difference. It encourages root development from below, speeding things up considerably. Just a little warmth can go a long way.
- “Wiggle Test” Caution: Resist the urge to constantly pull at your cuttings to see if they’ve rooted. This can damage delicate new growth. Wait at least 4-6 weeks before giving a very gentle tug to feel for resistance.
- Don’t Over-Mist: While humidity is key, avoid soggy conditions. A light misting with your spray bottle on the foliage every few days, especially if you notice them wilting inside the bag, is usually sufficient. Too much moisture can invite fungal diseases.
Nurturing New Roots: Aftercare and What to Watch For
Once you feel that gentle resistance when you test your cuttings, or see new growth appearing, it’s a good sign roots are developing!
- Acclimatize Slowly: Gradually remove the plastic bag or humidity dome over a week or so to help your new plants adjust to lower humidity.
- Water When Needed: Continue to keep the soil consistently moist but not waterlogged.
- Relocate with Care: When the roots have filled the pot and you can see them through the drainage holes, it’s time to transplant them into slightly larger pots or their permanent garden spot.
Now, what if things don’t go quite as planned? The most common culprit is rot. If your cuttings look mushy, turn black, or are collapsing, it’s usually due to too much moisture or poor air circulation. If you spot this early, you might be able to save salvageable parts, but often, it’s best to discard them to prevent the rot from spreading and start again. Sometimes, they just don’t take, and that’s okay too. Gardening is a continuous cycle of learning and experimenting!
Patience is a Virtue, Especially in the Garden
Propagating Cunninghamia lanceolata can take time, but the rewards are immense. Seeing those tiny roots emerge and a new tree begin to grow is a truly special feeling. Don’t get discouraged if your first few attempts aren’t perfect. Be patient, keep learning, and most importantly, enjoy the journey. Happy propagating!
Resource:
https://identify.plantnet.org/k-world-flora/species/Cunninghamia%20lanceolata%20(Lamb.)%20Hook./data