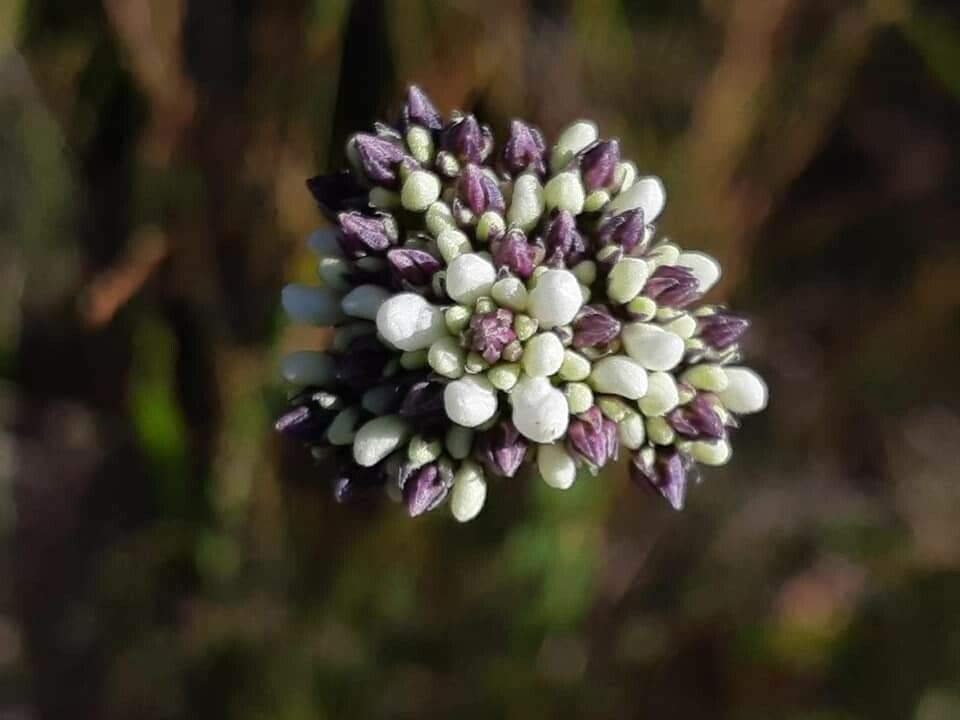
Hello fellow garden enthusiasts! Today, we’re diving into the wonderfully quirky world of Conospermum longifolium, often called “long-leaved smokebush” or “pretty country.” If you’ve ever admired its delicate, smoky-pink flower plumes cascading over silvery foliage, you understand its charm. Propagating this beauty is a fantastic way to share its magic or simply expand your own collection. While Conospermum can be a little particular, don’t let that deter you! With a bit of understanding and patience, you can absolutely succeed.
The Best Time to Start
For Conospermum longifolium, the sweet spot for propagation is late spring to early summer. This is when the plant is actively growing and has plenty of energy to put into developing new roots. Look for stems that are semi-hardwood – not brand new and floppy, but not woody and old either. They should feel firm but still have a bit of flexibility.
Supplies You’ll Need
Gathering your tools beforehand makes the whole process smoother. Here’s what I’ve found works best:
- Sharp pruning shears or a clean knife: For taking your cuttings. Sterilize them with rubbing alcohol to prevent disease.
- A well-draining potting mix: I usually use a blend of perlite, coarse sand, and a small amount of peat moss. You want something that drains exceptionally well so those delicate roots don’t sit in soggy soil.
- Rooting hormone: This is optional but highly recommended for Conospermum. It really gives your cuttings a good head start.
- Small pots or seedling trays: Clean ones, of course!
- A clear plastic bag or propagator lid: This helps maintain humidity around your cuttings.
- Watering can or spray bottle: For gentle watering.
- A dibber or pencil: To make holes for your cuttings.
Propagation Methods
Stem cuttings are my go-to for Conospermum longifolium. It’s reliable and generally gives the best results.
- Take Your Cuttings: In late spring or early summer, select healthy, non-flowering stems. Using your sterilized shears, take cuttings that are about 4-6 inches long.
- Prepare the Cuttings: Remove the lower leaves from the cutting, leaving just a few at the top. This prevents leaves from rotting in the soil. If the leaves are very large, you can even cut them in half to reduce water loss.
- Apply Rooting Hormone: Dip the cut end of the stem into the rooting hormone, tapping off any excess.
- Plant Your Cuttings: Make a hole in your potting mix with a dibber or pencil, deep enough to insert the cutting. Gently place the cutting into the hole and firm the soil around it.
- Water Gently: Water the soil thoroughly but gently. You don’t want to wash the cuttings out.
- Create a Humid Environment: Cover the pots with a clear plastic bag or propagator lid. This traps humidity, which is crucial for cuttings to develop roots before they dry out. Place the pots in a bright location out of direct sunlight.
The “Secret Sauce” (Pro Tips)
Here are a couple of tricks I’ve learned over the years:
- Don’t let the leaves touch the water: If you decide to try water propagation (which is less successful for Conospermum but people do try it!), make sure only the cut stem is submerged. Any foliage in the water will likely rot and take your cutting down with it.
- Bottom heat is a game-changer: If you have access to a heat mat, placing your pots on it provides gentle bottom warmth. This encourages root development much faster than just ambient room temperature. Aim for a temperature around 70-75°F (21-24°C).
Aftercare & Troubleshooting
Once your cuttings are planted, patience is key! Check the soil moisture regularly. It should be consistently moist but never waterlogged. Gently mist the leaves every few days, especially if you notice them looking a little limp.
You’ll know roots are forming when you see new leaf growth or feel slight resistance when you gently tug on the cutting. This can take anywhere from 4 to 12 weeks, sometimes longer.
The most common failure you’ll encounter is rot. If a cutting turns black and mushy, it’s a sign of too much moisture and not enough air circulation. If you see this happening, remove the affected cutting immediately and ensure your remaining ones have excellent drainage and aren’t getting overwatered.
A Final Word
Propagating Conospermum longifolium is a rewarding journey. It teaches you to observe your plants closely and understand their needs. Don’t be discouraged if your first attempt isn’t a roaring success. Each plant, each cutting, is a learning experience. So, get your hands dirty, be patient, and enjoy the magic of coaxing new life into being! Happy gardening!
Resource:
https://identify.plantnet.org/k-world-flora/species/Conospermum%20longifolium%20Sm./data