Oh, hello there! Come on in, grab a cuppa. I’m so excited to talk about Drimia intricata with you today. I’ve spent years coaxing these beauties into new life, and the joy never fades. If you’re looking for a plant that’s a little quirky, a little dramatic, and incredibly rewarding to multiply, you’ve come to the right place.
Why Grow and Propagate Drimia Intricata?
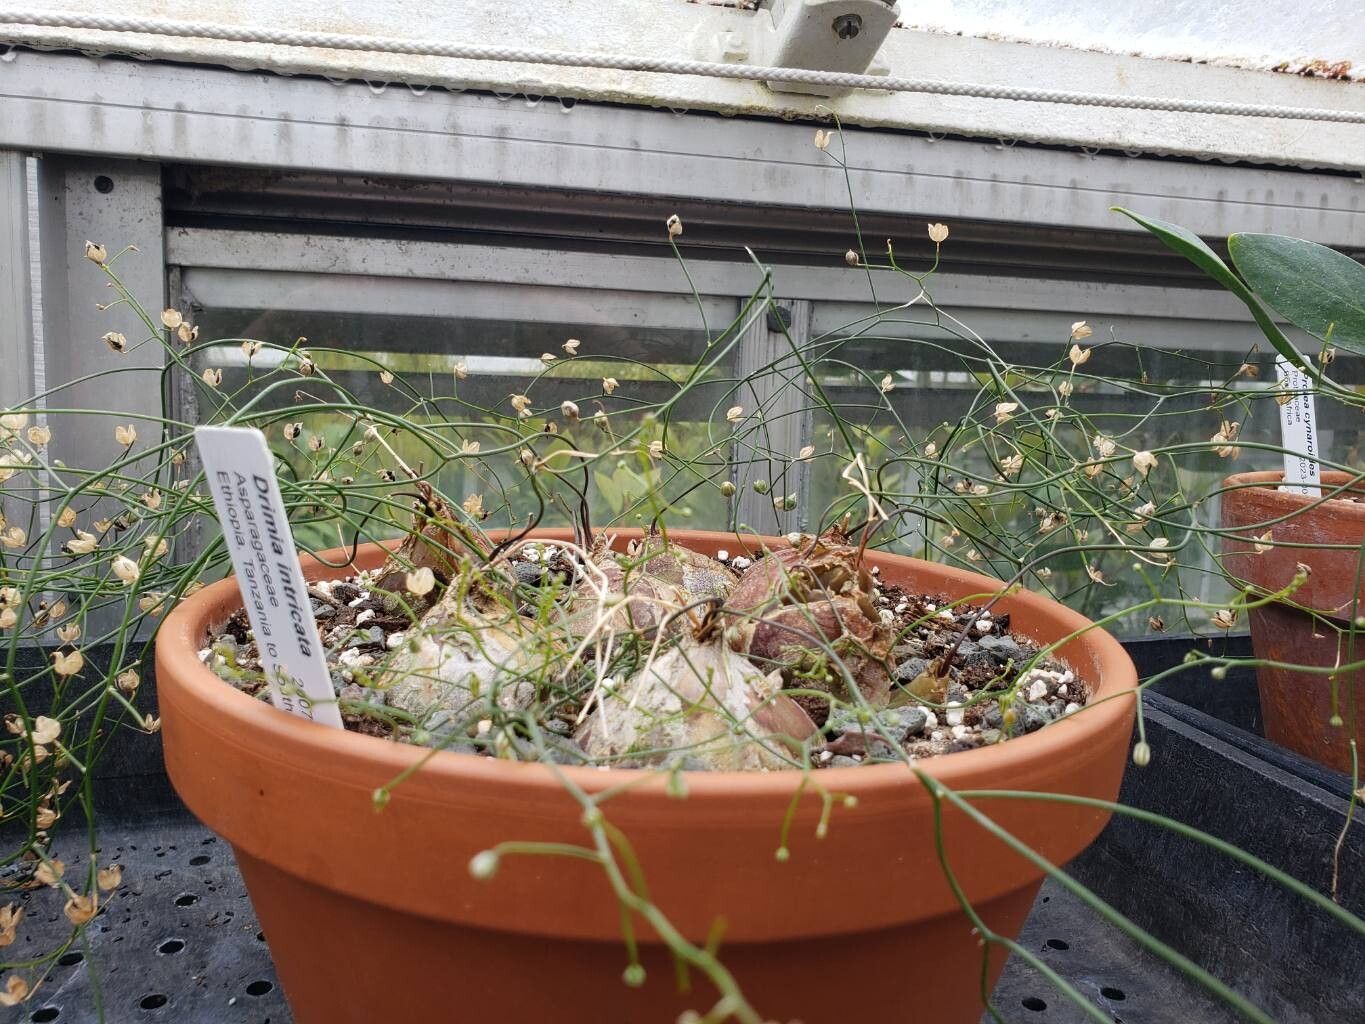
This plant is a real stunner with its architectural rosettes of strap-like leaves, often with delightful speckles or stripes. And when it flowers? Wowza! The tall spikes of delicate blooms are just breathtaking. Propagating it is a fantastic way to share this beauty with friends, fill your own garden with more specimens, or simply experience the magic of bringing a new life into the world from a piece of an existing one.
Now, let’s be honest. Is Drimia intricata the easiest plant for a total beginner to propagate? Perhaps not. It has a particular way of doing things, and sometimes it can be a bit…temperamental. But don’t let that deter you! With a little understanding and patience, you absolutely can succeed. And I’m here to guide you every step of the way.
When is the Perfect Time to Get Started?
The very best time to undertake propagation for Drimia intricata is when the plant is actively growing. This usually means the late spring or early summer. You’ll notice new growth emerging, and the plant will have plenty of energy to dedicate to forming roots. Avoid trying to propagate during its dormant period, which is typically in the cooler, drier months.
Your Essential Propagation Toolkit
Gathering the right supplies makes all the difference. Here’s what you’ll want to have on hand:
- Sharp, clean trowel or dibber: For making holes and dividing.
- Sterile pruning shears or a sharp knife: Essential for making clean cuts.
- Well-draining potting mix: I like a blend of coarse sand, perlite, and a good quality potting soil. You can also use a cactus or succulent mix.
- Small pots or seed trays: With drainage holes, of course!
- Rooting hormone powder (optional but recommended): This can give your cuttings a little boost.
- Watering can with a fine rose or spray bottle: For gentle watering.
- Labels: To keep track of what you’ve propagated and when.
- Bottom heat source (optional, but a game-changer): A seedling heat mat is perfect for this.
Let’s Get Propagating: Your Step-by-Step Guide
For Drimia intricata, the most reliable methods are division and propagating from bulb offsets. Stem cuttings are generally not the way to go with this particular plant.
Method 1: Dividing the Mother Plant
This is by far the most common and successful way to propagate Drimia intricata. You’re essentially separating the offsets (baby bulbs) that form around the base of the main plant.
- Gently Remove from Pot: Carefully take your Drimia intricata out of its pot. If it’s been in there a while, you might need to gently tap the sides of the pot or loosen the soil around the edges with a trowel.
- Assess the Offsets: Look at the base of the main bulb. You’ll often see smaller bulbs clustered around it. These are your potential new plants! They should ideally have started to develop their own roots.
- Separate the Bulb Offsets: This is the delicate part. Use your clean trowel or fingers to gently tease away the offsets from the parent bulb. If an offset has its own roots, that’s fantastic! If not, don’t worry too much, as long as you plant it quickly. You want to make sure each offset you take has at least the beginning of a root system or can be encouraged to grow one.
- Allow to Dry (Optional but Recommended): Some gardeners like to let the cut ends of the parent bulb and the separated offsets “callus over” for a day or two in a dry, shaded spot. This helps prevent rot.
- Plant Your New Babies: Fill your small pots with your well-draining potting mix. Make a hole in the center with your finger or dibber, place the offset in, and gently backfill with soil, firming it lightly around the base. The top of the bulb should be just at or slightly above the soil surface, just like the parent plant.
- Water Sparingly: Give them a light watering. You don’t want to drown them.
Method 2: Propagating from Bulb Offsets (when they are larger)
Sometimes, you might find larger bulb offsets that have already produced a good amount of roots.
- Follow Steps 1-3 above.
- If Roots are Present: If your offset has a decent tuft of roots, plant it as described in step 5 of Method 1.
- Water Well: You can water a bit more thoroughly for these rooted offsets, ensuring good drainage.
The “Secret Sauce”: My Insider Tips
Here are a few things I’ve learned over the years that can really boost your success.
- The “No Soggy Bottom” Rule: This is crucial for Drimia intricata. They absolutely hate sitting in wet soil. Ensure your pots have excellent drainage, and always err on the side of underwatering rather than overwatering, especially for new propagations.
- Gentle is Key: When you’re separating those precious offsets, be gentle. Don’t yank or force things. If a root breaks, it’s not the end of the world, but try to preserve as many as possible. A clean cut is always better than a tear.
- Bottom Heat Works Wonders: If you can spare a little space and have a seedling heat mat, placing your pots on it can significantly encourage root development. It mimics the warmth of spring and summer soil, giving those little roots a welcome nudge to grow.
Aftercare and What to Watch For
Once your new Drimia intricata propagations are in their pots, the real waiting game begins.
- Light: Place them in a bright spot, but out of direct, harsh sunlight, especially during the hottest part of the day.
- Watering: Water very sparingly. The goal is to keep the soil slightly moist but never wet. Check the soil with your finger; if the top inch feels dry, it’s time for a light watering.
- Patience is a Virtue: It can take weeks, or sometimes even a few months, for new roots to establish and for you to see signs of growth. Don’t despair if things look quiet at first.
- Troubleshooting: The most common issue is rot. If you see your propagation turning mushy, yellowing excessively, or smelling foul, it’s likely rot setting in due to too much moisture. If you catch it early, you might try removing the rotted parts and repotting in fresh, dry soil, but honestly, it’s often a sign that it’s best to start again. Another sign of failure can be if the leaves start to shrivel and dry up without any sign of new growth after a long period. This could indicate they’re not getting enough water, or they simply didn’t establish roots successfully.
Keep Rooting For Them!
Propagating Drimia intricata is a journey, and like all good gardening adventures, it’s about learning and enjoying the process. Don’t be discouraged if your first attempt isn’t perfect. Each plant is a little experiment, and the rewards of seeing those new bulbs thrive are just immense. So, get your hands in the soil, be patient, and celebrate every tiny sign of success. Happy propagating!
Resource: