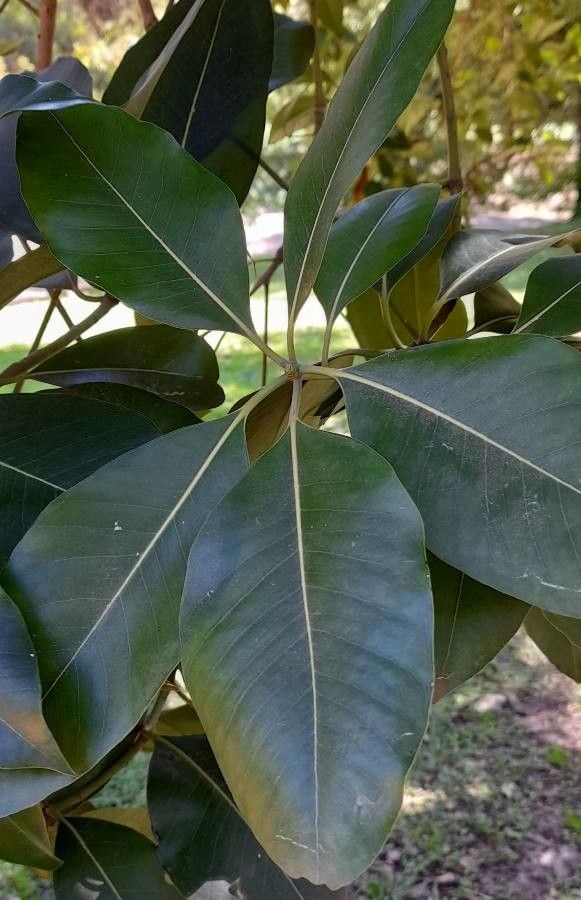
Hello fellow garden enthusiasts! Today, we’re diving into the delightful world of propagating Lophostemon confertus, also known as the Brush Box. This Australian native is a real gem. Its beautiful, glossy green leaves and stunning fluffy white flowers make it a garden standout, and it’s surprisingly tough once established. Growing new plants from your existing one is incredibly rewarding. For beginners, I’d say propagating Brush Box is moderately easy, especially if you’re patient. It’s a fantastic way to share your love for this tree with friends or simply to fill your own garden space without breaking the bank.
The Best Time to Start
When it comes to getting new Lophostemon confertus plants sprouting, timing is everything. The late spring to early summer is generally your golden window. This is when the plant is actively growing, full of vigor, and has plenty of healthy new stems that are perfect for cuttings. You’re looking for those semi-hardwood stems – they should be bendy enough to snap without breaking cleanly, but not so soft they feel like a fresh sprout.
Supplies You’ll Need
Before we get our hands dirty, let’s gather our tools. Having everything ready makes the process so much smoother.
- Sharp Pruning Shears or a Knife: Clean cuts are crucial for preventing disease.
- Rooting Hormone: A good quality powder or gel will significantly boost your success rate.
- Small Pots or Seedling Trays: Make sure they have drainage holes.
- Sterile Potting Mix: I like a blend of perlite, peat moss, and a little compost. Some people swear by a mix of half perlite and half peat moss.
- Gravel or Perlite: For drainage at the bottom of pots (optional, but I like it).
- Plastic Bags or a Propagator: To create a humid environment for your cuttings.
- Watering Can with a Fine Rose: Gentle watering is key.
Propagation Methods
Let’s get down to the nitty-gritty! I find stem cuttings to be the most reliable method for Lophostemon confertus.
- Take Your Cuttings: On a bright, hopefully not scorching hot, day, select healthy, semi-hardwood stems from your established Brush Box. Aim for stems that are about 4-6 inches long. Using your clean pruners, make a cut just below a leaf node. A leaf node is where a leaf attaches to the stem; this is where roots are most likely to form.
- Prepare the Cuttings: Gently remove the lower leaves from the cutting, leaving just the top few leaves. If the remaining leaves are quite large, you can cut them in half horizontally. This reduces water loss.
- Apply Rooting Hormone: Dip the cut end of the stem into your rooting hormone, coating about an inch of the bottom. Tap off any excess.
- Plant Your Cuttings: Fill your pots or trays with your sterile potting mix. Make a small hole in the center with a pencil or your finger. Insert the treated end of the cutting into the hole, pushing it down so the rooting hormone is not scraped off. Gently firm the soil around the base of the cutting. You can plant several cuttings in one pot, giving them a little space between each.
- Create Humidity: Water the soil gently until it’s moist but not soggy. Then, cover the pots loosely with a clear plastic bag, propped up with stakes so it doesn’t touch the leaves, or place them in a propagator. This creates a mini-greenhouse effect, which is vital for cuttings to form roots.
The “Secret Sauce” (Pro Tips)
Here are a few little tricks I’ve learned over the years that can really make a difference.
- Bottom Heat is Your Friend: If you can, place your pots on a heat mat designed for seedlings. This gentle warmth from below encourages root development much faster than ambient room temperature alone. Just think of it as giving your roots a cozy, warm bed to grow into.
- Don’t Let the Leaves Touch the Water: If you’re doing the plastic bag method, make absolutely sure the leaves aren’t resting in any condensation that collects at the bottom of the bag. This can lead to rot, and we want happy, healthy roots, not soggy foliage!
- A Light Tapping Test: Once you think your cuttings might be rooting (this can take several weeks to a couple of months), give a gentle tug. If you feel resistance, it’s a good sign roots are forming.
Aftercare & Troubleshooting
Once you feel that resistance and see new leaf growth, it’s a fantastic sign your cuttings have rooted! Gradually acclimate your new saplings to normal humidity levels by opening the plastic bag a little more each day over a week. Once they are robust and clearly growing, you can remove the bag entirely.
Keep the soil consistently moist but never waterlogged. Avoid direct, scorching sun for the first few weeks – bright, indirect light is best.
Now, what if things don’t go as planned? The most common issue is rot. If you see your cuttings turn black and mushy, it’s usually a sign of too much moisture and not enough air circulation, or potentially a fungal issue. Sometimes, simply adjusting your watering or ensuring better drainage can help. Don’t get discouraged if some don’t make it; it’s all part of the learning process!
A little patience goes a long way.
And there you have it! Propagating Lophostemon confertus is a rewarding journey. It might take some time, but the satisfaction of watching a new plant emerge from a simple stem cutting is truly special. So grab your shears, get your hands in the soil, and enjoy the process of creating new green life. Happy propagating!
Resource: