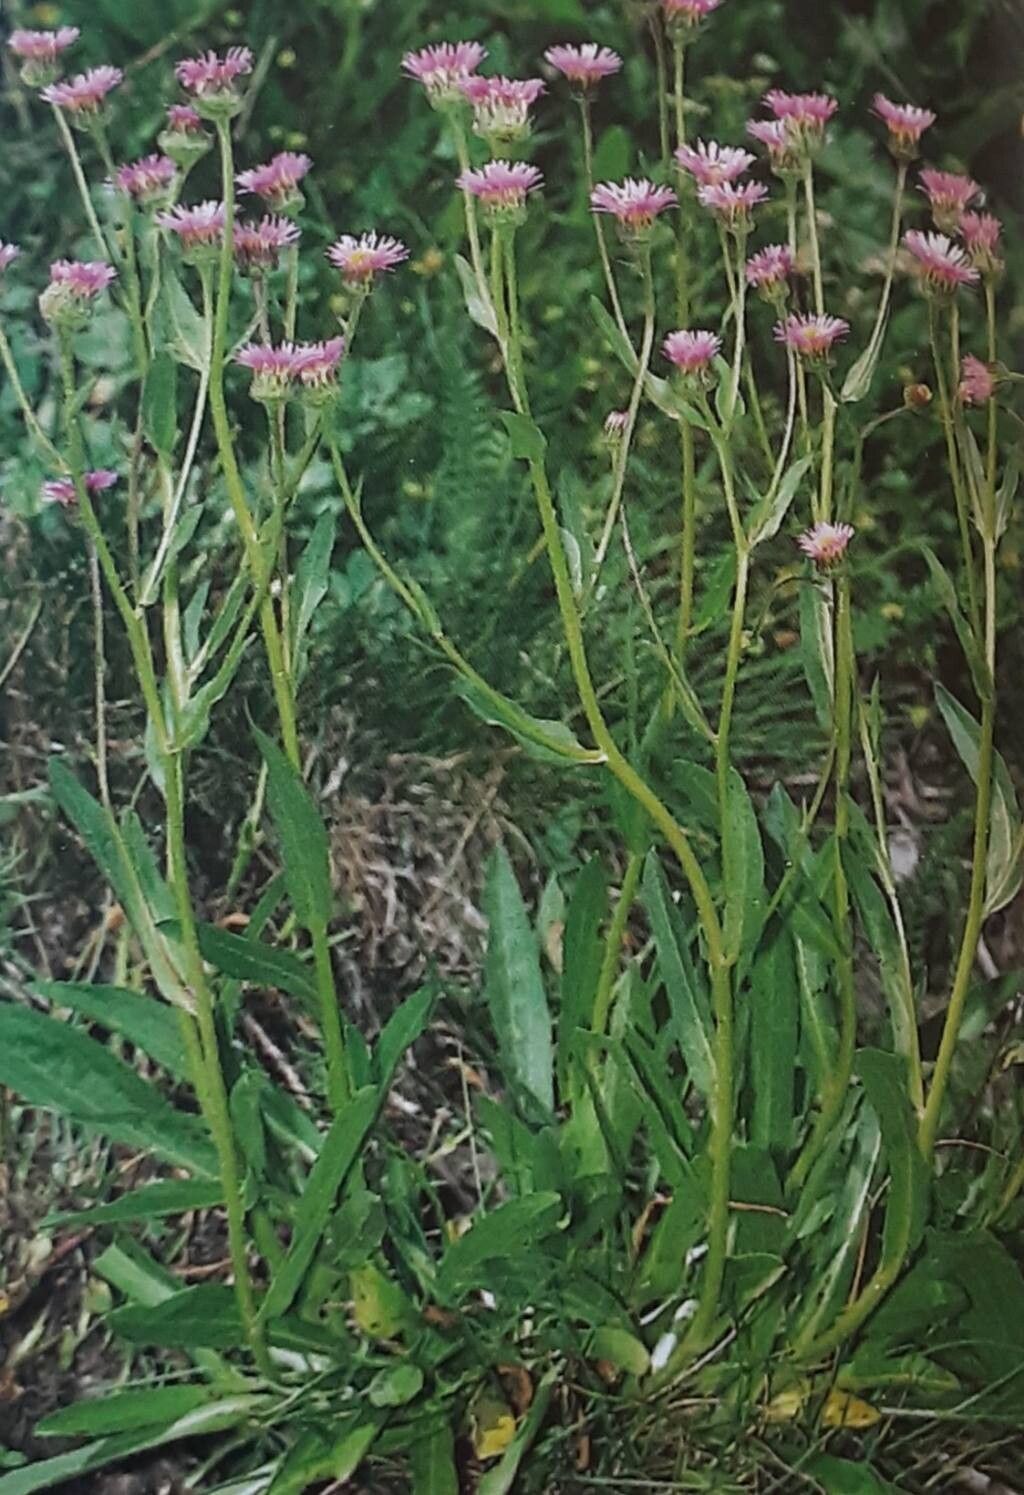
Oh, Erigeron atticus! Isn’t she a charmer? Those cheerful, daisy-like blooms in shades of lovely lavender and soft pink just have a way of brightening up any garden corner. And the best part? She’s quite eager to share herself with you. Propagating Erigeron atticus is a truly rewarding experience, and I’m so glad you’re interested in giving it a try. For beginners? I’d say she’s quite forgiving. You’ll likely have success on your first go, especially with a little guidance.
The Best Time to Start
The sweet spot for propagating Erigeron atticus is generally in the late spring or early summer. This is when the plant is actively growing and has plenty of energy to put into developing new roots. I find taking cuttings just before or as the plant enters its main flowering flush works wonderfully. You want healthy, non-flowering shoots for the best results.
Supplies You’ll Need
Gathering your supplies beforehand makes the whole process so much smoother. Here’s what I typically have on hand:
- Sharp pruning shears or a clean knife: For making precise cuts.
- Rooting hormone powder (optional but helpful): Especially if you’re taking stem cuttings.
- Well-draining potting mix: A good all-purpose potting soil mixed with perlite or coarse sand to improve drainage is perfect.
- Small pots or seed trays: Clean pots are essential to prevent disease.
- Plastic bag or propagator: To create a humid environment for cuttings.
- Watering can with a fine rose: For gentle watering.
Propagation Methods
There are a couple of ways to coax new Erigeron atticus plants into existence, but my absolute favorite for this lovely plant is through stem cuttings. It’s straightforward and gives excellent results.
Stem Cuttings:
- Look for healthy new growth: Select a vibrant, non-flowering stem that’s about 4-6 inches long. You’re aiming for softwood or semi-hardwood cuttings.
- Make a clean cut: Using your sharp shears or knife, make a clean cut just below a leaf node. This is where roots are most likely to form.
- Prepare the cutting: Gently remove the lower leaves from the stem, leaving just a few at the top. If the cutting is particularly long, you can even snip off the top set of leaves to reduce water loss.
- Apply rooting hormone (optional): Dip the cut end into your rooting hormone powder, tapping off any excess.
- Pot it up: Fill your small pots with your well-draining potting mix. Make a small hole with a pencil or your finger and gently insert the cutting, ensuring the leaf nodes are below the soil surface. Firm the soil gently around the stem.
- Water gently: Water the soil thoroughly but gently, so it’s moist but not waterlogged.
- Create humidity: Cover the pot with a clear plastic bag, or place it in a propagator. This helps maintain high humidity, which is crucial for cuttings to root. Make sure the plastic bag doesn’t touch the leaves.
- Find a bright spot: Place the potted cuttings in a bright location, but out of direct sunlight. A warm windowsill is usually ideal.
Division (for established plants):
If you have a more mature Erigeron atticus that’s looking a bit crowded, division is another simple option, usually done in early spring.
- Gently unearth the plant: Carefully dig up the entire clump.
- Separate the roots: You can usually pull the root ball apart with your hands, or you might need to use a garden fork or even a clean trowel to separate sections. Aim for divisions with plenty of roots and a few shoots.
- Replant: Replant the divisions in their new spots or into pots with fresh potting mix. Water them in well.
The “Secret Sauce” (Pro Tips)
Over the years, I’ve picked up a few little tricks that seem to make a difference for me:
- The “Leaf Drip” Test: When watering your cuttings, especially in a propagator, I always watch for condensation. If the condensation is dripping back onto the leaves, you might be overwatering slightly, and that can lead to rot. A good airing once a day can solve this.
- Bottom Heat is Your Friend: If you have a heating mat designed for propagation, using it beneath your pots can significantly speed up root formation, especially if your house tends to be a bit cooler. It mimics the warmth of spring soil.
- Don’t Rush the Move: Be patient! It can take several weeks for cuttings to develop a good root system. Resist the urge to tug on them to check. Instead, look for new leaf growth at the tips, which is a sure sign they’re happy and rooted.
Aftercare & Troubleshooting
Once your cuttings have successfully rooted – you’ll know this when you see new growth and perhaps feel a bit of resistance when you gently tug on the stem – it’s time for a little more attention.
- Gradually Acclimate: Slowly remove the plastic bag or open the propagator vents over a few days. This helps the new plants adjust to normal humidity levels.
- Watering: Continue to water them regularly, keeping the soil consistently moist but not soggy. Let the top inch of soil dry out slightly between waterings.
- Repotting: Once they are a decent size and have a solid root ball, you can gently pot them up into slightly larger containers with fresh potting mix.
- Signs of Failure: The most common issue is rot. If your cuttings turn mushy, black, or slimy, it’s usually a sign of too much moisture and not enough air circulation. Drooping leaves can also be a sign of dehydration or stress, but if they perk up after watering, they’re likely just thirsty. If they turn yellow and crispy, they might be getting too much direct sun.
A Encouraging Closing
Propagating plants is such a wonderful way to connect with nature and expand your garden without spending a fortune. Erigeron atticus is a fantastic plant to practice with, and I have no doubt you’ll have a wonderful time nurturing these new little lives. Remember to be patient, enjoy the process, and celebrate those tiny roots when they appear! Happy gardening!
Resource:
https://identify.plantnet.org/k-world-flora/species/Erigeron%20atticus%20Vill./data