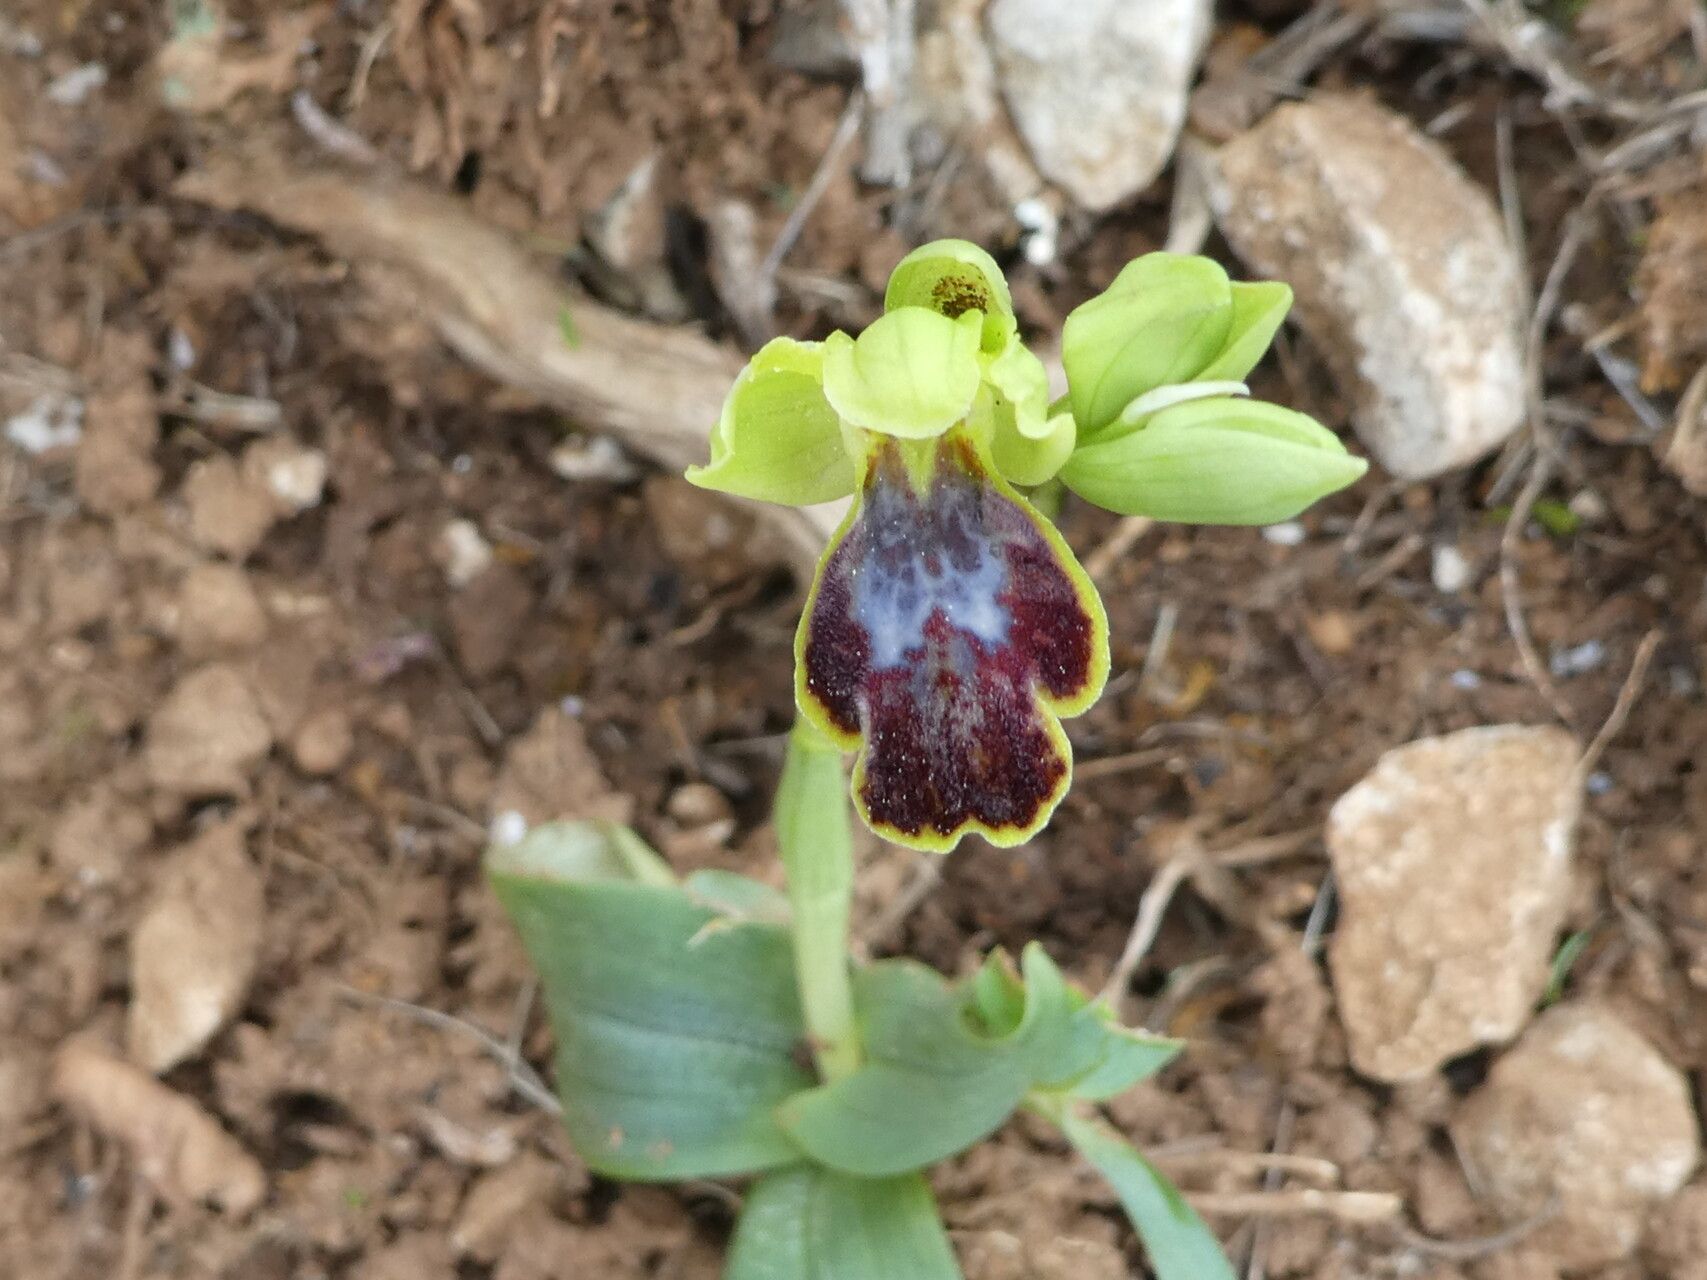
Hello fellow garden enthusiasts! It’s lovely to have you here. Today, we’re diving into the fascinating world of Ophrys fusca, commonly known as the widespread or tawny bee orchid. If you’ve ever seen one of these beauties in the wild or in a collection, you’ll know why they capture our hearts. Each bloom is a miniature marvel, designed to mimic a female bee, complete with fuzzy textures and intricate markings. It’s a true testament to nature’s artistry.
Propagating Ophrys fusca is a bit of an adventure, and I’ll be honest, it’s not the easiest plant for absolute beginners. It requires a little patience and a gentle hand. But oh, the reward when you see your own little bee orchid thriving! It’s a victory that tastes all the sweeter for the effort.
The Best Time to Start
Timing is everything with these orchids, just like with most living things. You’ll have the best luck dividing your Ophrys fusca during its dormant period. For most varieties, this means late summer to early autumn, after the flowering has finished and the plant has had a chance to rest. You’ll notice the foliage might be starting to yellow or die back a bit. This is your signal that it’s time to get your hands dirty.
Supplies You’ll Need
Gathering your tools beforehand makes the whole process so much smoother. Here’s what you’ll want to have on hand:
- Sharp, sterilized pruning shears or a keen knife: To make clean cuts.
- Rooting hormone powder (optional, but can be helpful): A gentle nudge for new roots.
- A well-draining potting mix: I like to use a mix specifically for orchids, often a blend of bark, perlite, and a bit of coco coir. You want something airy that won’t hold too much moisture.
- Small pots or trays: For your new divisions.
- Labels and a waterproof marker: To keep track of what’s what!
- A spray bottle: For gentle misting.
Propagation Methods: Division is Key!
For Ophrys fusca, the most reliable method is division. These orchids grow from small, tuber-like structures. When they’re happy, they’ll multiply!
- Gently remove the parent plant from its pot. Turn it on its side and carefully slide the plant out. If it’s stuck, a few gentle taps around the pot should loosen it.
- Clean off excess soil. You can do this by gently rinsing the root ball under a slow stream of water or by carefully brushing it away with your fingers. This will help you see the individual tubers clearly.
- Locate the divisions. Look for where new tubers have formed and are attached to the main plant. You’ll often see little nubs or offsets.
- Carefully separate the divisions. Using your sterilized shears or knife, make a clean cut to separate a healthy-looking tuber or a small clump of tubers from the mother plant. Make sure each division has at least one, or ideally two, healthy-looking “eyes” or growing points.
- Trim any damaged roots or leaves. This encourages the plant to focus its energy on forming new roots.
- Dust the cut surfaces with rooting hormone (if using). Just a light dusting is all that’s needed. Let it sit for a few minutes to dry slightly.
- Pot up the divisions. Plant each division in its own small pot, using your well-draining orchid mix. Ensure the tubers are just covered with the mix, and that the growing point is facing upwards. Don’t plant them too deep.
The “Secret Sauce” (Pro Tips)
Here are a few little tricks that have served me well over the years:
- Don’t overwater after division. This is probably the most critical point. The tubers are dormant and prone to rot if kept too wet. I like to mist the surface of the soil lightly every few days, just enough to keep it from becoming bone dry.
- Provide a bit of warmth. While not strictly essential for all Ophrys, a gently warmed propagator or placing the pots on a heat mat set to a low temperature (around 20-22°C or 70-72°F) can really encourage root development. Think of it as giving them a cozy start.
- Give them space to breathe. When potting, don’t pack the soil too tightly. Ophrys love good air circulation around their roots, which helps prevent fungal issues.
Aftercare & Troubleshooting
Once your divisions are potted, place them in a location with bright, indirect light. Avoid direct sun, which can scorch delicate new growth. Continue with your light misting and resist the urge to water heavily.
You’ll know your division is happy when you start to see new leaf growth emerging. This usually takes several weeks, sometimes even a couple of months, so patience is key!
The most common sign of trouble is rot. If you see a tuber turning mushy, dark, or smelling funky, it’s usually a sign of too much moisture combined with poor air circulation. Unfortunately, once rot sets in, it’s very difficult to save the division. It’s better to discard it and learn from the experience. Sometimes, a division just doesn’t take; it’s part of the gardening journey.
A Encouraging Closing
So there you have it – a little peek into the world of propagating Ophrys fusca. It might feel a bit daunting at first, but with a bit of care and a lot of patience, you can successfully multiply these enchanting orchids. Enjoy the process, learn from each step, and celebrate every tiny bit of new growth. Happy gardening!
Resource:
https://identify.plantnet.org/k-world-flora/species/Ophrys%20fusca%20Link/data