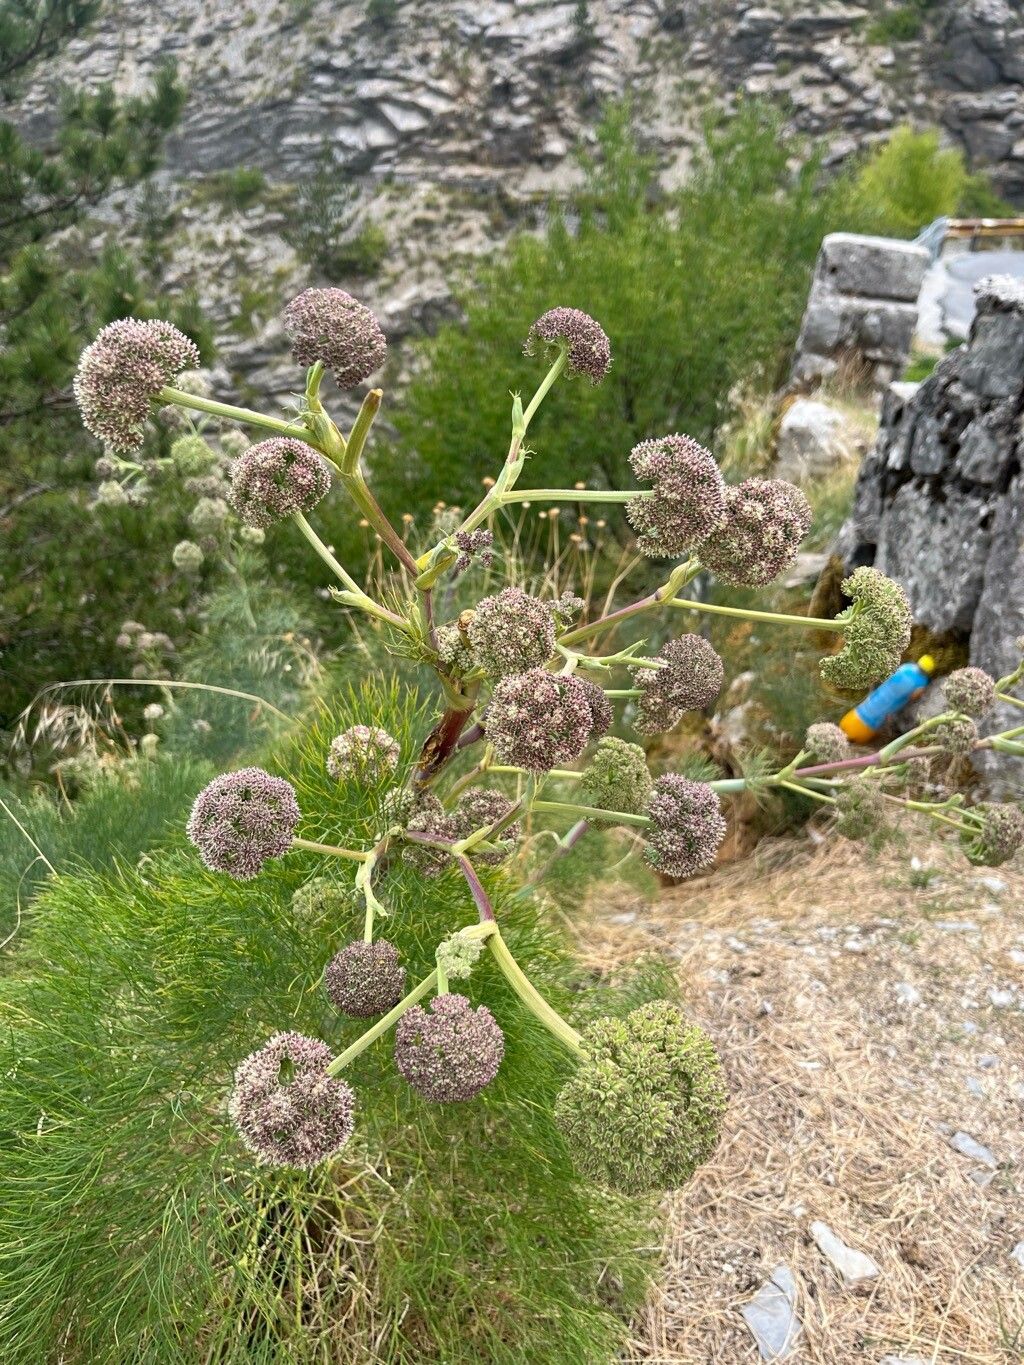
Hey there, fellow garden enthusiasts! I’m so excited to dive into one of my favorite, often overlooked beauties with you today: Seseli globiferum, also known as the Ivory Salt Tree, or sometimes just the “globe-flower SESELI.” If you’re drawn to plants with a delicate, airy charm, this one’s a winner. Its clusters of tiny, white star-like flowers atop gracefully arching stems are simply divine, adding a touch of ethereal magic to any border or cutting garden.
Now, about propagating it – I’d say Seseli globiferum falls into the moderately easy category. It’s not quite as straightforward as a geranium cutting, but with a little attention to detail and the right timing, you’ll be rewarded with plenty of new plants to share or fill in those bare spots. It’s a truly satisfying plant to multiply!
The Best Time to Start
For the highest success rate with Seseli globiferum, I always recommend early spring. This is when the plant is just coming out of its winter rest and has that fresh, vigorous growth that’s perfect for taking cuttings. Aim for when you see new, leafy shoots emerging. If you miss that window, you might have some luck with softwood cuttings taken in early summer, but the spring window is definitely prime time.
Supplies You’ll Need
Before we get our hands dirty, let’s gather our tools. Having everything ready makes the process so much smoother:
- Sharp, clean pruning shears or a sharp knife: For making clean cuts.
- Rooting hormone (optional but recommended): A powder or gel that encourages root development.
- Well-draining potting mix: I like a blend of equal parts peat moss (or coco coir), perlite, and a little compost.
- Small pots or seed trays: With drainage holes, of course!
- Plastic bags or a propagator: To create a humid environment.
- Watering can with a fine rose: For gentle watering.
- Labels and a marker: To keep track of your cuttings.
Propagation Methods: Stem Cuttings
The most reliable way to propagate Seseli globiferum is by taking stem cuttings. Here’s how I do it:
- Select your parent plant: Choose a healthy, vigorous Seseli globiferum that’s free from pests or diseases.
- Take the cuttings: Using your clean shears or knife, take cuttings that are about 4-6 inches long from the current year’s growth. Look for stems that are firm but still a bit flexible – not woody, but not floppy either. Make your cut just below a leaf node. This is where roots are most likely to form.
- Prepare the cuttings: Gently remove the lower leaves, leaving only a few at the very top. This prevents them from rotting in the soil and reduces moisture loss. If you’re using rooting hormone, dip the cut end of each stem into the powder or gel, tapping off any excess.
- Plant the cuttings: Fill your small pots or trays with your prepared potting mix. Make a small hole in the center of the soil with your finger or a pencil. Insert the cut end of each Seseli globiferum cutting into the hole, ensuring at least one leaf node is buried beneath the surface. Gently firm the soil around the stem.
- Create humidity: Water the soil gently until it’s evenly moist. Then, cover the pots with a clear plastic bag or place them in a propagator. This is crucial for preventing the cuttings from drying out before they can root. Make sure the plastic doesn’t touch the leaves too much.
The “Secret Sauce” (Pro Tips)
Alright, time for a couple of my little insider tricks that really make a difference:
- Use bottom heat (if you can): Seseli globiferum cuttings love a bit of warmth from below. If you have a seedling heat mat, placing your pots on top of it can significantly speed up root formation. It gives them that extra boost they need to get going.
- Don’t let those leaves party in the water (if you try water propagation): While stem cuttings in soil are my go-to, some people have success in water. If you try this, and I recommend sticking to soil for Seseli globiferum, absolutely ensure no leaves are submerged. They will rot very quickly and can take your cutting down with them. The goal is for the cut end to be in water, not the foliage.
Aftercare & Troubleshooting
Once your cuttings are planted, find a bright spot with indirect light. Avoid direct, hot sun, as this can scorch the delicate cuttings. Keep the soil consistently moist but not waterlogged. You can check for moisture by gently poking your finger into the soil. If it feels dry about an inch down, it’s time to water lightly.
You’ll know your Seseli globiferum cuttings have rooted when you see new leaf growth emerging and you feel a slight resistance when you gently tug on the stem. This usually takes anywhere from 3 to 6 weeks, sometimes longer.
The most common problem you’ll encounter is rot. This is usually a sign of overwatering or inadequate drainage. If you see stems turning black and mushy, unfortunately, that cutting is likely lost. Prevention is key: ensure good air circulation, use well-draining soil, and don’t overwater. If you see any fungal issues on the leaves, try to increase ventilation if possible.
A Encouraging Closing
Propagating plants is a journey, and sometimes it doesn’t go perfectly the first time. Don’t get discouraged if you lose a few cuttings. Each attempt is a learning experience. Be patient with your little Seseli globiferum babies, give them the right conditions, and celebrate those tiny root hairs and new shoots as the triumphs they are. Happy gardening, and may your propagation endeavors be fruitful!
Resource:
https://identify.plantnet.org/k-world-flora/species/Seseli%20globiferum%20Vis./data