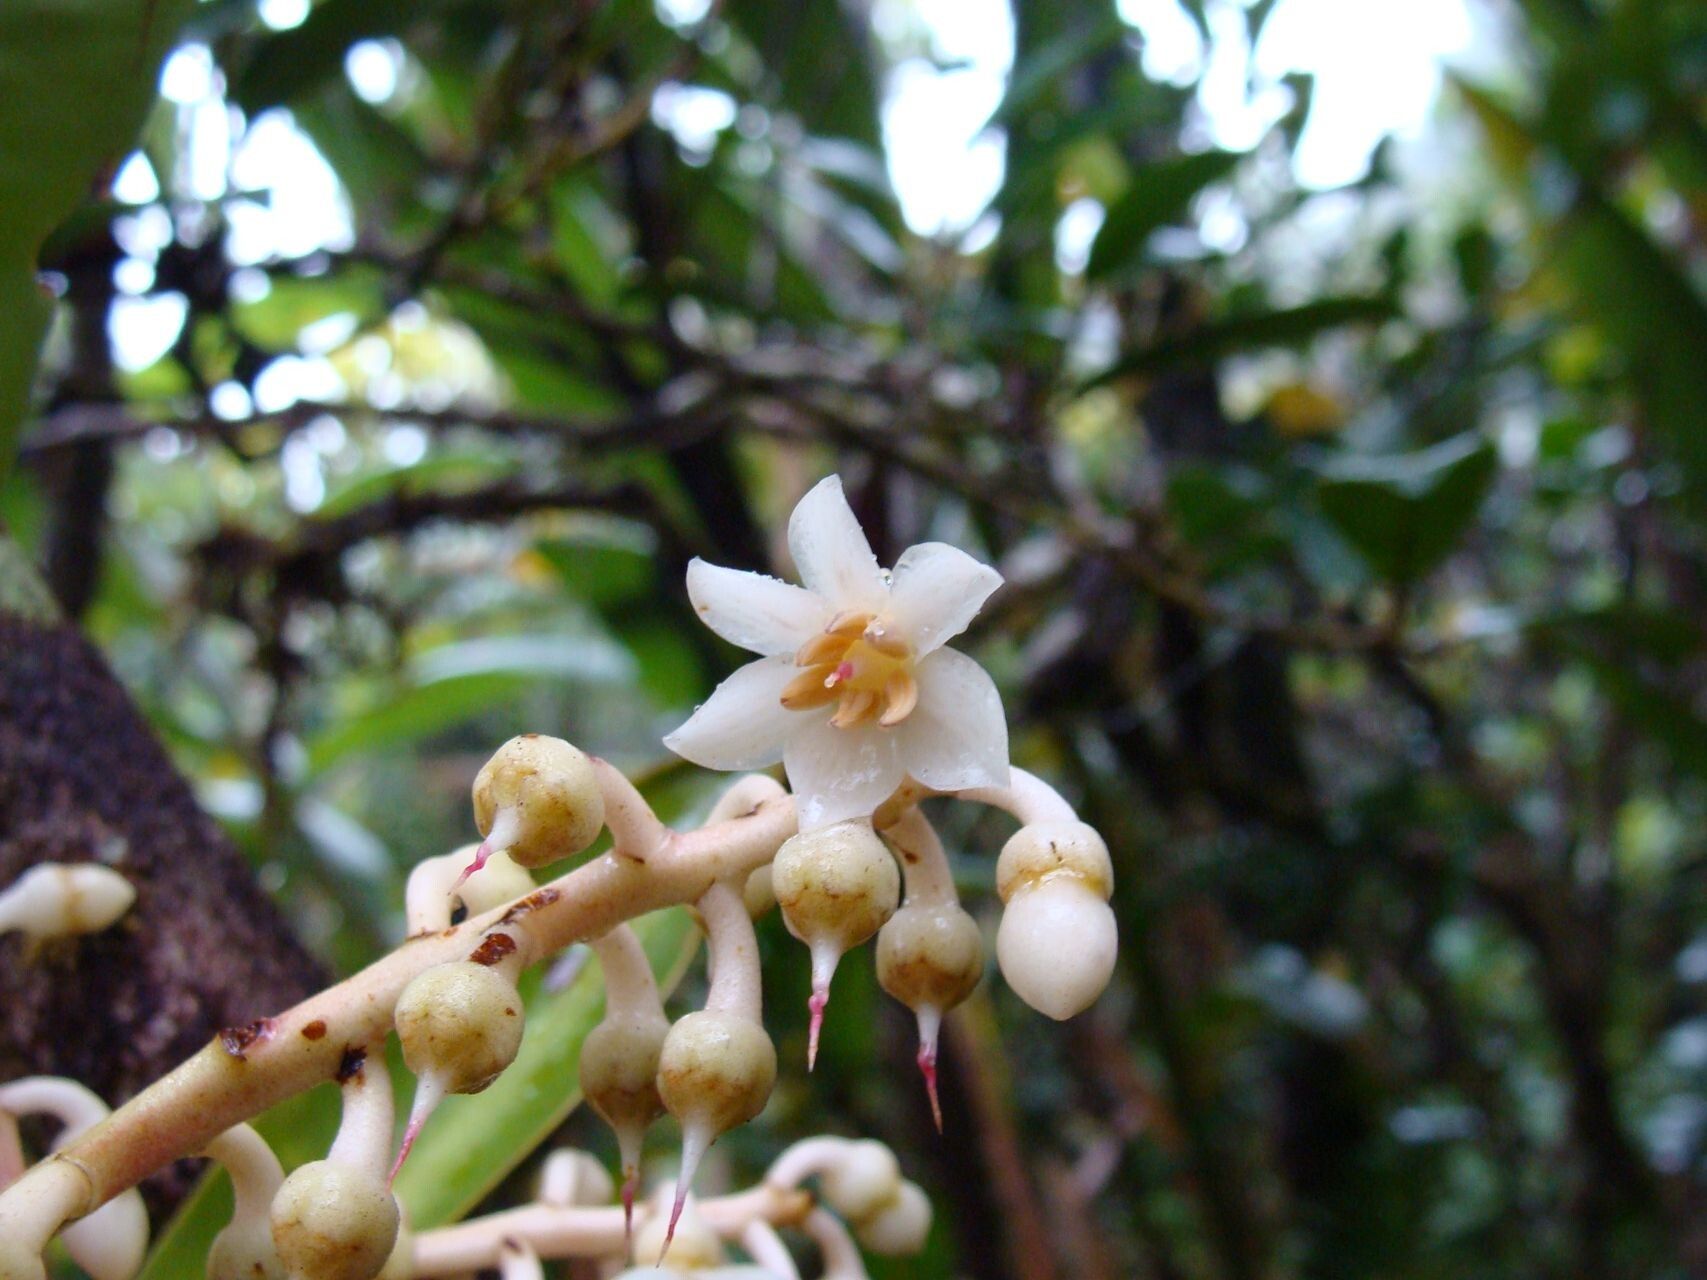
Hello, fellow plant pals! I’m thrilled to dive into a topic that’s close to my heart: propagating Tapeinosperma vieillardii. This gorgeous plant, with its delicate foliage and ethereal presence, is a real gem in any collection. There’s something incredibly satisfying about nurturing a new life from a tiny cutting. If you’re looking for a rewarding project, you’ve come to the right place. Now, is it beginner-friendly? I’d say it’s moderately easy. It requires a little patience and attention to detail, but the results are well worth it.
The Best Time to Start
For the highest success rate with Tapeinosperma vieillardii, I always aim for late spring or early summer. This is when the plant is actively growing and has the most energy to put into developing new roots. You’ll notice the plant pushing out new shoots, and that’s your golden ticket. Taking cuttings from healthy, vigorous growth is key.
Supplies You’ll Need
Here’s a quick rundown of what you’ll want to have on hand:
- Sharp pruning shears or a clean knife: For taking your cuttings cleanly.
- Rooting hormone (optional but recommended): I like to use a powder form. It gives the cuttings a little boost.
- Well-draining potting mix: A good quality mix of peat moss, perlite, and a bit of orchid bark works wonders. You want it to dry out a bit between waterings.
- Small pots or trays: Clean ones are important to prevent disease.
- Clear plastic bag or a propagation dome: To create a humid environment.
- Watering can with a fine rose: Gentle watering is essential.
Propagation Methods
I find stem cuttings to be the most reliable method for Tapeinosperma vieillardii. Here’s how I do it:
-
Take Your Cuttings: Look for healthy stems that are a few inches long. Using your clean shears, make a clean cut just below a leaf node. A leaf node is where a leaf attaches to the stem. This is where roots are most likely to form. Aim for cuttings with at least two or three leaf nodes.
-
Prepare the Cuttings: Gently remove the lower leaves from the cutting, leaving just a couple of leaves at the top. If the remaining leaves are quite large, I’ll often trim them in half. This reduces water loss from the leaves while the cutting is trying to establish roots.
-
Apply Rooting Hormone: Dip the cut end of the stem into your rooting hormone, tapping off any excess. This step is optional, but I find it really helps speed things along.
-
Plant Your Cuttings: Fill your small pots with your well-draining potting mix. Make a small hole in the center of the soil with your finger or a pencil. Gently insert the cut end of the Tapeinosperma cutting into the hole, making sure the leaf nodes are buried in the soil. Firm the soil around the stem.
-
Create a Humid Environment: Water the soil thoroughly but gently, allowing excess water to drain away. Then, cover the pot with a clear plastic bag, securing it with a rubber band, or place it under a propagation dome. This will create a mini-greenhouse effect, keeping humidity high.
-
Find the Right Spot: Place the potted cuttings in a bright location that receives indirect sunlight. Avoid direct sun, as this can scorch the delicate cuttings.
The “Secret Sauce” (Pro Tips)
Here are a couple of tricks I’ve picked up over the years that really make a difference:
-
Bottom Heat is Your Friend: Tapeinosperma vieillardii loves a bit of warmth at its base. If you can, place your pots on a heat mat designed for seedlings. This encourages root development from below and significantly boosts your success rate. Keep the heat mat on for at least 8 hours a day.
-
Don’t Drown Them: While humidity is crucial, don’t let the soil get waterlogged. Overwatering is the fastest way to a rotting cutting. The soil should be consistently moist, but not soggy. A good rule of thumb is to check the soil moisture every few days. If the top inch feels dry, it’s time for a gentle watering.
Aftercare & Troubleshooting
Once your cuttings have developed a good root system – you’ll know because you’ll see new growth appearing and they’ll resist a gentle tug – it’s time to give them a little more attention. You can gradually acclimatize them to less humidity by opening the plastic bag or dome for a few hours each day before removing it entirely. Continue to water them when the top inch of soil feels dry.
Troubleshooting? The most common issue is rot. If you see your cutting becoming mushy or blackening at the base, it’s usually a sign of too much moisture. Nip the rot in the bud by removing the affected cutting immediately and ensuring your soil is well-draining. Sometimes, a cutting just doesn’t take, and that’s okay! Don’t get discouraged.
Keep Growing!
Propagating plants is a journey, and with Tapeinosperma vieillardii, it’s a particularly beautiful one. Be patient with your new little ones. Watching them establish themselves and grow into their own beautiful plants is one of gardening’s greatest joys. Happy propagating!
Resource:
https://identify.plantnet.org/k-world-flora/species/Tapeinosperma%20vieillardii%20Hook.f./data