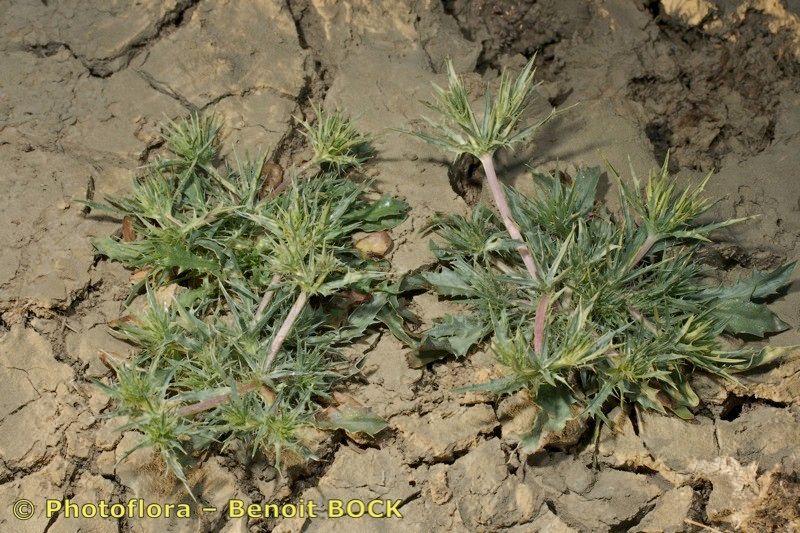
Welcome Home Your Own Sea Holly: A Guide to Propagating Eryngium galioides
Oh, Eryngium galioides! If you’re drawn to those exquisite, spiky blue blooms that look like little thistles from the sea, then you understand its charm. I’ve been growing these beauties for two decades now, and let me tell you, sharing their prickly magic by propagating them yourself is incredibly satisfying. Think of it as spreading the joy, one gorgeous bloom at a time. Now, is it a beginner-friendly plant to propagate? Honestly, it can be a little fussy, but with a few pointers, you’ll be well on your way. Don’t let that deter you; the rewards are absolutely worth a bit of extra care.
When to Get Growing: The Sweet Spot for Propagation
For the best chance of success with Eryngium galioides, I find late spring to early summer is absolutely prime time. This is when the plant is actively growing after its spring awakening. You want to catch it at this vigorous stage. Alternatively, you can try propagating in early autumn, but the success rate might be slightly lower as the plant begins to wind down for winter. Wait for new, healthy growth. This is key!
Your Propagation Toolkit: What You’ll Need
Before we dive in, let’s gather our supplies. Having everything ready will make the process so much smoother:
- Sharp Pruning Shears or a Craft Knife: Cleanliness is crucial here to prevent disease.
- Propagating Pots or Trays: Small pots are perfect, or you can use seedling trays with individual cells.
- A Good Quality Potting Mix: I prefer a well-draining mix. A blend of 50% compost and 50% perlite or coarse sand works wonders. You can also find specialized seed-starting or cutting mixes.
- Rooting Hormone (Optional but Recommended): This can give your cuttings a real boost. Look for one specifically for soft or semi-hardwood cuttings.
- A Watering Can with a Fine Rose or a Spray Bottle: Gentle watering is a must.
- Plastic Bags or a Propagator Lid: To create a humid environment.
- A Heat Mat (Optional but helpful): Especially if your propagating area is on the cooler side.
Bringing New Life: Propagation Methods for Eryngium galioides
I’ve found the most reliable method for Eryngium galioides is stem cuttings. Here’s how I do it:
-
Take Your Cuttings: On a bright, dry morning, select healthy stems from your mature plant. Look for stems that are not flowering or just beginning to bud. Using your sharp shears, make a clean cut just below a leaf node (where a leaf attaches to the stem). You want cuttings that are about 4-6 inches long. Remove any lower leaves, leaving just two or three at the top. This prevents them from rotting in the soil.
-
Prepare the Cuttings: If you’re using rooting hormone, dip the cut end of the stem into the powder, tapping off any excess.
-
Plant Your Cuttings: Fill your pots or trays with your well-draining potting mix. Make a small hole in the center of the mix with your finger or a pencil. Gently insert the cut end of your Eryngium cutting into the hole. Firm the soil around the stem to ensure good contact.
-
Mist and Cover: Lightly mist the soil surface and the cuttings. Then, cover the pots loosely with a clear plastic bag or place them inside a propagator with a lid. This creates a humid microclimate essential for root development.
-
Provide the Right Conditions: Place your pots in a bright location, but out of direct, scorching sunlight. A bit of gentle warmth from a heat mat underneath can really speed things up, but it’s not strictly necessary if your room is naturally warm.
My “Secret Sauce”: Insider Tips for Success
After years of coaxing these beauties, I’ve picked up a few tricks that make a real difference.
- The “Don’t Touch the Water” Rule: If you opt for water propagation (which is trickier with Eryngiums, but some try), make absolutely sure no leaves are submerged. Any part of the stem below the water line is prone to rot. I generally stick to soil propagation for these plants.
- Bottom Heat is Your Friend: When I first started, I struggled with slow rooting. Then I discovered the magic of bottom heat. A gentle warmth from below (around 65-70°F or 18-21°C) signals to the plant that it’s time to grow roots, significantly improving success rates, especially in cooler seasons.
Nurturing Your New Sprouts: Aftercare and Troubleshooting
Once your cuttings have been planted, patience is your biggest virtue.
- Keep it Humid: Check the humidity regularly. If the plastic bag looks dry, give everything a light mist.
- Water Sparingly: Your cuttings don’t need much water at this stage. Let the top inch of soil dry out slightly between waterings. Overwatering is the fastest way to invite rot, which is the most common sign of failure. You’ll see the cutting turn mushy and brown, or perhaps develop fuzzy white mold on the soil surface.
- Look for Roots: After several weeks (it can take anywhere from 4-10 weeks, sometimes longer!), gently tug on a cutting. If there’s resistance, you’ve got roots! You can also sometimes see tiny roots peeking out of the drainage holes.
- Transplanting: Once a good root system has formed, you can carefully transplant your new Eryngium galioides into slightly larger pots with fresh, well-draining soil. Keep them in a bright spot and continue to water them gently, gradually acclimatizing them to typical outdoor conditions.
Go Forth and Propagate!
Propagating Eryngium galioides definitely requires a little finesse, but don’t let that discourage you. Think of each cutting as a promise of future blooms, a tangible piece of your garden’s beauty that you’ve helped create. Be patient with the process, observe your little plants, and celebrate every tiny success. Happy propagating, my friends!
Resource:
https://identify.plantnet.org/k-world-flora/species/Eryngium%20galioides%20Lam./data