Oh, hello there! Come on in, grab a seat. It’s so lovely to talk plants with you today. I’ve been thinking about ways to expand your garden without breaking the bank, and one plant that’s been whispering sweet nothings to my gardening soul is Ochrosia inventorum.
Why You’ll Love Propagating Ochrosia inventorum
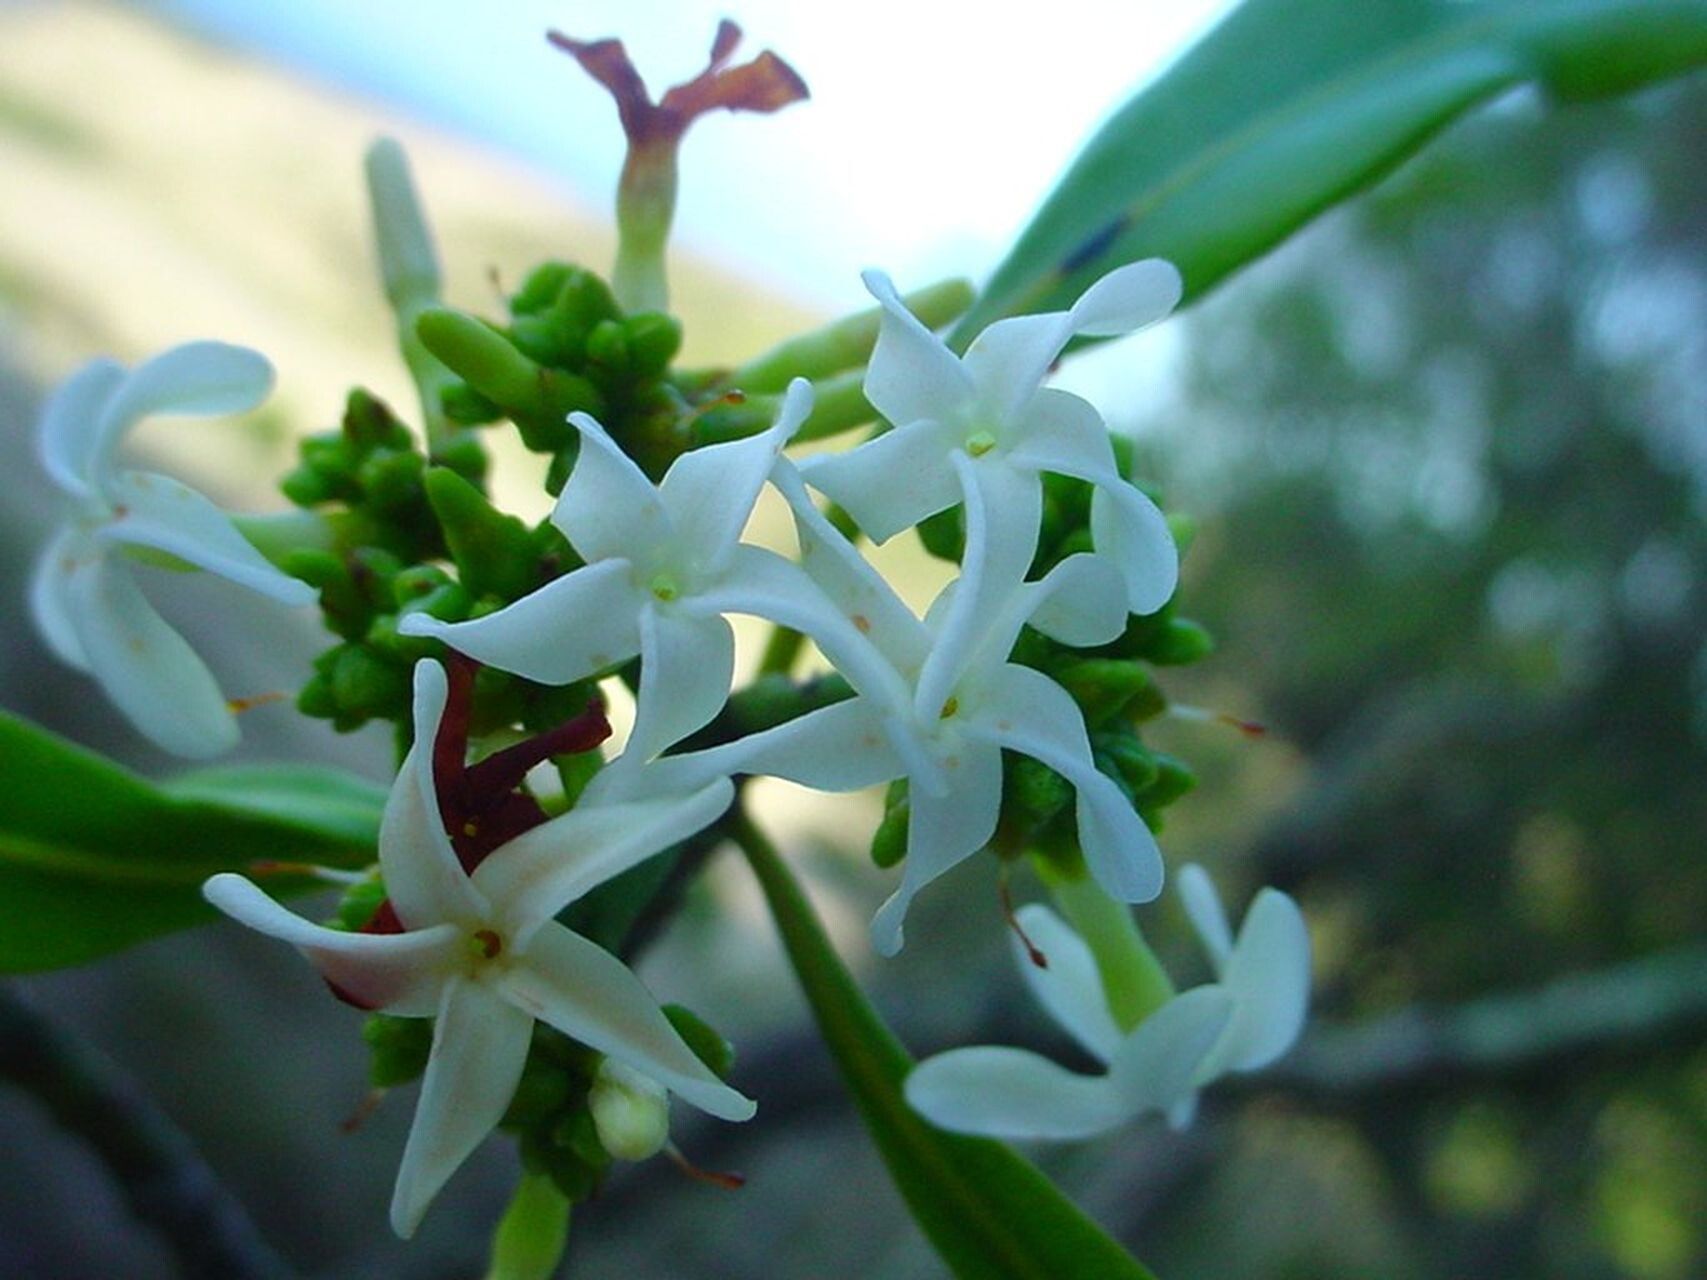
This beauty, with its striking foliage and often delicate, yet captivating blooms, is a real showstopper. What I adore most is its resilience once established, and there’s a special kind of joy in nurturing a brand new plant from a tiny snippet of its parent. While not quite a “stick it in the ground and walk away” kind of plant, Ochrosia inventorum is definitely within reach for most gardeners looking to try their hand at propagation. It’s a rewarding project that connects you even more deeply to your plant collection.
The Sweet Spot for Starting
Timing is everything, isn’t it? For Ochrosia inventorum, your best bet is to take cuttings in late spring or early summer. This is when the plant is in its peak growth phase. You’ll be working with energy-filled stems that are much more eager to root. Think of it like harvesting ripe fruit – the plant is just brimming with life and ready to share it.
Gearing Up for Success
Before we dive in, let’s make sure you’ve got your tools ready. A well-prepared workspace makes all the difference.
- Sharp, clean pruning shears or a sharp knife: A clean cut is crucial to prevent disease.
- Well-draining potting mix: I like a blend of peat moss, perlite, and a bit of coco coir. Anything that doesn’t hold too much water.
- Small pots or seedling trays: Clean ones, please!
- Rooting hormone powder or gel (optional but recommended): This can give your cuttings that extra boost.
- Plastic bag or clear dome: To create a humid environment.
- Spray bottle with water: For misting.
Letting New Life Bloom: Propagation Methods
For Ochrosia inventorum, stem cuttings are certainly the most reliable and straightforward method I’ve found.
Stem Cuttings
- Select a healthy stem: Look for a stem that’s about 4-6 inches long and has at least a couple of sets of leaves. You want a semi-hardwood cutting, something that bends a bit but doesn’t snap easily.
- Make the cut: Using your clean shears, make a clean cut just below a leaf node. This is the little bump where a leaf attaches to the stem – it’s where the magic happens for rooting.
- Prepare the cutting: Carefully remove the lower leaves, leaving just a few at the top. This prevents them from rotting in the soil. If the leaves are large, you can even cut them in half horizontally to reduce water loss.
- Apply rooting hormone (if using): Dip the cut end into your rooting hormone, tapping off any excess.
- Plant your cutting: Gently insert the calloused end into your prepared, moistened potting mix. Make a small hole with your finger or a pencil first to avoid rubbing off the hormone.
- Create humidity: Lightly water the soil and then cover the pot with a plastic bag or place it under a clear dome. Ensure the leaves don’t touch the plastic. Prop up the bag with a stick or two if needed.
- Find a bright spot: Place your cutting in a location that receives bright, indirect light. Avoid direct sun, which can scorch the tender leaves and dry out the soil too quickly.
My “Secret Sauce” for Extra Oomph
I’ve learned a few tricks over the years that can really make a difference.
- Bottom Heat is Your Friend: If you can, place your pots on a seedling heat mat. This gentle warmth encourages root development from below, much like how nature intended. It’s a game-changer, especially if your home is a bit on the cooler side.
- Don’t Drench, Mist: After the initial watering, resist the urge to soak the soil every day. Instead, lightly mist the leaves and soil surface with your spray bottle every couple of days, or whenever the surface starts to feel dry. You want the soil to be consistently moist, not waterlogged.
- Patience, Young Padawan: Honestly, this is the BIGGEST secret. Some of my most successful propagations took weeks, even a couple of months, to show significant root growth. Don’t give up too soon! A gentle tug on the cutting is your best indicator. If there’s resistance, roots are forming.
Nurturing Your New Sprouts & What to Watch For
Once you start to see new leaf growth or feel resistance when gently tugging on the cutting, you know your Ochrosia inventorum has rooted! Congratulations!
Now, it’s time for a gradual transition. Slowly acclimate it to lower humidity by opening the plastic bag or dome for longer periods each day. Once it seems happy out of its humid bubble, you can plant it into its own individual pot with fresh potting mix. Continue to water when the top inch of soil feels dry.
The most common issue you might encounter is rot. If your cutting turns mushy or slimy, it’s a sign of too much moisture. Unfortunately, this is often hard to recover from. This is why well-draining soil and careful watering are so important. If you see fungal gnats, it also indicates the soil is staying too wet, too often.
Keep Growing!
So there you have it! Propagating Ochrosia inventorum is a wonderful way to share this beautiful plant or simply build your own collection. Don’t be discouraged if your first attempt isn’t perfect. Every plant is a learning opportunity, and the connection you build with it through this process is truly special. Be patient, observe your cutting, and enjoy the slow, magical unfolding of new life. Happy gardening!
Resource:
https://identify.plantnet.org/k-world-flora/species/Ochrosia%20inventorum%20L.Allorge/data