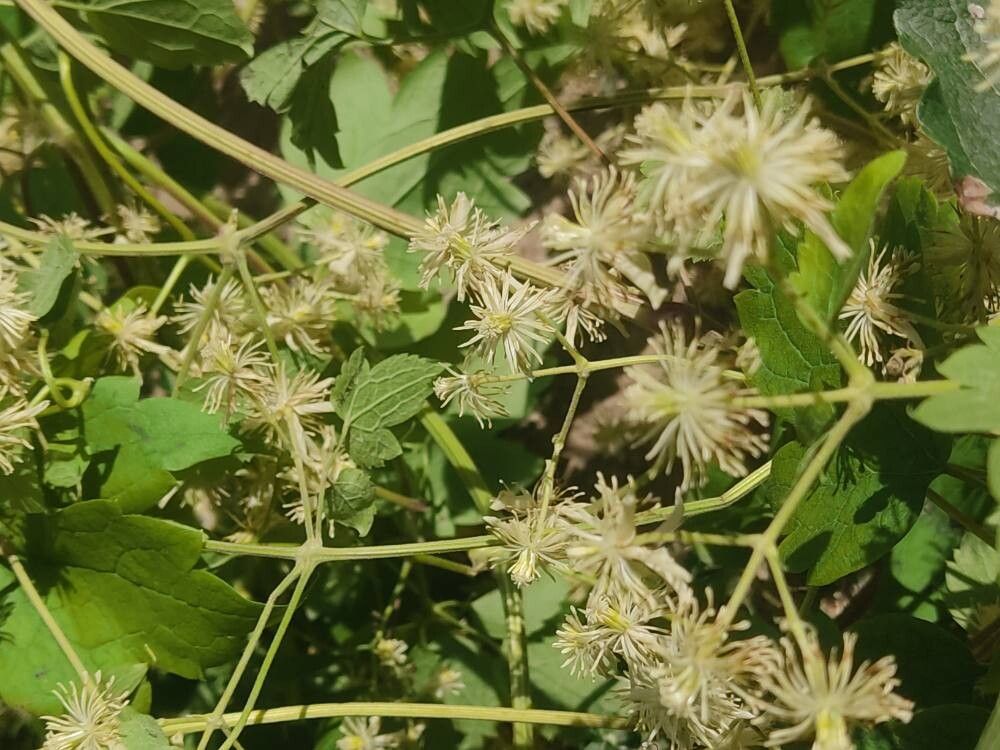
Oh, Clematis grata! If you’ve ever seen one of these beauties climbing gracefully over a trellis, its delicate, star-shaped flowers catching the sunlight, you know exactly why they’re such a treasure to have in the garden. They bring a certain elegance, a whisper of romance, don’t they? And the joy of nurturing your own Clematis grata from a tiny cutting or division? Well, that’s a satisfaction that’s hard to beat.
Now, I won’t lie to you. Clematis can sometimes have a bit of a reputation for being…particular. But with Clematis grata, I’ve found it to be a truly rewarding plant to propagate. While some of the fussier Clematis varieties can be challenging for absolute beginners, I think you’ll find grata to be quite agreeable. We’ll get you set up for success!
The Best Time to Start
For the highest success rate with Clematis grata, I always aim for the early to mid-summer. This is when the plant is actively growing, and the stems are semi-hardened. Think of it as taking cuttings from a stem that’s done flowering but still has plenty of life in it. This gives the cuttings the best chance to root before the cooler weather sets in.
Supplies You’ll Need
Gathering your supplies beforehand makes the whole process so much smoother. Here’s what I typically have on hand:
- Sharp Pruning Shears or a Craft Knife: Clean cuts are crucial.
- Rooting Hormone: This is a powdery or gel substance that helps encourage root development.
- Well-Draining Potting Mix: A good blend of peat moss, perlite, and a little bit of sand works wonderfully. Avoid heavy garden soil.
- Small Pots or Trays: About 4-inch pots are usually perfect for cuttings.
- Clear Plastic Bags or a Propagator: To create a humid environment.
- Watering Can with a Fine Rose: For gentle watering.
- Labels and a Marker: So you don’t forget what you planted where!
Propagation Methods
Clematis grata lends itself beautifully to a couple of straightforward propagation methods.
Stem Cuttings
This is my go-to for increasing my stock of Clematis grata.
- Take Your Cuttings: On a mild day, select a healthy, non-flowering stem that is about pencil-thick. Make your cut just below a leaf node (where a leaf attaches to the stem). You want your cuttings to be around 4-6 inches long.
- Prepare the Cuttings: Gently remove the leaves from the bottom half of the cutting. You can leave one or two leaves at the top to help with photosynthesis. If the remaining leaves are very large, I sometimes snip them in half to reduce water loss.
- Apply Rooting Hormone: Dip the cut end of the stem into your rooting hormone, tapping off any excess.
- Plant the Cuttings: Fill your small pots with your well-draining potting mix. Make a hole in the center with a pencil or your finger and insert the cutting, ensuring the rooting hormone-coated end is in the soil. Gently firm the soil around it.
- Water and Cover: Water the soil gently until it’s moist but not waterlogged. Then, place a clear plastic bag over the pot, securing it around the rim with a rubber band, or place the pot inside a propagator. This creates the humid microclimate the cuttings need.
Division (for established plants)
If you have a mature Clematis grata that’s looking a bit crowded or just too big, dividing it is a great option.
- Dig Carefully: In early spring, before new growth really takes off, or in early autumn, carefully dig around the base of the established plant. Try to get as much of the root ball as possible.
- Separate the Roots: Gently tease apart the root ball. You might need a clean spade or even your hands to separate clumps. The goal is to create sections, each with healthy roots and some top growth. Don’t worry about damaging a few roots; the plant is surprisingly resilient.
- Replant Immediately: Prepare the new planting spots, amending the soil if needed. Plant the separated divisions as you would a new plant, ensuring the crown (where the roots meet the stems) is at the same level it was originally. Water them in well.
The “Secret Sauce” (Pro Tips)
Here are a few little tricks I’ve picked up over the years that make a difference:
- Don’t Let Leaves Touch Excess Water: When using water propagation (though less common for Clematis grata, it can work for very keen gardeners!), ensure the leaves of your cutting are not submerged. They’ll rot quickly. Only the stem should be in the water.
- Bottom Heat is Your Friend: If you can, place your pots on a heated propagator mat. This gentle warmth from below encourages the roots to start forming much faster in cuttings. It’s like giving them a warm hug to get them going!
- Keep Them Out of Direct Sun: Once your cuttings are potted and covered, place them in a bright spot, but avoid direct, scorching sunlight. Too much sun will cook them through the plastic bag and dry them out. A bright windowsill out of direct sun is ideal.
Aftercare & Troubleshooting
Once you see tiny white roots emerging from the drainage holes of your pots, or a new shoot appearing on a divided plant, you know you’ve succeeded!
For cuttings, it’s time to gradually acclimate them to normal humidity. Start by opening the plastic bag for a few hours each day, then remove it completely. Once they’ve established themselves and are showing good top growth, you can pot them up into slightly larger containers. Keep them well-watered and in a bright, protected spot.
Common signs of failure? Wilting can often mean it’s too dry, but if the stems turn mushy and brown, that’s usually a sign of rot. This often happens if the soil is too wet or the environment is too cool and damp without enough air circulation. Don’t be discouraged if a few don’t make it; it’s part of the learning process!
A Little Patience Goes a Long Way
Growing your own plants is such a rewarding journey. Be patient with your Clematis grata cuttings. Some will root faster than others. Enjoy the process of watching them develop, and soon you’ll have beautiful new plants to share or to transform your own garden space. Happy gardening!
Resource:
https://identify.plantnet.org/k-world-flora/species/Clematis%20grata%20Wall./data