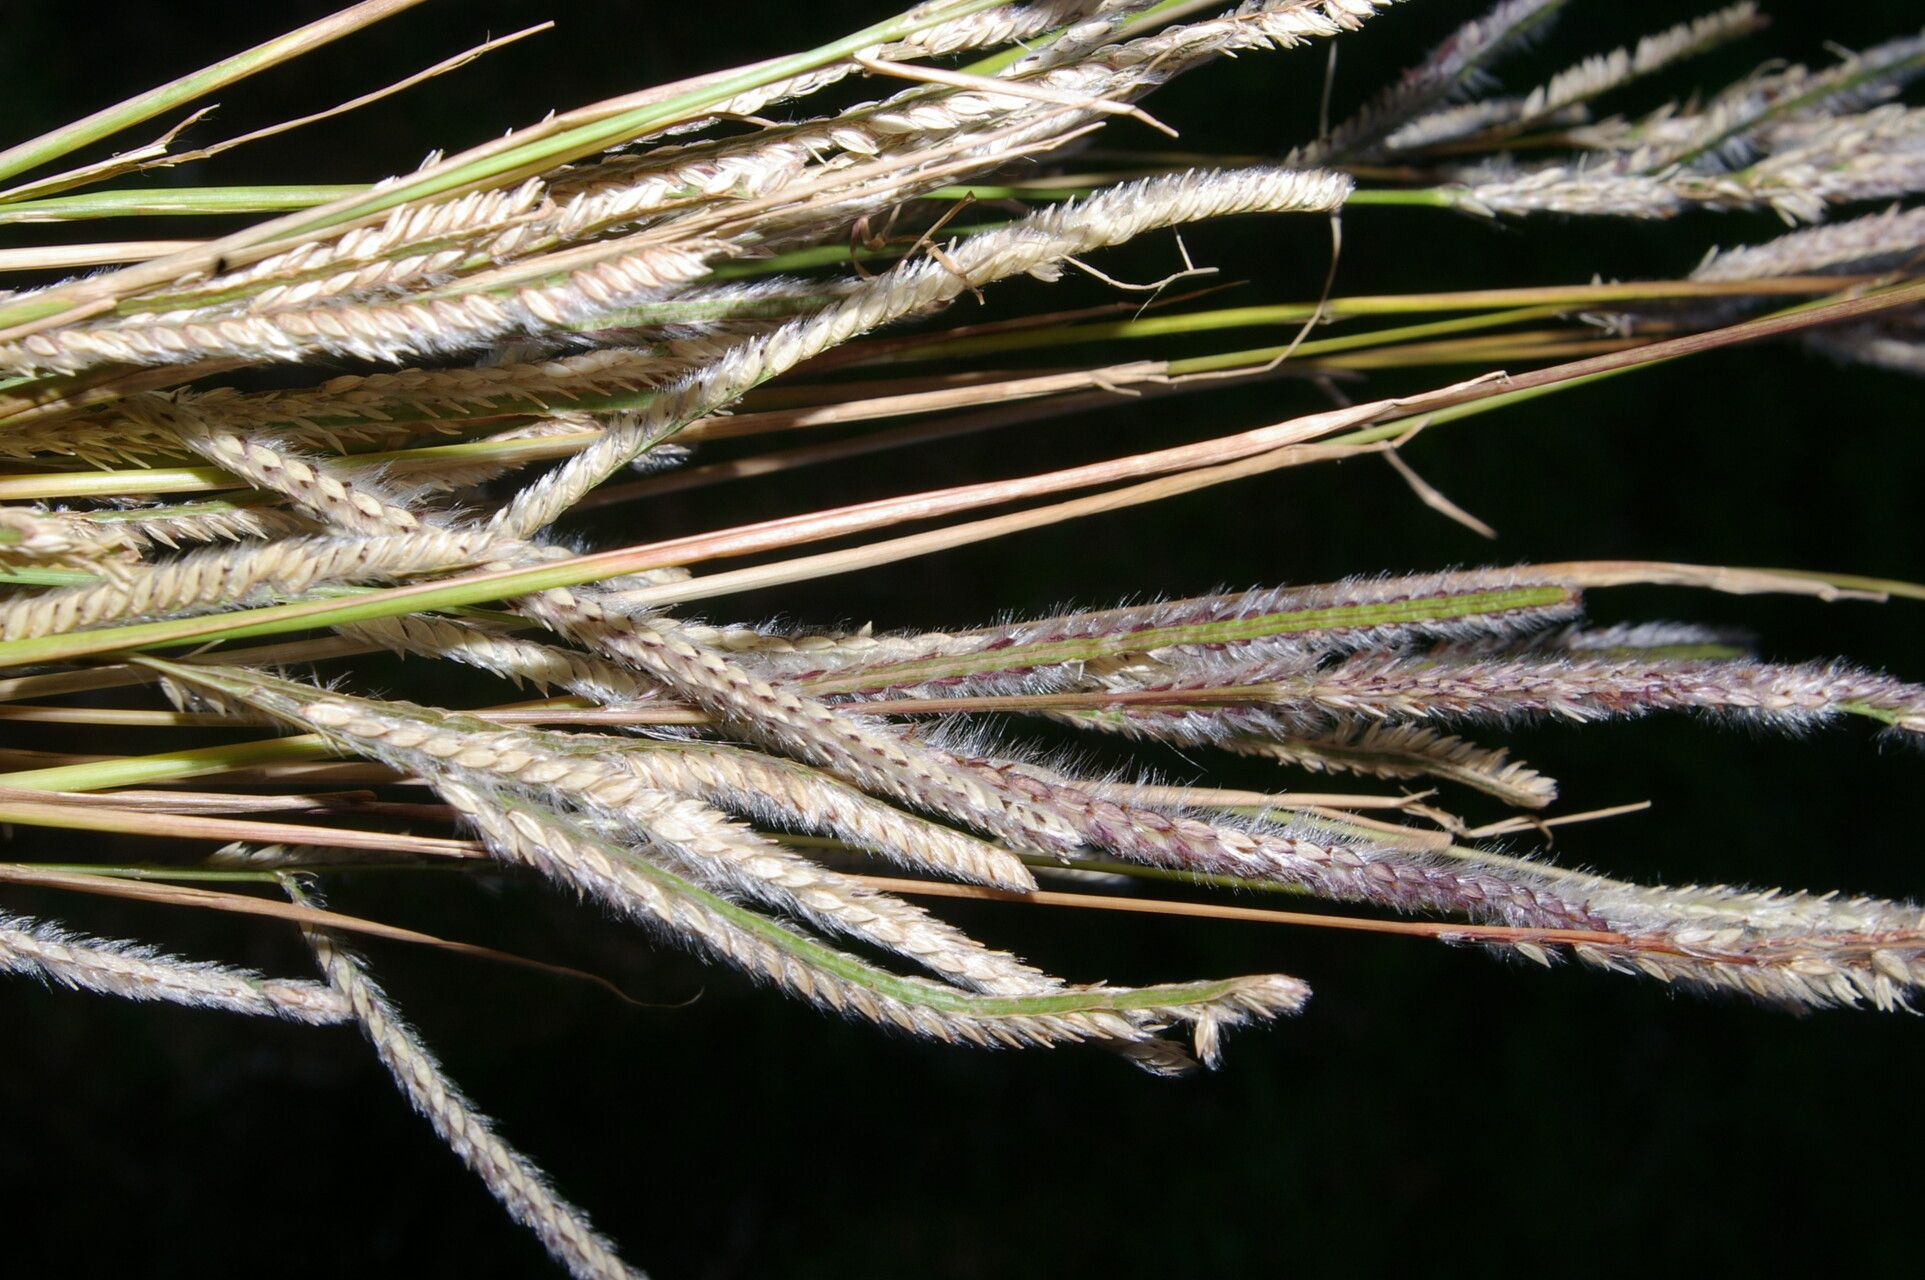
Hello fellow plant lovers! Today, we’re diving into the wonderfully rewarding world of propagating Paspalum humboldtianum. If you’re charmed by its graceful, arching blades and its ability to bring a touch of wild elegance to any garden, you’re in for a treat. Propagating this beauty is a fantastic way to fill your yard, share with friends, or simply marvel at the magic of new life. And good news for beginners: Paspalum humboldtianum is generally quite forgiving, making it a great plant to practice your propagation skills on!
The Best Time to Start
Honestly, I find the late spring to early summer to be the sweet spot for propagating Paspalum humboldtianum. This is when the plant is actively growing and has plenty of energy to put into developing new roots. You want to catch it at a point where it’s vigorous and not stressed. If you’re dividing an established clump, the same timeframe works wonders.
Supplies You’ll Need
Gathering your tools beforehand makes the whole process smoother. Here’s what I usually have on hand:
- Sterile potting mix: A good blend that drains well is crucial. I often use a mix of coco coir, perlite, and a bit of compost.
- Sharp pruning shears or a clean knife: For making clean cuts. Sterilize them with rubbing alcohol before you start.
- Small pots or trays: Clean ones, of course!
- Rooting hormone (optional but helpful): Especially if you’re going for stem cuttings. Look for a powder or gel.
- Watering can or spray bottle: For gentle watering.
- Plastic bag or cloche: To create a humid environment for cuttings.
- Labels and a marker: So you don’t forget what you’ve planted where!
Propagation Methods
Paspalum humboldtianum is a trooper, and you have a couple of really effective ways to get more plants.
1. Division (My Favorite for this Grass!)
This is often the easiest and most successful method for Paspalum humboldtianum.
- Step 1: Dig it Up. Carefully dig up your established Paspalum plant. I like to do this when the soil is slightly moist, as it makes it easier to work with.
- Step 2: Separate the Roots. Gently shake off some of the excess soil. You’ll see that the plant naturally forms clumps and rhizomes. Loosen these sections apart with your hands or a trowel. You want to ensure each division has a good portion of roots and some healthy-looking shoots.
- Step 3: Replant. Pot up your divisions into pots filled with your sterile potting mix. Water them thoroughly.
- Step 4: Establish. Place them in a bright spot but out of direct, harsh sun for the first week or two. Keep the soil consistently moist.
2. Stem Cuttings (A Little More Patience Required)
This method works well if you want to propagate from a particularly attractive or vigorous specimen.
- Step 1: Take Cuttings. Select healthy, non-flowering stems. Using your sterilized shears, make a cut just below a node (where a leaf meets the stem). Aim for cuttings that are 4-6 inches long.
- Step 2: Prepare the Cuttings. Remove the lower leaves from the cutting, leaving just a couple at the top. If you’re using rooting hormone, dip the cut end into it now.
- Step 3: Plant the Cuttings. Insert the cut end of the stems into your prepared potting mix. Make sure at least one node is buried under the soil, as this is where roots will form.
- Step 4: Create Humidity. Water the potting mix lightly. Then, cover the pot with a plastic bag or a cloche to maintain a humid environment. You can use stakes to keep the bag from touching the leaves.
- Step 5: Wait and Watch. Place the pots in a warm, bright location. Keep the soil consistently moist but not soggy. Rooting can take several weeks. You’ll know it’s rooted when you see new growth and feel light resistance when you gently tug on a cutting.
The “Secret Sauce” (Pro Tips)
After years of getting my hands dirty, I’ve picked up a few tricks that make a difference:
- Don’t Overcrowd Your Cuttings: Give each stem cutting a little space in its pot. Too much crowding can lead to fungal issues because air can’t circulate properly. I usually aim for 2-3 cuttings per small pot.
- Bottom Heat is Your Friend: For stem cuttings, placing your pots on a heating mat can significantly speed up root development. The warmth encourages roots to form much faster than ambient temperatures alone.
- Observe, Don’t Jiggle: When you think your cuttings might be rooted, resist the urge to pull them out of the soil to check! Instead, look for new leafy growth at the top. Gentle resistance when you tug is another good sign. If you must check, do it super carefully with a clean tool on just one or two.
Aftercare & Troubleshooting
Once your new Paspalum humboldtianum babies have established roots – you’ll see them putting on new growth! – you can start transitioning them to a more regular watering schedule. Gradually remove the humidity dome over a few days to acclimate them to drier air. Water them deeply when the top inch of soil feels dry.
The most common issue you’ll encounter is rot. This usually happens from overwatering or poor drainage, especially in the early stages. If you see a cutting turning mushy or black at the base, it’s likely too late for that one. Discard it to prevent any potential spread. Ensure your soil mix is excellent and that the pots have drainage holes.
A Little Patience, A Lot of Joy
Propagating plants is a beautiful journey, and Paspalum humboldtianum is a rewarding companion on that path. Be patient with your new plants. Some will take root faster than others, and that’s perfectly normal. Enjoy the process of nurturing new life, and before you know it, you’ll have a whole collection of these gorgeous grasses to admire and share! Happy gardening!
Resource:
https://identify.plantnet.org/k-world-flora/species/Paspalum%20humboldtianum%20Flüggé/data