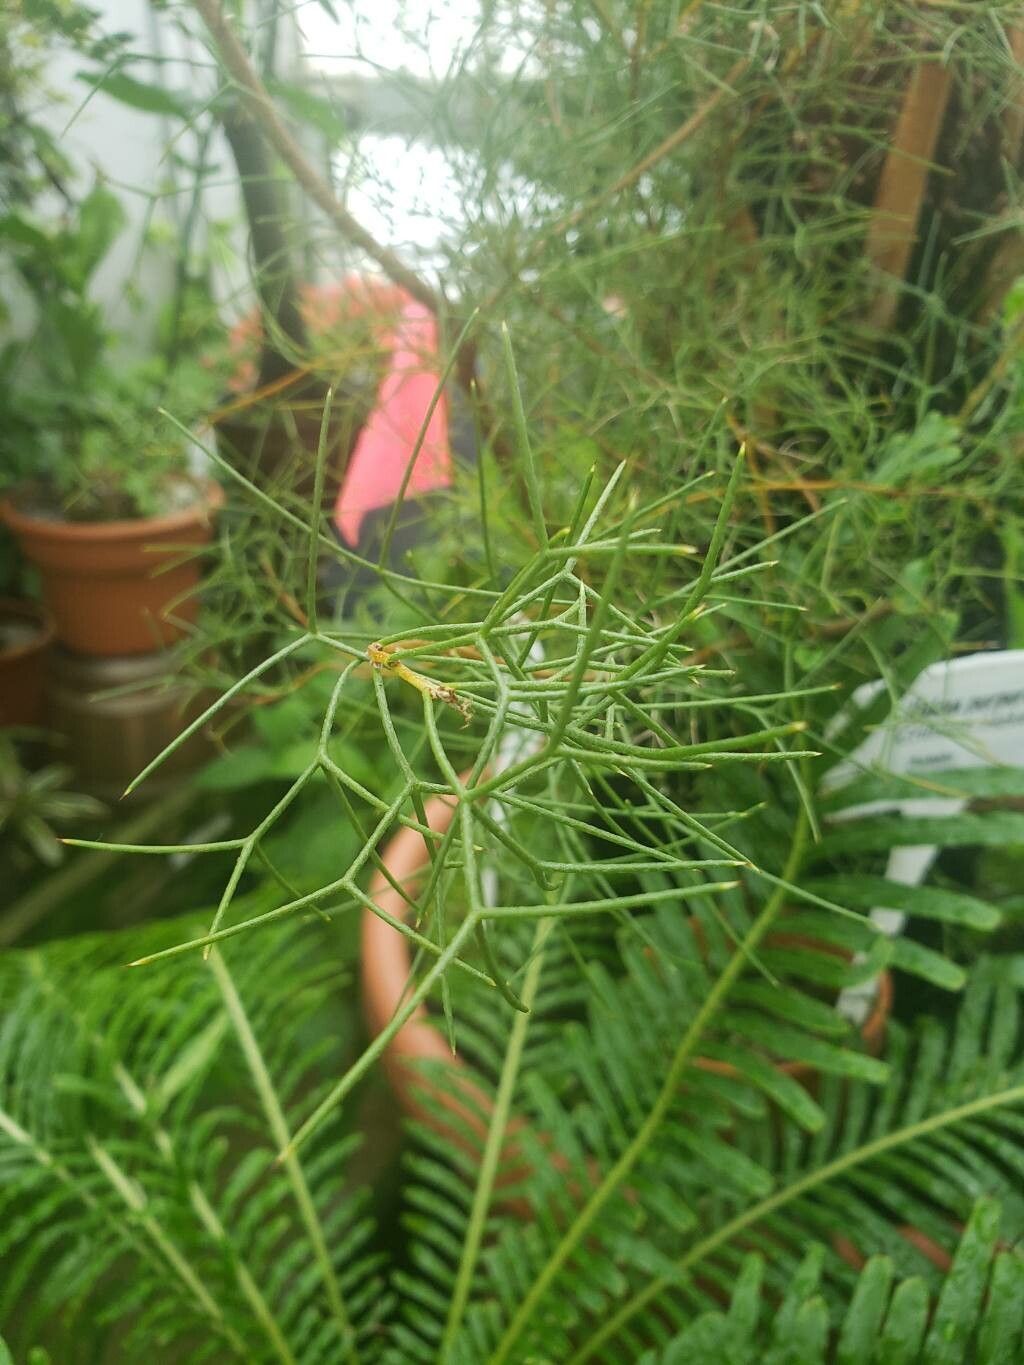
Oh, Hakea purpurea! If you’ve ever admired those unique, star-shaped blooms and striking foliage, you’re not alone. This Australian native is a real gem, bringing a touch of the wild and wonderful to any garden. Honestly, seeing a little Hakea sprout from a cutting you took yourself? It’s pure magic, a little victory that keeps me coming back for more, year after year. Now, about its ease for beginners – I’d say it falls somewhere in the middle. It’s not a push-over like some succulents, but with a bit of care and attention, it’s absolutely achievable.
The Best Time to Start
For Hakea purpurea, late spring to early summer is your golden window. This is when the plant is actively growing, full of vigor, and those softwood or semi-hardwood cuttings tend to root most readily. You’ll see fresh, new growth that’s firming up but still has a bit of give when you gently bend it.
Supplies You’ll Need
Here’s what I always have on hand:
- Sharp pruning shears or a craft knife: Clean cuts are crucial for preventing disease.
- A well-draining potting mix: I usually use a blend of coarse potting sand, perlite, and a good quality seed-raising mix. Almost like a succulent mix, but a little richer.
- Small pots or seedling trays: Clean ones are a must!
- Rooting hormone: A liquid or powder form works well. It gives your cuttings a confidence boost.
- A clear plastic bag or propagator lid: To create a humid environment.
- A spray bottle: For misting.
- Labels and a permanent marker: So you don’t forget what you planted!
- (Optional) A heat mat: This can really speed things up.
Propagation Methods
I’ve had the most success with taking stem cuttings. It’s straightforward and yields good results.
- Select Your Cuttings: Look for healthy, vibrant stems that are about 10-15 cm long. You want pieces that have started to firm up but aren’t woody and old. Pinch off any flowers or buds.
- Prepare the Cuttings: Using your clean pruning shears, take a cutting just below a leaf node. Remove the leaves from the lower half of the stem. This prevents them from rotting in the soil.
- Apply Rooting Hormone: Dip the cut end into your rooting hormone. Tap off any excess. This step really helps in encouraging root development.
- Plant the Cuttings: Moisten your potting mix. Make a small hole in the mix with a pencil or your finger, and gently insert the cutting. Press the soil gently around the base to ensure good contact.
- Create a Humid Environment: Water the pots lightly. Then, cover the pots with a clear plastic bag or a propagator lid. Make sure the bag isn’t touching the leaves, if possible. Place the pots in a bright spot, but out of direct sunlight.
The “Secret Sauce” (Pro Tips)
A little experience teaches you these little tricks, and they really make a difference!
- Don’t let the leaves touch the water: Whether you’re using a propagating dome or misting, keep the foliage dry. Excess moisture on the leaves can lead to fungal issues. If by chance a leaf dips into the soil or water, gently move it.
- Bottom heat is your friend: If you have a heat mat, pop your pots on it. A gentle warmth from below encourages root formation much faster than cool soil temperatures. It’s like a warm blanket for your little plant babies.
- Sterilize everything: Seriously, anything that touches your cuttings should be squeaky clean. Old pots or dirty tools are a fast track to disappointment. A quick wash with soapy water and a rinse is usually enough.
Aftercare & Troubleshooting
Once roots have formed (you might see them peeking out the drainage holes or notice new growth), it’s time for a little more attention.
- Gradually Acclimatize: Slowly remove the plastic covering over a few days to let the cuttings get used to normal humidity.
- Watering: Water when the top inch of soil feels dry. Don’t let them sit in soggy soil.
- Repotting: When your cuttings have a good root system and are starting to grow well, you can pot them up into slightly larger containers with a similar well-draining mix.
- Signs of Failure: The most common issue is rot. If your cuttings go black and mushy, they’ve likely rotted. This is usually due to too much moisture and poor air circulation. Sometimes, they just shrivel up and don’t show any sign of rooting – this can happen! Don’t take it too personally; sometimes it’s just the luck of the draw.
So there you have it! Don’t be disheartened if your first few attempts aren’t a smashing success. Gardening is always a learning curve, and propagation is no different. Be patient, keep trying, and enjoy the incredibly rewarding journey of growing your own Hakea purpurea. Happy propagating!
Resource:
https://identify.plantnet.org/k-world-flora/species/Hakea%20purpurea%20Hook./data