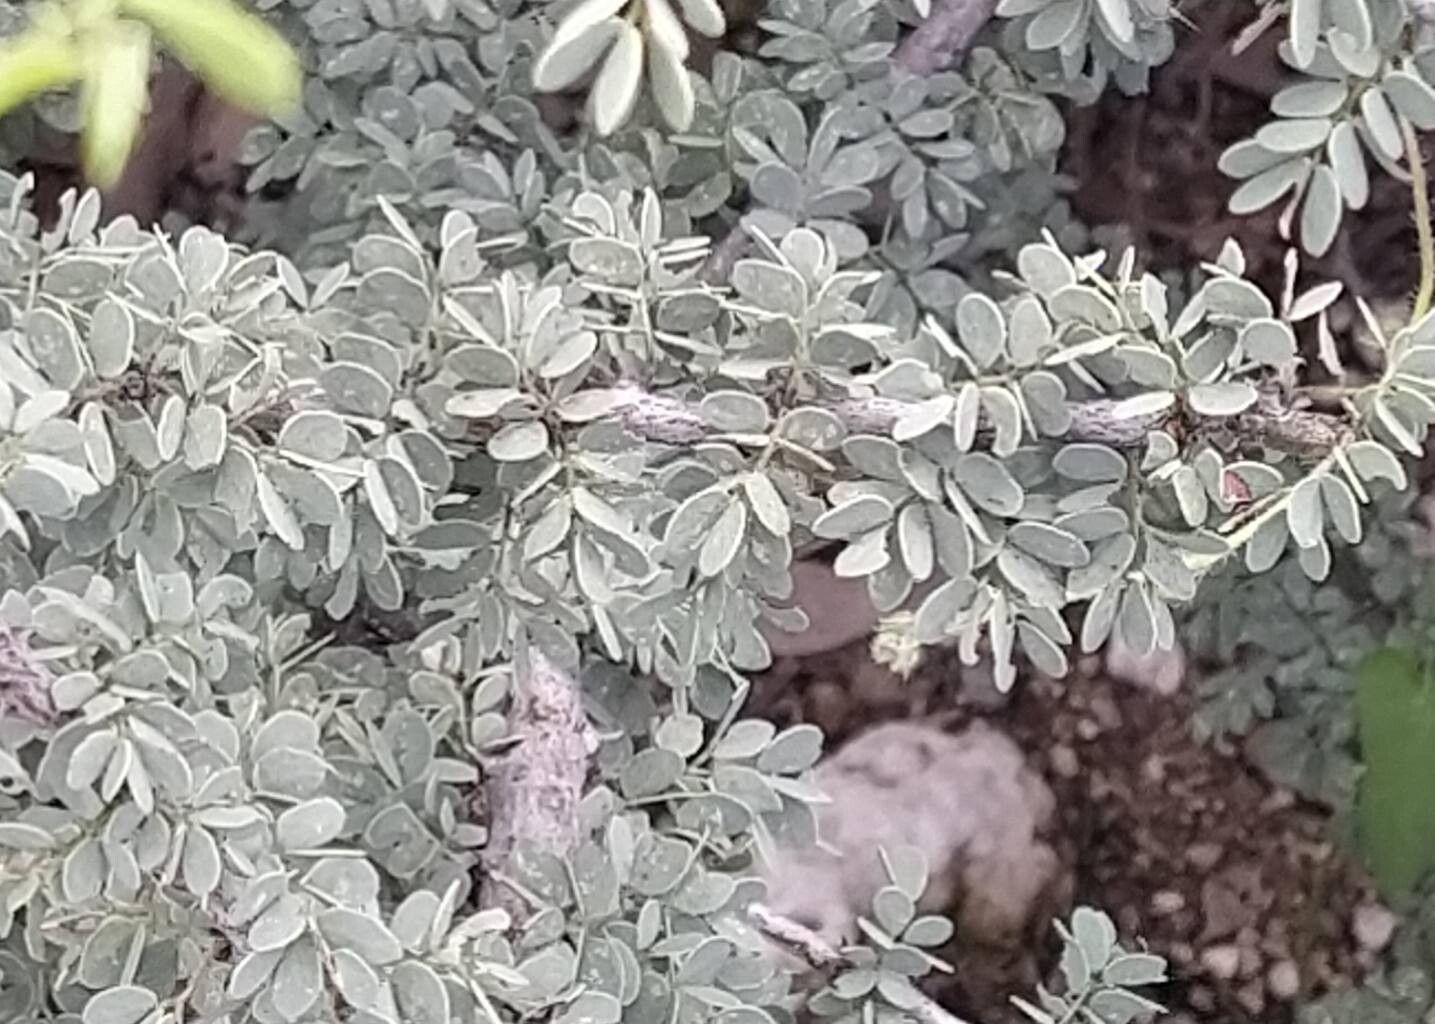
Hello, fellow plant lovers! I’m so excited to chat with you today about a delightful – and perhaps a little less common – gem: Ormocarpum trichocarpum. If you’re looking for a plant that brings a touch of the exotic with its fuzzy, interesting seed pods, you’ve found a winner. Propagating these beauties yourself is incredibly rewarding. Don’t worry, it’s not as daunting as it might sound!
The Best Time to Start
For us in the Northern Hemisphere, my favorite time to get things going with Ormocarpum trichocarpum is late spring to early summer. This is when the plant is in its active growth phase. Think of it as giving your cuttings a head start while nature is already in full swing. Waiting until after the danger of frost has passed is also crucial.
Supplies You’ll Need
Here’s what I like to have on hand before I dive in:
- Sharp, clean pruning shears or a sharp knife: Essential for clean cuts.
- Rooting hormone (optional, but helpful): A powder or gel formulation works wonderfully.
- Well-draining potting mix: I often use a blend of peat moss, perlite, and a little bit of coarse sand. You can also find good quality cactus or succulent mixes.
- Small pots or seed trays: Make sure they have drainage holes!
- Plastic bags or a clear plastic dome: To create a humid environment.
- Watering can with a fine rose or mister: For gentle watering.
- A sunny, warm spot: But not direct, scorching sun.
Propagation Methods
Let’s get our hands dirty! I’ve found stem cuttings to be the most reliable method for Ormocarpum trichocarpum.
-
Take Your Cuttings: During the active growing season, choose a healthy, non-flowering stem. Look for an area that’s somewhat woody but still young and flexible. Using your clean shears, make a cut just below a leaf node. Aim for cuttings that are about 4-6 inches long. Remove any lower leaves, but leave at least two sets of leaves at the top.
-
Prepare the Cutting: If you’re using rooting hormone, dip the cut end of the stem into the powder or gel. Give it a gentle tap to remove any excess. This step isn’t strictly necessary, but I find it gives the cuttings a nice boost.
-
Plant Your Cuttings: Fill your small pots with your well-draining potting mix. Gently insert the cutting into the soil, ensuring the lowest leaf node is below the surface. Make sure the leaves aren’t touching the soil directly.
-
Create a Humid Environment: Water the soil lightly. Then, cover the pot with a plastic bag (tying it loosely around the pot) or place it under a clear plastic dome. This is crucial to keep the humidity high, preventing the cuttings from drying out before they can root.
-
Location, Location, Location: Place your pots in a bright spot that receives indirect light. Avoid direct, hot sun, which can scorch the delicate cuttings. A bit of bottom heat can really speed things up, especially if your home tends to be on the cooler side. A heating mat designed for seedlings is perfect for this.
The “Secret Sauce” (Pro Tips)
Here are a couple of things I’ve learned over the years that make a big difference:
- Don’t Drown Your Cuttings: While humidity is key, waterlogged soil is a fast track to rot. Allow the top inch of soil to dry out slightly between waterings. It’s much better to err on the side of slightly too dry than too wet.
- The “Bend Test”: After a few weeks, you can gently test if your cutting has rooted. Very gently tug on the stem. If there’s resistance, you’ve got roots! If it wiggles freely, give it more time.
Aftercare & Troubleshooting
Once you see signs of new growth, that’s your cue that roots have formed! If you used a plastic bag, gradually begin to acclimate your new plant to normal humidity by opening the bag for longer periods each day.
The most common problem you might encounter is rot. If your cutting turns black and mushy, it’s usually a sign of too much moisture or insufficient air circulation. Unfortunately, this is often unrecoverable. If you see any signs of mold, improve air circulation and perhaps reduce watering slightly.
A Encouraging Closing
Propagating Ormocarpum trichocarpum is a journey of patience and observation. Don’t get discouraged if your first few attempts aren’t a roaring success. Each cutting is a learning experience. Enjoy the process of nurturing these little bits of green, and soon you’ll have a whole collection of your own beautiful Ormocarpum trichocarpum plants to share! Happy gardening!
Resource:
https://identify.plantnet.org/k-world-flora/species/Ormocarpum%20trichocarpum%20(Taub.)%20Engl./data