Oh, hello there! Come on in, grab a mug. Let’s chat about a little gem in the garden that’s been bringing me a lot of joy: Berberis gracilipes.
Why You’ll Love Propagating Berberis Gracilipes
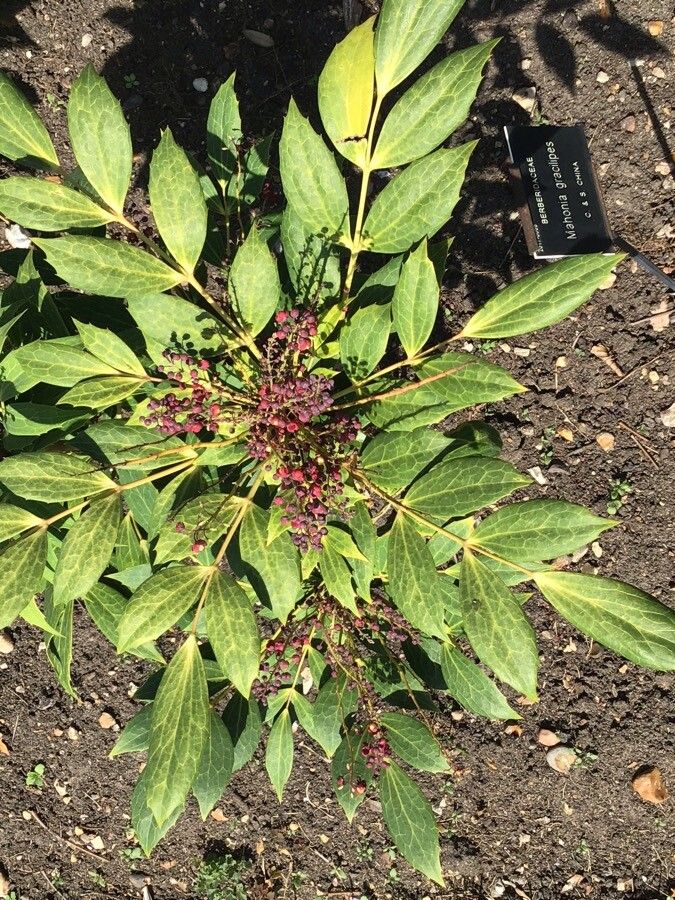
You know, there’s something incredibly satisfying about coaxing a whole new plant into existence from a tiny piece of its parent. And Berberis gracilipes? It’s a truly lovely shrub. Its delicate, arching branches draped with those small, often colourful leaves make it so elegant. And when it’s finished blooming, those little berries that follow? Just delightful! Propagating it is a wonderful way to share its beauty or simply fill out your own garden spaces without breaking the bank. Now, for those of you just starting out, I wouldn’t say this is the absolute easiest plant to propagate, but with a little care and following these steps, you’ll find it’s quite achievable. Don’t let that shy you away!
When to Get Your Hands Dirty
The absolute best time to take cuttings is in late spring to early summer. You’re looking for what we call semi-ripe cuttings. This means the stems are starting to firm up from the vigorous spring growth but haven’t completely hardened off into old wood. Think of a flexible pencil – it bends without snapping, but it’s not floppy either. This is when the plant’s hormones are really flowing, giving your cuttings the best chance to root.
Kitting Yourself Out: What You’ll Need
Before we dive in, let’s make sure you’ve got your tools ready. Having everything on hand makes the whole process smoother.
- Sharp, clean pruning shears or a hobby knife: Cleanliness is key to preventing disease.
- Rooting hormone powder or gel: This isn’t strictly essential for all Berberis, but it does give a lovely boost.
- A well-draining potting mix: I like a good blend of perlite, peat moss, and a bit of compost. You can even buy specific seed-starting or cutting mixes.
- Small pots or trays: Clean ones, of course!
- A plastic bag or propagator: To create that humid environment.
- Watering can with a fine rose: For gentle watering.
- Labels and a marker: So you don’t forget what’s what!
Let’s Get Growing: Propagation Methods
For Berberis gracilipes, stem cuttings are typically the way to go.
-
Taking Your Cuttings: On a bright day, find those semi-ripe stems. Make a clean cut just below a leaf node. A node is where a leaf attaches to the stem. This is where the magic happens, where rooting hormones are concentrated. Aim for cuttings that are about 4-6 inches long.
-
Preparing the Cuttings: Gently remove the lower leaves, leaving just a couple at the very top. This prevents them from rotting when they’re in the potting mix. If the leaves at the top are quite large, you can even snip them in half horizontally to reduce water loss.
-
Applying Rooting Hormone (Optional but Recommended): Dip the cut end of the stem into your rooting hormone powder or gel. Tap off any excess. This gives your cutting a little encouragement to get its roots going.
-
Planting Your Cuttings: Moisten your well-draining potting mix. Make small holes in the mix with a pencil or a stick, then carefully insert the cuttings. You want the leaf nodes that were near the bottom to be buried. Gently firm the soil around the cuttings.
-
Creating the Humid Environment: Pop your pots into a plastic bag or propagator. Make sure the leaves don’t touch the sides of the bag as this can lead to fungal problems. Seal it up, but maybe leave a tiny crack for a bit of air exchange. Place them in a bright spot, but out of direct, scorching sunlight.
The “Secret Sauce”: My Insider Tips
- Bottom Heat is Gold: If you can, place your pots on a heated propagator mat. This gentle warmth from below mimics springtime soil temperatures and really encourages those roots to form faster. It’s a game-changer for many cuttings.
- Don’t Mist Too Much: While humidity is crucial, over-misting can lead to rot. Once your cuttings are in their humid environment, leave them be for a few days. You’ll see condensation forming on the inside of the bag – that’s your sign that the humidity is good.
- Patience is Truly a Virtue: Some plants root in a few weeks, others take months. Berberis gracilipes can be a bit of a slow starter. Resist the urge to constantly pull them up to check!
Aftercare and What to Watch For
Once you start to see new leaf growth on your cuttings, that’s a good sign they’re thinking about rooting. You can gently tug on a cutting – if you feel resistance, you’ve got roots!
Once they’ve rooted, gradually harden them off by opening the bag a little more each day over a week or two. Then you can pot them into slightly larger pots. Water them regularly but allow the top inch of soil to dry out between waterings.
The main thing to watch out for is rot. If your cuttings look limp, mushy, or discolored, it’s usually a sign of too much moisture or a fungal issue. If you see this, sometimes you can save a cutting by taking a fresh, healthy piece from higher up the stem and starting again.
Go Forth and Propagate!
You’ve got this! Propagating plants is a wonderful journey, and watching those tiny cuttings develop into strong new plants is incredibly rewarding. Don’t be discouraged if your first attempt isn’t perfect; every gardener has had their share of failures. Just keep trying, be patient, and enjoy the process of nurturing life. Happy gardening!
Resource:
https://identify.plantnet.org/k-world-flora/species/Berberis%20gracilipes%20Oliv./data