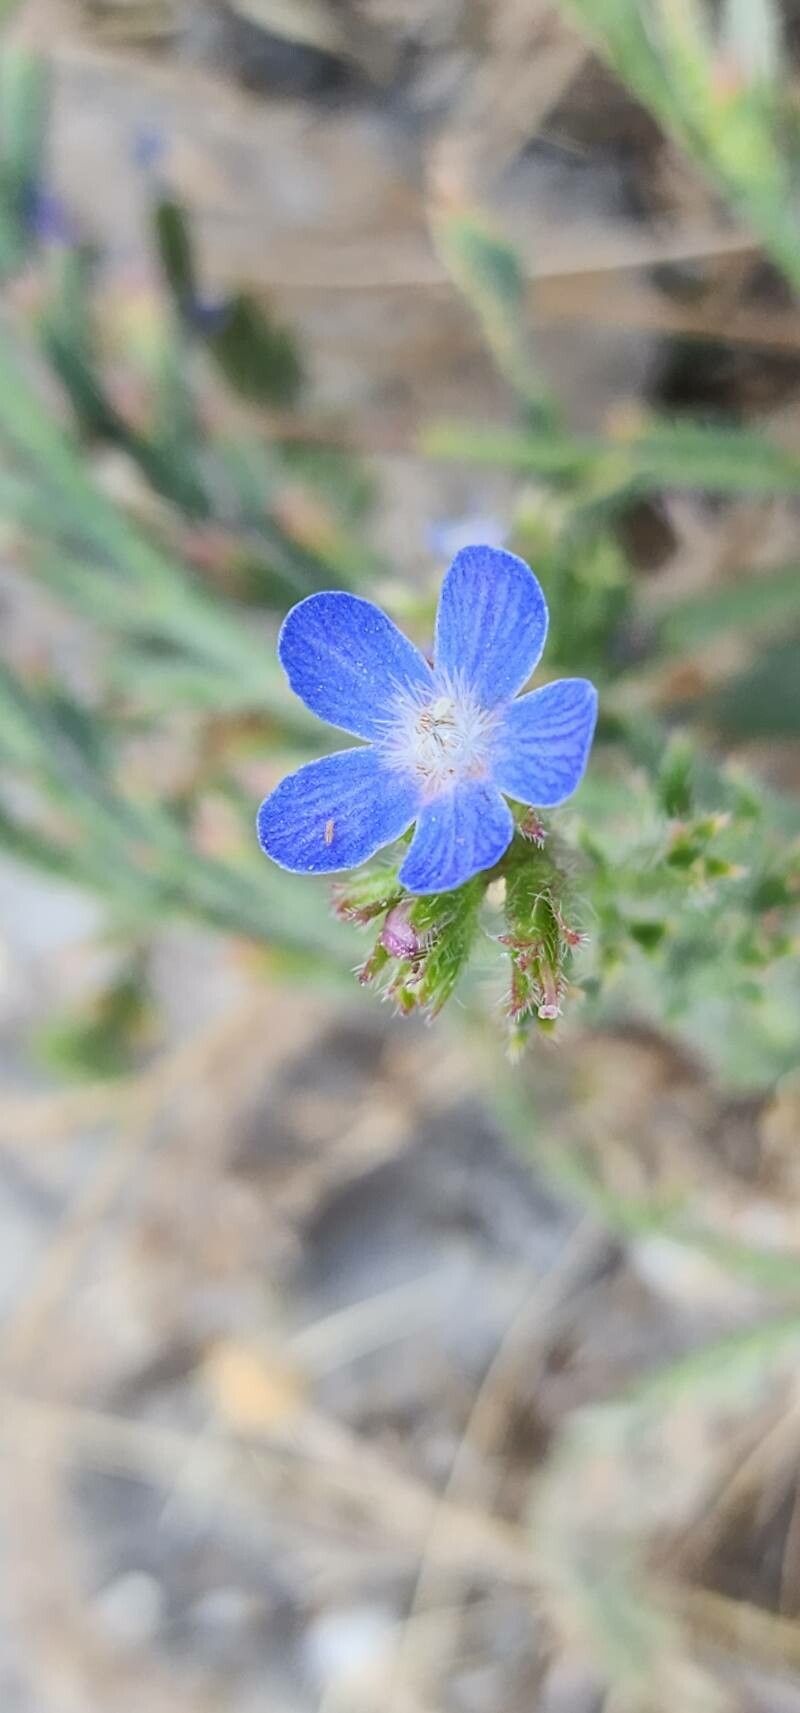
Hello hello, fellow garden lovers! It’s so good to have you here today. I’m buzzing with excitement to talk about a plant that has captured my heart over the years: Anchusa iranica, often called Iranian Bugloss. Isn’t it a beauty? Those sky-blue flowers are just divine, reminding me of a perfect summer day. Plus, the way it dances in the breeze is truly enchanting.
Now, if you’re like me, the thought of bringing more of these lovely blooms into your garden, or perhaps sharing them with friends, is incredibly rewarding. And guess what? Propagating Anchusa iranica is a journey you absolutely can take. Don’t let it intimidate you; it’s a plant that’s quite amenable to a little coaxing. While not the absolute easiest for a brand-new beginner, with a little patience and these tips, you’ll be well on your way.
The Best Time to Start
For the highest success rate with Anchusa iranica, I’ve found that late spring to early summer is your sweet spot. This is when the plant is actively growing, full of vigor, and ready to put its energy into producing new roots. You want to choose stems that are healthy and firm, but not yet woody. Think of it as snagging those energetic, “just right” moments before the plant gets too tired from producing all those gorgeous flowers.
Supplies You’ll Need
To set yourself up for success, here’s what I always have on hand:
- Sharp, clean pruning shears or a sharp knife: Essential for making clean cuts that heal well.
- Rooting hormone powder or gel: This is like a little boost of encouragement for your cuttings.
- A light, well-draining potting mix: I often use a mix of equal parts peat moss or coco coir and perlite or coarse sand.
- Small pots or seedling trays: Choose something with drainage holes!
- A clear plastic bag or humidity dome: To create a mini greenhouse effect.
- Watering can or spray bottle: For gentle watering.
- Optional: Seedling heat mat: This can speed things up significantly.
Propagation Methods
Let’s get our hands dirty! The most reliable way I’ve found to propagate Anchusa iranica is through stem cuttings.
-
Take Your Cuttings: In late spring or early summer, select healthy, non-flowering stems. Using your clean pruning shears or knife, cut pieces that are about 4-6 inches long. Make your cut just below a leaf node – that’s the little bump where a leaf attaches to the stem.
-
Prepare the Cuttings: Gently remove the lower leaves from your cuttings, leaving just a few at the top. This helps direct the plant’s energy towards root development rather than leaf growth.
-
Apply Rooting Hormone: Dip the cut end of each stem into your rooting hormone powder or gel, tapping off any excess.
-
Plant Your Cuttings: Fill your small pots or trays with your prepared potting mix. Make a small hole in the center of each pot with your finger or a pencil. Gently insert the bottom inch or so of your cutting into the hole, making sure the root hormone stays on. Firm the soil gently around the stem to ensure good contact.
-
Create a Humid Environment: Water the soil lightly. Then, cover the pots with a clear plastic bag, securing it around the rim with a rubber band, or place them under a humidity dome. This traps moisture and keeps your cuttings from drying out.
-
Provide Light and Warmth: Place your pots in a warm spot that receives bright, indirect light. A sunny windowsill that doesn’t get direct, scorching afternoon sun is perfect.
The “Secret Sauce” (Pro Tips)
Now, here are a couple of tricks I’ve picked up over the years that can really make a difference:
- Bottom Heat is Your Friend: If you have a seedling heat mat, use it. Placing your pots on one provides gentle bottom warmth, which is incredibly stimulating for root formation. It’s like giving your baby plants a cozy, heated bed to grow in!
- Don’t Over-Water, But Keep it Consistently Moist: This is a fine balance. You want the potting mix to stay consistently moist, like a wrung-out sponge, but never soggy. Soggy conditions are a fast track to rot. A light misting with your spray bottle every few days, especially if the humidity dome isn’t perfectly sealed, can help.
Aftercare & Troubleshooting
Once you see signs of roots – usually by pulling gently on a cutting and feeling resistance, or by spotting new growth pushing upwards – it’s time to acclimate your new babies. Gradually remove the plastic bag or dome over a week, letting them get used to the drier air. Continue to water them when the top inch of soil feels dry.
The biggest challenge you might face is rot. If you notice your cuttings turning mushy, black, or developing brown spots and wilting despite being watered, chances are rot has set in. This is usually due to overwatering and insufficient air circulation. If you catch it early, you might be able to salvage a cutting by taking a fresh one with cleaner tools and adjusting your watering schedule. Don’t despair if not all of them make it; it’s all part of the learning process!
A Encouraging Closing
And there you have it! Propagating Anchusa iranica is a wonderfully satisfying way to expand your garden or share the joy of these blue beauties with others. Be patient with your little cuttings; they are working hard to establish themselves. Watch them, care for them, and soon you’ll have a whole new generation of Iranian Bugloss to admire. Happy propagating!
Resource:
https://identify.plantnet.org/k-world-flora/species/Anchusa%20iranica%20Rech.f.%20&%20Esfand./data