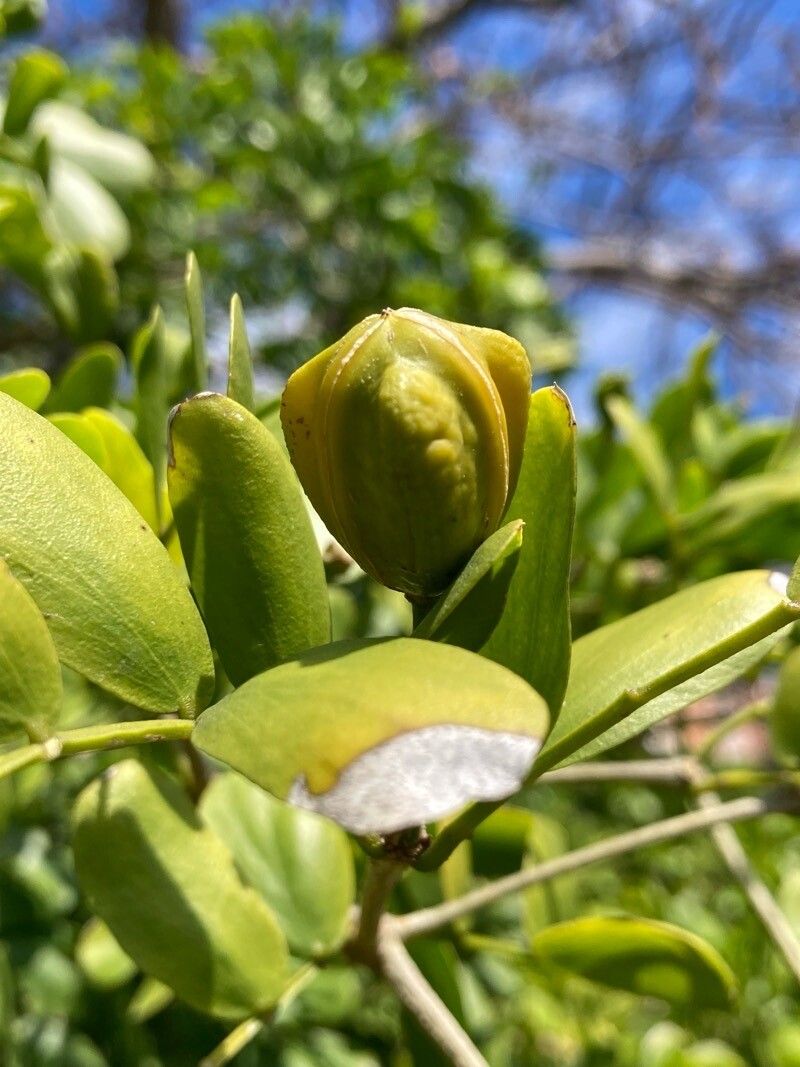
Alright, my fellow plant lovers! Over the years, I’ve had the pleasure of getting to know so many wonderful plants, and one that truly captures my heart is Guaiacum sanctum, also known as Lignum Vitae. It’s a slow-growing, incredibly beautiful tree with striking blue flowers and a wonderfully fragrant wood. While it might sound a bit exotic, and its wood is historically very valuable (hence the common name meaning “wood of life”), I find propagating it to be a deeply rewarding experience. It’s not necessarily a beginner-plant-out-of-the-gate type of propagation, but with a little patience and the right approach, you can absolutely be successful.
The Best Time to Start
For Guaiacum sanctum, I’ve found the spring and early summer to be your best bet. This is when the plant is actively putting on new growth after its dormant period. You’re looking for semi-hardwood cuttings – those stems that are no longer brand new and floppy, but not yet mature and woody. They should have a bit of give when you bend them, but feel firm.
Supplies You’ll Need
Here’s what you’ll want to have on hand before you get started:
- Sharp pruning shears or a clean knife: For making precise cuts.
- Rooting hormone: A powdered or gel form specifically for cuttings. This is key for encouraging root development.
- Well-draining potting mix: A blend of perlite, coarse sand, and a bit of peat moss works wonderfully. You want something that won’t hold too much moisture.
- Small pots or seed trays: Clean and with drainage holes, of course.
- Clear plastic bags or a propagation dome: To create a humid environment.
- Watering can or spray bottle: For gentle watering.
- Labels: To remind yourself what you planted and when!
Propagation Methods: Stem Cuttings
This is my go-to method for Guaiacum sanctum. It’s efficient and you can get multiple plants from a single parent.
-
Take the Cuttings: Using your clean shears or knife, select a healthy stem that’s about 4-6 inches long. Make a clean cut just below a leaf node (where a leaf attaches to the stem). Remove the leaves from the bottom half of the cutting, leaving just a couple at the top.
-
Apply Rooting Hormone: Dip the cut end of the stem into your rooting hormone, ensuring it’s coated. Gently tap off any excess.
-
Plant Your Cuttings: Fill your pots or trays with your prepared potting mix. Make a small hole in the center of the soil with your finger or a pencil. Carefully insert the bottom 1-2 inches of the cutting into the hole, and gently firm the soil around it.
-
Water and Cover: Water the soil thoroughly but gently. You want it moist, not waterlogged. Then, cover the pots with a clear plastic bag or a propagation dome to maintain high humidity. This is crucial!
The “Secret Sauce” (Pro Tips)
Now, for a couple of little secrets that have really helped me over the years:
- Bottom Heat is Your Friend: If you have a seed starting mat, placing your pots on it can make a huge difference. This gentle warmth from below encourages the roots to form much faster. I always use it for trickier woody cuttings.
- Don’t Let Those Top Leaves Drip: When you water, be mindful of the leaves at the top of your cuttings. If they consistently sit in water or are pressed against the plastic, they can start to rot before roots even have a chance to form. Ensure good airflow and a slight air gap.
Aftercare & Troubleshooting
Once your cuttings are planted and tucked in, keep them in a bright, indirect light location. Resist the urge to constantly peek! Check the moisture levels every few days. The soil should remain consistently moist but not soggy. You can gently lift the pot to feel its weight – a lighter pot means it’s time to water.
The first sign of success is usually that the leaves on your cutting will start to look perky and healthy, not wilting. You might also see tiny white root tips poking out of the drainage holes if you can spot them. This can take anywhere from 4 to 8 weeks, sometimes longer, so patience is paramount.
The most common problem you’ll encounter is rot. If a cutting turns black and mushy, it’s best to discard it. This usually happens due to too much moisture and not enough airflow. If you’re seeing this, try to increase ventilation a bit by propping open your plastic bag or dome slightly.
A Moment of Growth
Propagating Guaiacum sanctum is a journey, but a really beautiful one. It’s about understanding the plant’s needs and working with nature. Don’t get discouraged if your first attempt isn’t a roaring success. Every cutting teaches you something new. Just keep nurturing them, enjoy the process, and soon you’ll have your very own piece of “wood of life” to admire. Happy planting!
Resource:
https://identify.plantnet.org/k-world-flora/species/Guaiacum%20sanctum%20L./data