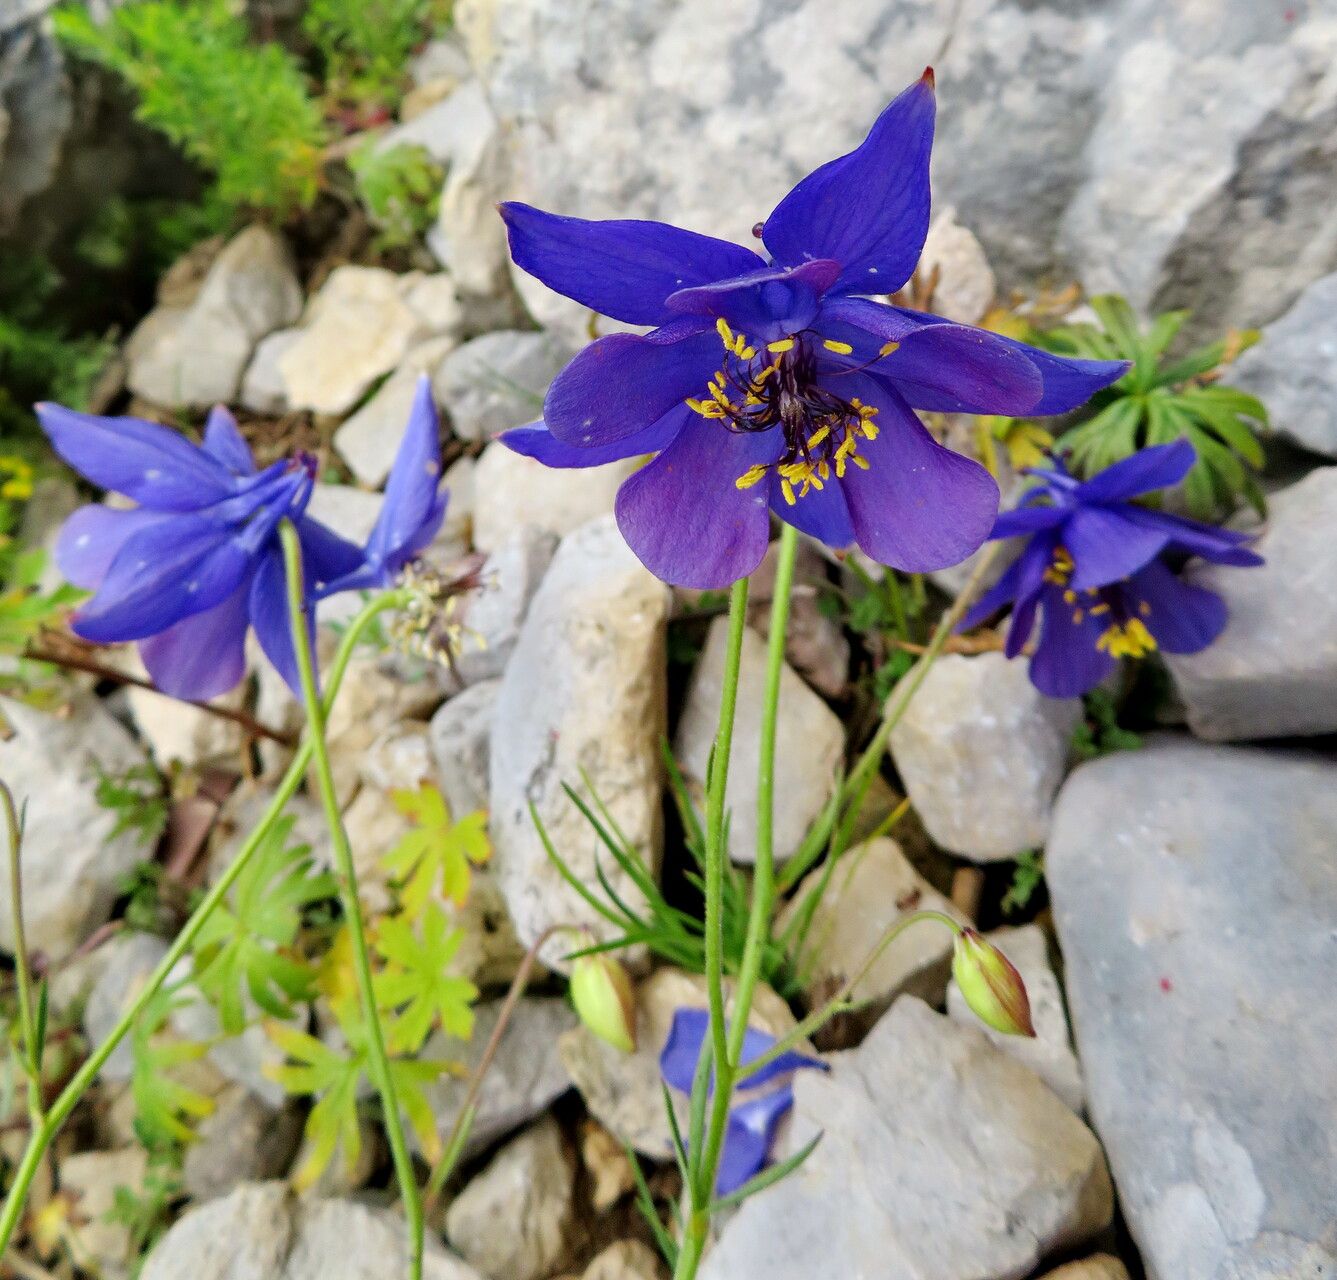
Oh, Aquilegia einseleana! Isn’t it a charmer? With its delicate, nodding blooms, often in lovely shades of blue and white, it just brings a touch of quiet elegance to any garden. And the best part? You can easily grow more of these beauties yourself! I’ve found propagating them to be incredibly rewarding, and honestly, if you’ve got a bit of patience, it’s a beginner-friendly endeavor. You’ll be gazing at a whole patch of these sweet flowers before you know it.
The Best Time to Start
For the highest success rate with Aquilegia einseleana, I always aim for late spring to early summer. This is when the plants are actively growing and have plenty of energy to put into developing new roots. You can also take cuttings in early autumn, but you might find the growth a bit slower then. Waiting until the plants are established after their initial bloom is key.
Supplies You’ll Need
Here’s what I usually have on hand when I’m ready to get propagating:
- Sharp pruning shears or a clean knife: For taking nice, clean cuts.
- A good quality seed-starting mix or a blend of peat moss and perlite: This ensures excellent drainage, which is crucial.
- Small pots or seedling trays: About 3-4 inches in size works well.
- Rooting hormone (optional, but helpful): Just a little dip can give cuttings a boost.
- A watering can with a fine rose attachment: To gently water your new babies.
- Clear plastic bags or propagation domes: To create a humid environment.
- A warm, bright spot out of direct sunlight: Think a windowsill that gets gentle morning sun.
Propagation Methods
Now, let’s get our hands dirty! I find stem cuttings to be the most reliable method for Aquilegia einseleana. While division is possible, cuttings often give you a higher success rate with this particular plant.
Stem Cuttings
- Select a healthy stem: Look for a stem that’s about 4-6 inches long and has started to harden off a bit – not brand new, floppy growth, but not woody either. A good sign is when it snaps rather than bends.
- Make the cut: Using your clean shears or knife, make a clean cut just below a leaf node. This is the point where a leaf grows from the stem, and it’s where new roots are most likely to form.
- Prepare the cutting: Gently remove the lower leaves from the stem, leaving just a few at the top. If the leaves are very large, you can even cut them in half to reduce water loss.
- Apply rooting hormone (optional): If you’re using rooting hormone, dip the cut end into the powder, tapping off any excess.
- Plant the cutting: Make a small hole in your prepared seed-starting mix. Insert the cutting, ensuring the lowest leaf node is buried in the soil. Gently firm the soil around the base of the cutting.
- Water gently: Water thoroughly but carefully, so you don’t wash away the soil.
- Create humidity: Cover the pot with a clear plastic bag or a propagation dome. This keeps the humidity high, which is essential for the cutting to develop roots before it dries out. Place the pot in a bright spot, but avoid direct, harsh sunlight.
The “Secret Sauce” (Pro Tips)
Here are a few little tricks I’ve learned over the years that really make a difference:
- Don’t let the leaves touch the water: If you’re experimenting with water propagation (though I prefer soil for these), make absolutely sure no leaves are submerged. Rot sets in so fast that way!
- Bottom heat is your friend: Placing your pots on a gentle heat mat can really speed up root development. It mimics the warmth of spring soil and gives those roots a little nudge to start growing.
- Be patient with the humidity tent: Resist the urge to peek constantly! Keep that tent on until you see signs of new growth. Removing it too early is the most common mistake people make.
Aftercare & Troubleshooting
Once you start seeing new leaf growth emerging from your cuttings, that’s a fantastic sign! It means roots are forming. At this point, you can gradually remove the humidity tent for a few hours each day over a week or so, allowing the new plant to acclimate to drier air. Water consistently, keeping the soil moist but not soggy.
If your cuttings start looking limp, yellow, or slimy, that’s usually a sign of rot, often caused by overwatering or poor drainage. Unfortunately, once rot sets in, it’s hard to recover. If you see this, try to remove the affected cutting immediately to prevent it from spreading to others. Sometimes, it’s just a matter of not all of them making it, and that’s perfectly okay!
A Encouraging Closing
So, there you have it! Growing more Aquilegia einseleana is a truly satisfying gardening project, and the process itself is its own reward. Be patient with your new little sprouts, celebrate every tiny bit of progress, and remember that even experienced gardeners have their share of failed attempts. The joy of watching a new plant take hold is absolutely worth the effort. Happy propagating!
Resource:
https://identify.plantnet.org/k-world-flora/species/Aquilegia%20einseleana%20F.W.Schultz/data