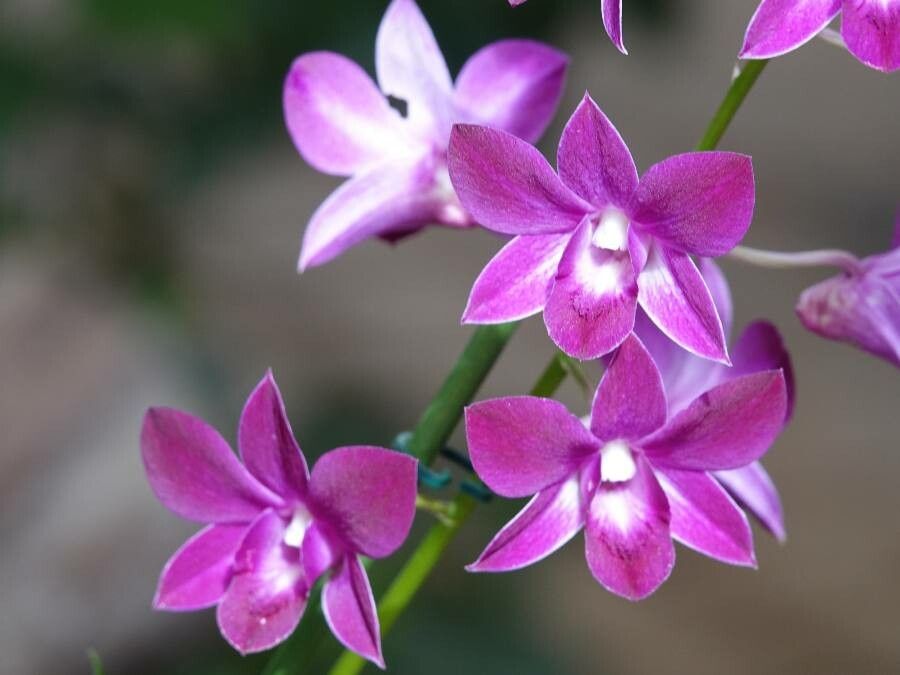
Hello there, fellow plant enthusiasts! If you’ve ever marveled at the vibrant, exotic blooms of the Spathoglottis unguiculata, also known as the common African ground orchid, you’re not alone. I’ve been growing these beauties for two decades, and that splash of color they bring to the garden is simply unmatched. What’s even more wonderful is how you can easily create more of them yourself! Propagating these orchids is a truly rewarding experience, and I’m happy to say, it’s quite achievable, even for those just dipping their toes into the world of plant propagation.
The Best Time to Start
The key to successful propagation often lies in timing. For Spathoglottis unguiculata, the ideal time to propagate is in the spring, right as new growth begins to emerge. You’ll see those plump pseudobulbs waking up, and the plant is full of stored energy, making it more receptive to division. Waiting until after the main flowering period in late summer or early fall is also a good option, but spring propagation tends to give the new divisions the longest growing season to establish themselves.
Supplies You’ll Need
Gathering the right tools makes all the difference. Here’s what I always have on hand:
- A sharp, clean knife or pruning shears. Sterilize them with rubbing alcohol to prevent disease.
- A good quality well-draining potting mix. I often use a blend of orchid bark, perlite, and a little bit of coco coir for moisture retention.
- Small pots or planting trays with drainage holes.
- Optional: Rooting hormone. This can give your divisions a little extra boost.
- A watering can with a fine rose attachment.
- Optional: A heat mat. This is particularly helpful for maintaining consistent soil temperatures.
Propagation Methods
The most common and effective way to propagate Spathoglottis unguiculata is through division. These orchids grow from rhizomes, forming clumps of pseudobulbs. When these clumps become too large, or you simply want more plants, you can carefully separate them.
- Gently Unpot the Plant: Carefully remove your Spathoglottis from its pot. If it’s tightly bound, you might need to gently loosen the root ball by squeezing the pot or tapping the sides.
- Inspect the Rhizome: Look for where the pseudobulbs are connected. You’re looking for natural separation points where a new pseudobulb has a few healthy roots attached.
- Divide Carefully: Using your sterilized knife or shears, carefully cut through the rhizome to separate sections. Make sure each division has at least two or three healthy pseudobulbs and a good root system. Don’t worry if a few roots get a bit damaged; they’ll recover.
- Allow to “Dry”: This is a crucial step! After dividing, I like to let the cut surfaces dry and callus over for a few hours, or even overnight. This helps prevent rot when you replant. You can lay them on a piece of newspaper in a dry, airy spot.
- Potting Up: Prepare your new pots with your well-draining mix. Plant each division, ensuring the base of the pseudobulbs is at or just above the soil surface. Again, don’t bury the pseudobulbs too deeply.
- Initial Watering: Water them in gently but thoroughly. You want the potting medium to be moist, but not waterlogged.
The “Secret Sauce” (Pro Tips)
Over the years, I’ve picked up a few tricks that really seem to help my divisions thrive.
- First, and this is a big one for orchids: don’t overwater after division. The pseudobulbs have stored energy, and they can rot if the soil stays too soggy. Water when the top inch of the potting mix feels dry.
- If you’re propagating in a cooler spring, using a heat mat under your pots can really speed up root development. Orchids appreciate a little warmth from below. Just set it to a gentle warmth, not hot!
- When you’re dividing, don’t be afraid to trim away any old, dried-up roots or papery husks from the pseudobulbs. It helps the plant focus its energy on new growth.
Aftercare & Troubleshooting
Once your divisions are potted, place them in a bright spot with indirect light. Avoid direct sunlight, which can scorch their new, tender leaves. Keep the soil consistently moist, but again, not soggy.
The most common issue you might encounter is rot. If you notice your pseudobulbs becoming mushy or discolored, it’s usually a sign of too much moisture. In this case, gently unpot the plant, trim away any rotted parts with your sterilized knife, and repot in fresh, dry potting mix. Increase airflow around the plant. If the pseudobulbs start to shrivel and dry out completely, it typically means they are not getting enough water or humidity.
A Little Patience Goes a Long Way
Don’t be discouraged if your new divisions don’t immediately burst into bloom. Propagation is about establishing a healthy new plant. Give them time to develop a strong root system. Watch for new leaf growth – that’s your sign they’re happy and settling in. Enjoy the process of watching these little orchid babies grow! Happy gardening!
Resource: