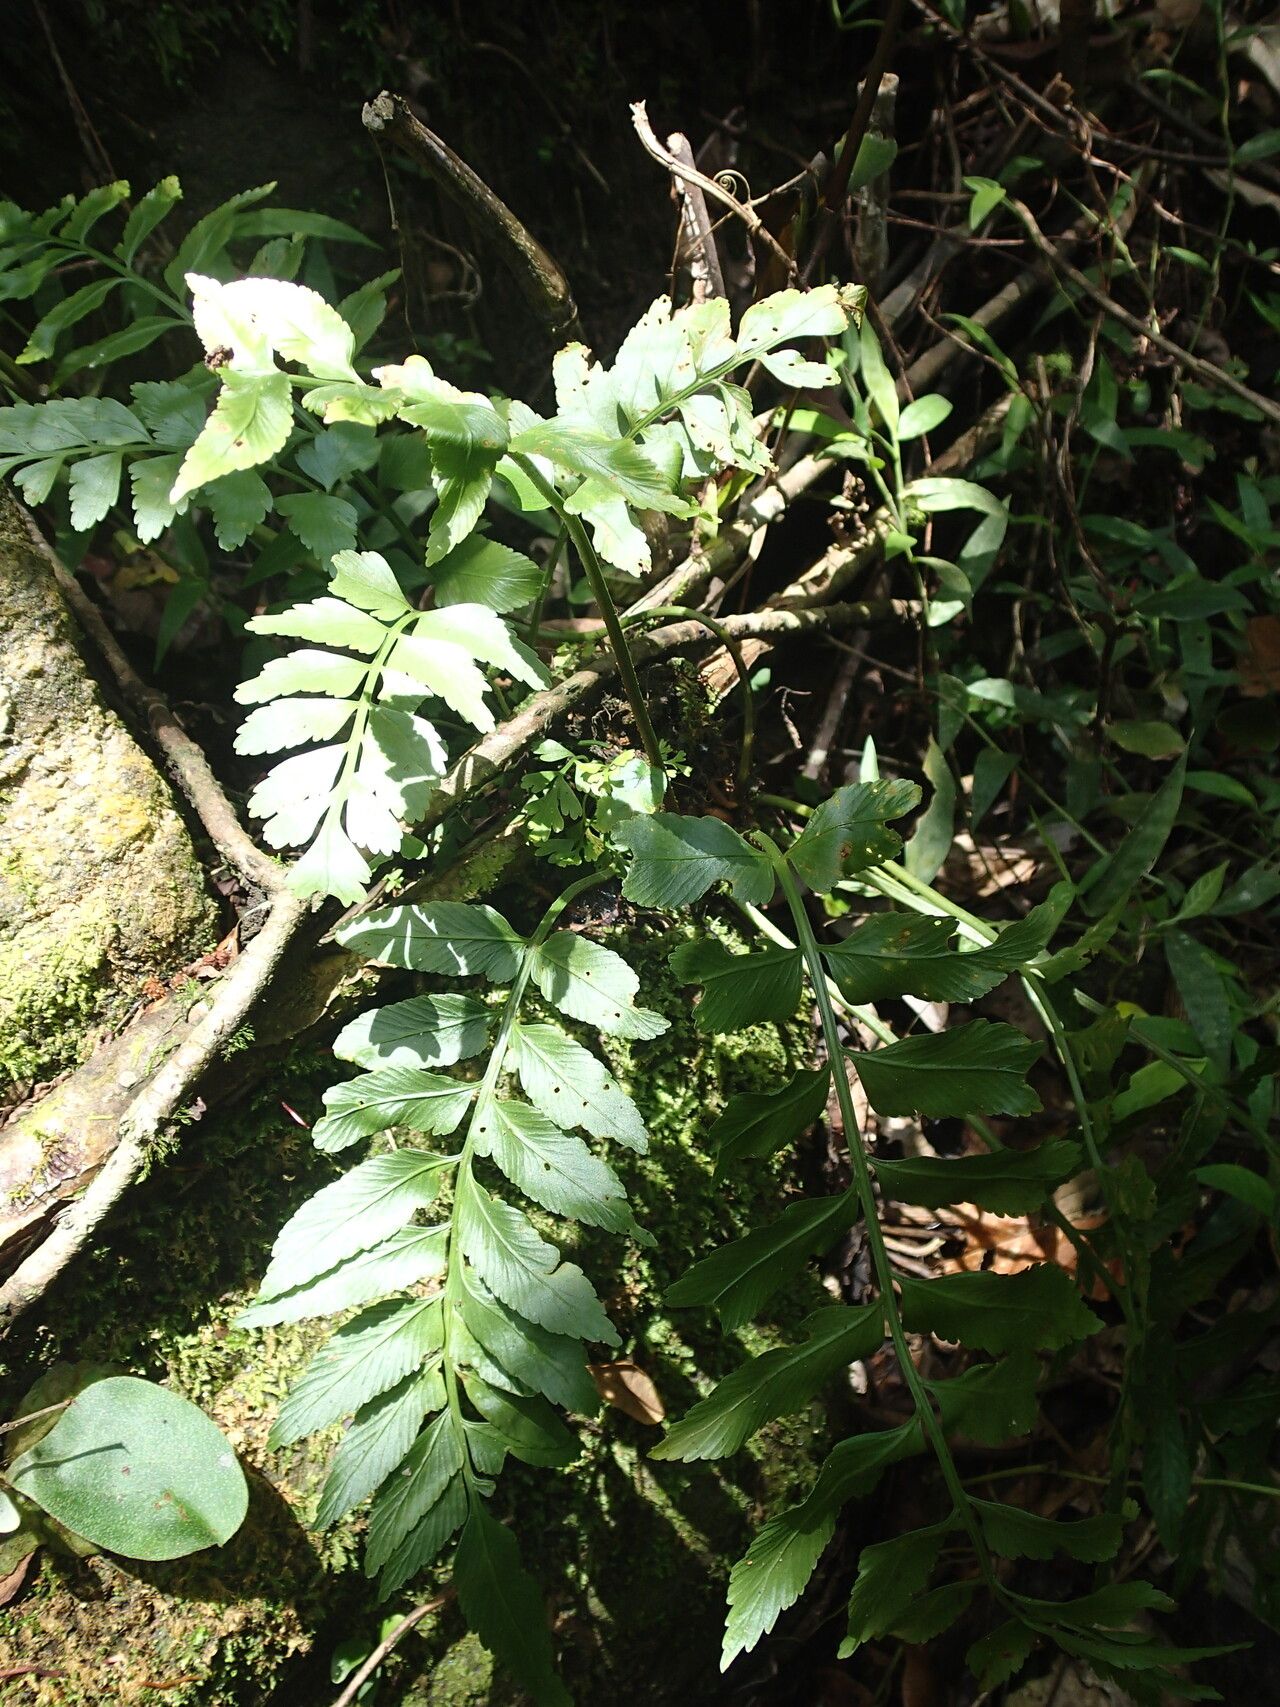
Hello fellow plant lovers! Today, we’re diving into the fascinating world of propagating Asplenium anisophyllum, also known as the shining spleenwort. If you’ve ever admired its glossy, hand-like fronds and thought, “I wish I had more of those!”, then you’re in for a treat. Getting more of these beauties from a single plant is truly one of gardening’s greatest joys.
Now, is Asplenium anisophyllum a walk in the park for brand-new plant parents? I’d say it’s moderately easy. It’s not the most forgiving plant when it comes to mistakes, but with a little care and attention, you can absolutely succeed. It’s a wonderful project that teaches you patience and observation.
The Best Time to Start
For the highest chance of success, I always recommend propagating in the spring or early summer. This is when the plant is actively growing and has plenty of energy to put into developing new roots. You’ll see new fronds unfurling, which is a great sign that it’s ready to share and multiply.
Supplies You’ll Need
Here’s what you’ll want to gather before we get started:
- Clean, sharp pruning shears or a sharp knife: To make clean cuts without crushing the plant material.
- Well-draining potting mix: A good blend for ferns often includes peat moss, perlite, and a bit of orchid bark.
- Small pots or seed trays: For your new propagating bits.
- Clear plastic bags or a propagation dome: To maintain humidity.
- Hormone rooting powder (optional but helpful): Especially if you’re a bit nervous.
- Spray bottle: For misting.
- Water: Of course!
Propagation Methods
Asplenium anisophyllum is a bit unique in how we propagate it. Unlike many plants, you won’t be taking typical stem cuttings. We’ll focus on the most reliable methods for this fern.
1. Division (The Classic Approach)
This is my go-to method for Asplenium anisophyllum. It’s straightforward and generally yields the best results.
- Step 1: Gently remove the parent plant from its pot. Be careful not to damage the existing fronds too much.
- Step 2: Inspect the root ball. Look for natural divisions. You should be able to see where one plant clump seems to be separating from another.
- Step 3: Using your hands or a clean knife, carefully separate a section of the plant. Make sure each division has a good amount of healthy roots attached, along with some fronds. A small clump is better than a large one with weak roots.
- Step 4: Pot up each division into its own small pot. Use your well-draining potting mix. Don’t pack it down too tightly.
- Step 5: Water lightly. You want the soil to be moist, but not waterlogged.
- Step 6: Cover the pots with a clear plastic bag or propagation dome. This creates a humid microclimate, which is crucial for new root development. Ensure the bag doesn’t touch the fronds too much, if possible.
- Step 7: Place in a bright, indirect light location. Avoid direct sunlight, which can scorch young plants.
2. Spore Propagation (For the Adventurous!)
This method is more akin to growing from seed, but with fern spores. It’s fascinating but requires a lot more patience and sterile conditions. You’ll typically find brown spore cases on the underside of mature fronds. Collecting and sowing these is a whole other deep dive, so I’ll focus on division as it’s much more accessible for most home growers.
The “Secret Sauce” (Pro Tips)
As I’ve tinkered with many ferns over the years, a few little tricks have made a big difference.
- Don’t overwater divisions immediately. While they need moisture to establish, sodden soil is the quickest way to invite rot. Let the soil surface dry slightly between waterings.
- Humidity is your best friend. That plastic bag or dome is non-negotiable. If you can, using a heat mat underneath the pots can also significantly speed up root formation. It mimics the warmth of spring and gives those roots a delightful boost.
- Be patient with new growth. It can take weeks, sometimes even a couple of months, before you see definite signs of new frond development. Don’t give up too soon!
Aftercare & Troubleshooting
Once your divisions have started to show signs of new growth – little unfurling fiddleheads are a great indicator – you can gradually begin to acclimate them to lower humidity. This means slowly opening the plastic bag or ventilation holes over several days. Continue to water when the top inch of soil feels dry.
The most common sign of failure is rot. If the fronds turn yellow and mushy, or if the base of the plant starts to look dark and slimy, it’s usually a sign of too much moisture and insufficient air circulation. Another issue can be drying out, which will cause the fronds to crisp up and brown at the edges. This is why maintaining that consistent humidity is so important in the early stages.
A Encouraging Closing
Propagating your Asplenium anisophyllum is a wonderfully rewarding endeavor. It connects you more deeply with your plants and fills your home with more greenery. Remember to be patient. Every gardener, experienced or beginner, learns and grows alongside their plants. Enjoy the process, celebrate your successes, and don’t be discouraged by the occasional hiccup. Happy propagating!
Resource:
https://identify.plantnet.org/k-world-flora/species/Asplenium%20anisophyllum%20Kunze/data