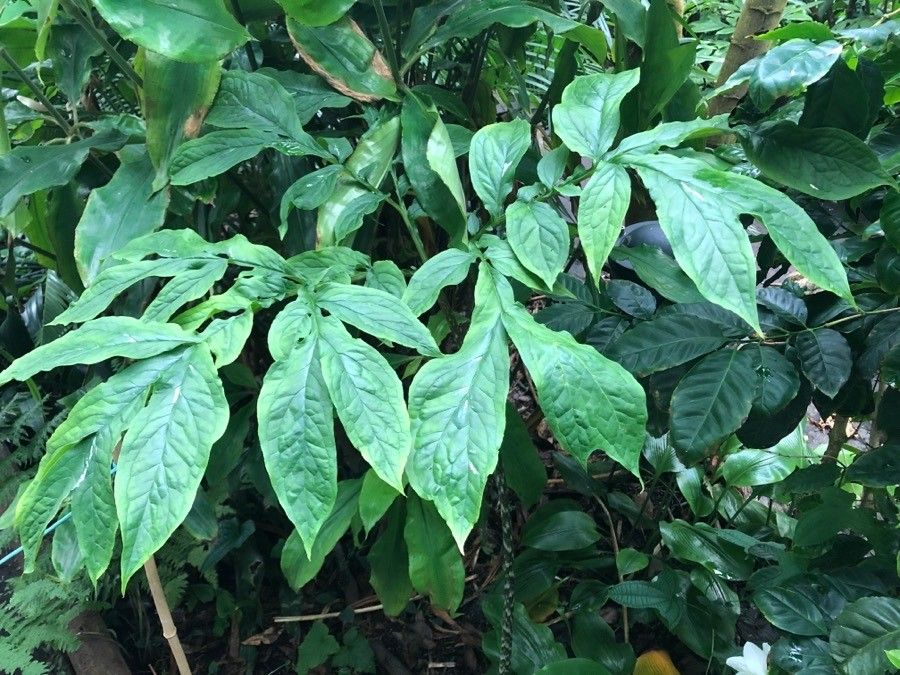
Oh, happy to chat about propagating Dracontium amazonense! It’s such a cool plant, isn’t it? That dramatic foliage is simply show-stopping, and it really brings a touch of the exotic to any space. Plus, there’s a unique satisfaction in creating new life from an existing one. Now, I’ll be honest, Dracontium amazonense isn’t necessarily a beginner’s first rodeo, but with a little knowledge and patience, it’s absolutely achievable for most of us who love getting our hands dirty.
The Best Time to Start
Timing is key with most plants, and propagation isn’t an exception. For Dracontium amazonense, I’ve found the sweet spot is usually late spring or early summer. This is when the plant is in its active growth phase, meaning it has plenty of energy to put into developing new roots. You’ll know it’s a good time if your plant is producing healthy new leaves or shoots. Avoid attempting propagation when the plant seems to be slowing down or going dormant.
Supplies You’ll Need
Before we dive in, let’s gather our tools. Having everything ready makes the process so much smoother:
- Sharp, sterile pruning shears or a knife: Cleanliness is paramount to prevent disease.
- Well-draining potting mix: I like a blend of equal parts peat moss, perlite, and orchid bark. This mimics their natural habitat and prevents waterlogging.
- Small pots or propagation trays: Choose something appropriately sized for your cuttings.
- Rooting hormone (optional, but recommended): A powdered or liquid form can give your cuttings a helpful boost.
- Plastic bags or a propagation dome: To create a humid environment.
- Watering can with a fine rose: For gentle watering.
- Trowel or small scoop: For handling your potting mix.
- Labels: To keep track of your projects!
Propagation Methods
The most reliable way I’ve found to propagate Dracontium amazonense is through division, especially if your plant is already mature and healthy.
Division: The Tried and True Method
- Gently remove the plant from its pot. Ease it out, trying not to disturb the root ball too much. If it’s stuck, a gentle tap on the sides of the pot usually does the trick.
- Inspect the root ball. You’re looking for distinct sections or separate tubers that have formed. You might see smaller offsets attached to the main tuber.
- Carefully separate the divisions. Use your sterile shears or a clean knife to cut through any connecting roots or rhizomes. Make sure each division has at least one healthy-looking eye or bud and a good portion of roots attached.
- Allow the cut surfaces to callus. This is a crucial step! Place the divisions in a dry, well-ventilated spot for a day or two until the cut areas look dry and sealed. This helps prevent rot when they go into the soil.
- Pot up your divisions. Plant each division in its own small pot filled with your well-draining mix. Ensure the tuber is just barely covered with soil, with the eye pointing upwards.
- Water lightly. Give them a gentle watering to settle the soil. Don’t drench them.
I’ve also had some success with stem cuttings, but it’s a bit more unpredictable for this particular species. If you want to try:
- Select a healthy stem. Look for a mature stem that has at least one node (where a leaf emerges). Cut it a few inches long.
- Remove lower leaves. Make sure no leaf will be submerged if you decide to water propagate, or that they won’t be in contact with the soil surface.
- Apply rooting hormone (optional). Dip the cut end into rooting hormone, tapping off any excess.
- Plant or water. You can either plant the cutting directly into your well-draining mix, or place it in a jar of water.
The “Secret Sauce” (Pro Tips)
Here are a few things I’ve learned over the years that can really make a difference:
- Don’t overwet the soil after division. This is probably the most common mistake. They need a little moisture to get started, but too much is a direct invitation for rot. Think of damp, not soggy.
- Use bottom heat for cuttings. If you’re trying stem cuttings, placing the pot on a seedling heat mat can dramatically speed up root formation. It mimics the warmth of a tropical soil.
- Humidity is your friend, but circulation is crucial. While you want to create a humid environment with a bag or dome, make sure to open it up for a few minutes each day to allow for air circulation. This prevents fungal issues.
Aftercare & Troubleshooting
Once your divisions or cuttings show signs of life – new leaves emerging or tugging at the pot indicates roots! – it’s time to fine-tune their care.
- Gradually acclimate them. If you’ve been using a humidity dome or bag, start taking it off for increasingly longer periods to help them adjust to normal room humidity.
- Water when the top inch of soil is dry. Continue to use a light hand with the watering can.
- Keep them in bright, indirect light. Direct sun can scorch their delicate new leaves.
Now, what if things go south? The most common issue you’ll encounter is rot. If you notice your cutting turning mushy, black, or smelling funky, it’s likely rot. This usually points to overwatering or poor air circulation. Sadly, if rot sets in, it’s often irreversible. The best thing you can do is remove the affected part and try to dry out the remaining healthy section, but I’d be prepared to start over with a new attempt.
A Encouraging Closing
Propagating plants can sometimes feel like a gamble, and that’s perfectly okay. Don’t get discouraged if your first attempt isn’t a runaway success. The journey itself is a learning experience. Be patient, pay attention to your plant’s needs, and enjoy the magic of watching something new sprout and grow. Happy propagating, my friends!
Resource: