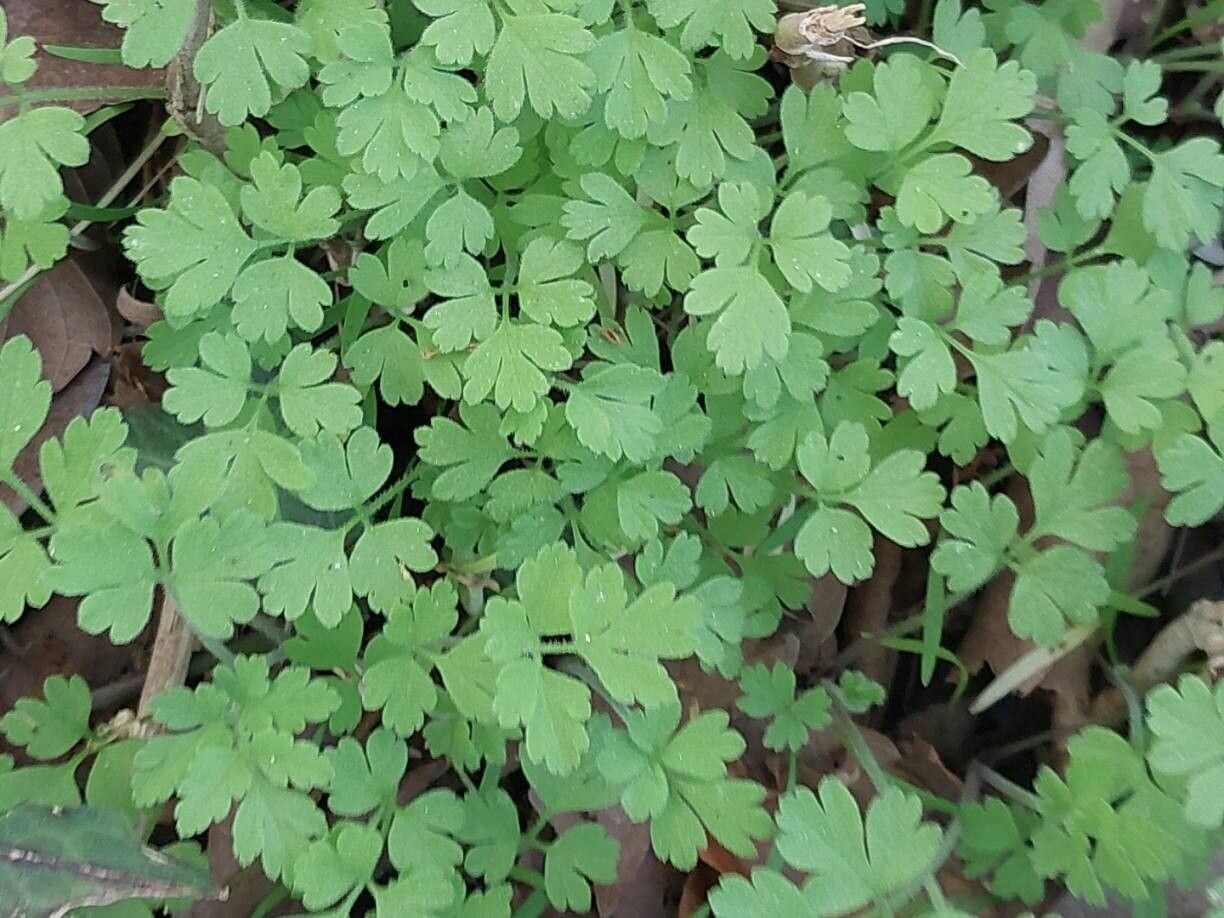
Well hello there, fellow plant lovers! Today, we’re diving into the delightful world of Chaerophyllum tainturieri, also known as wild chervil. If you’ve ever been charmed by its delicate, lacy foliage and those pretty little white flowers, you’re in for a treat. Propagating this beauty is a wonderful way to fill your garden, share with friends, or simply enjoy the satisfaction of nurturing new life.
I’d say Chaerophyllum tainturieri falls into the moderately easy category for propagation. It’s not as finicky as some tropical orchids, but it does appreciate a bit of care and attention. But don’t let that deter you! With a little patience and these tips, you’ll be well on your way to success.
The Best Time to Start
For Chaerophyllum tainturieri, the sweetest spot for propagation is usually in the late spring to early summer. This is when the plant is actively growing and has plenty of energy to put into developing new roots. You want to catch it at a time when it’s robust and healthy, not stressed by extreme heat or cold. Look for new, healthy stem growth to work with.
Supplies You’ll Need
Gathering your tools before you begin makes the whole process smooth sailing. Here’s what I like to have on hand:
- Clean, sharp pruning shears or a sharp knife: For making clean cuts.
- Small pots or trays: With drainage holes, of course!
- A good quality potting mix: I often use a seed-starting mix or a blend of peat moss and perlite for good aeration and drainage. You can also amend your regular potting soil with extra perlite.
- Rooting hormone (optional but recommended): This little helper can significantly boost your success rates.
- Watering can or spray bottle: For gentle watering.
- Plastic bags or a propagation dome: To maintain humidity.
- Labels: To remember what you’ve planted where!
Propagation Methods
Chaerophyllum tainturieri is generally quite happy to be propagated through a couple of methods, but I find stem cuttings to be the most reliable and rewarding.
Stem Cuttings: A Step-by-Step Guide
- Take Your Cuttings: On a healthy, non-flowering stem, select a section that’s about 4-6 inches long. Make a clean cut just below a leaf node (where a leaf attaches to the stem). These nodes are where roots are most likely to form.
- Prepare the Cuttings: Gently remove the lower leaves from the cutting, leaving just a few at the top. This prevents them from rotting when you put the cutting into the soil.
- Apply Rooting Hormone (Optional): Dip the cut end of the stem into rooting hormone, tapping off any excess. This stuff really gives new roots a kickstart!
- Plant Your Cuttings: Fill your small pots or trays with your prepared potting mix. Make a small hole in the center with your finger or a pencil. Carefully insert the prepared cutting into the hole, ensuring the leaf nodes are below the soil surface. Gently firm the soil around the stem.
- Water Gently: Water the potting mix thoroughly but gently. You want it to be moist, not waterlogged. A spray bottle can be ideal for this initial watering.
- Create a Humid Environment: Cover the pots with a plastic bag or a propagation dome. This will trap moisture and create the humid environment your cuttings need to root. Make sure the leaves don’t touch the plastic if possible.
- Find a Suitable Spot: Place your pots in a bright location with indirect sunlight. Avoid direct sun, which can scorch the delicate cuttings.
The “Secret Sauce” (Pro Tips)
Now for a couple of little tricks I’ve picked up over the years that make a difference:
- Bottom Heat is Your Friend: If you have the means, place your pots on a gentle heating mat. This little boost of warmth from below can significantly speed up root development. Just make sure it’s not too hot – you want it to be slightly warm to the touch, not hot.
- Foliage Humidity is Key: Those plastic bags or domes are critical! Keep them on until you see definite signs of new growth. If you notice condensation building up excessively, you can vent the bag or dome for a couple of hours each day to prevent fungal issues, but then reseal it.
- Don’t Over-Water: This is a big one! It’s so tempting to keep checking and watering, but over-watering is the number one killer of cuttings. The soil should feel consistently moist, but never soggy.
Aftercare & Troubleshooting
Once your cuttings have developed a good root system – you’ll know when you gently tug on a cutting and feel resistance, or when you see new leaves unfurling – it’s time to transition them.
Transitioning: Carefully remove the plastic covering. Continue to keep the soil moist and in bright, indirect light. As they grow stronger, you can gradually acclimate them to slightly less humidity and more direct light, depending on your plant’s eventual needs.
Troubleshooting: The most common issue you’ll encounter is rot. If you see your cuttings turning yellow, mushy, or developing black spots, it’s usually a sign of too much moisture and not enough airflow. Ensure your potting mix is well-draining and try to vent the humidity cover more often. If rot sets in, it’s best to discard the affected cutting and learn from the experience. Blind cuttings (those that never root) might just need more time, or they weren’t taken from a healthy enough source.
A Little Patience, A Lot of Joy
So there you have it! Propagating Chaerophyllum tainturieri is a rewarding journey. Don’t be discouraged if your first few attempts aren’t perfect. Gardening is all about learning and experimenting. Enjoy the process, celebrate every tiny sprout, and soon you’ll have a whole little army of these charming plants to share! Happy growing!
Resource: