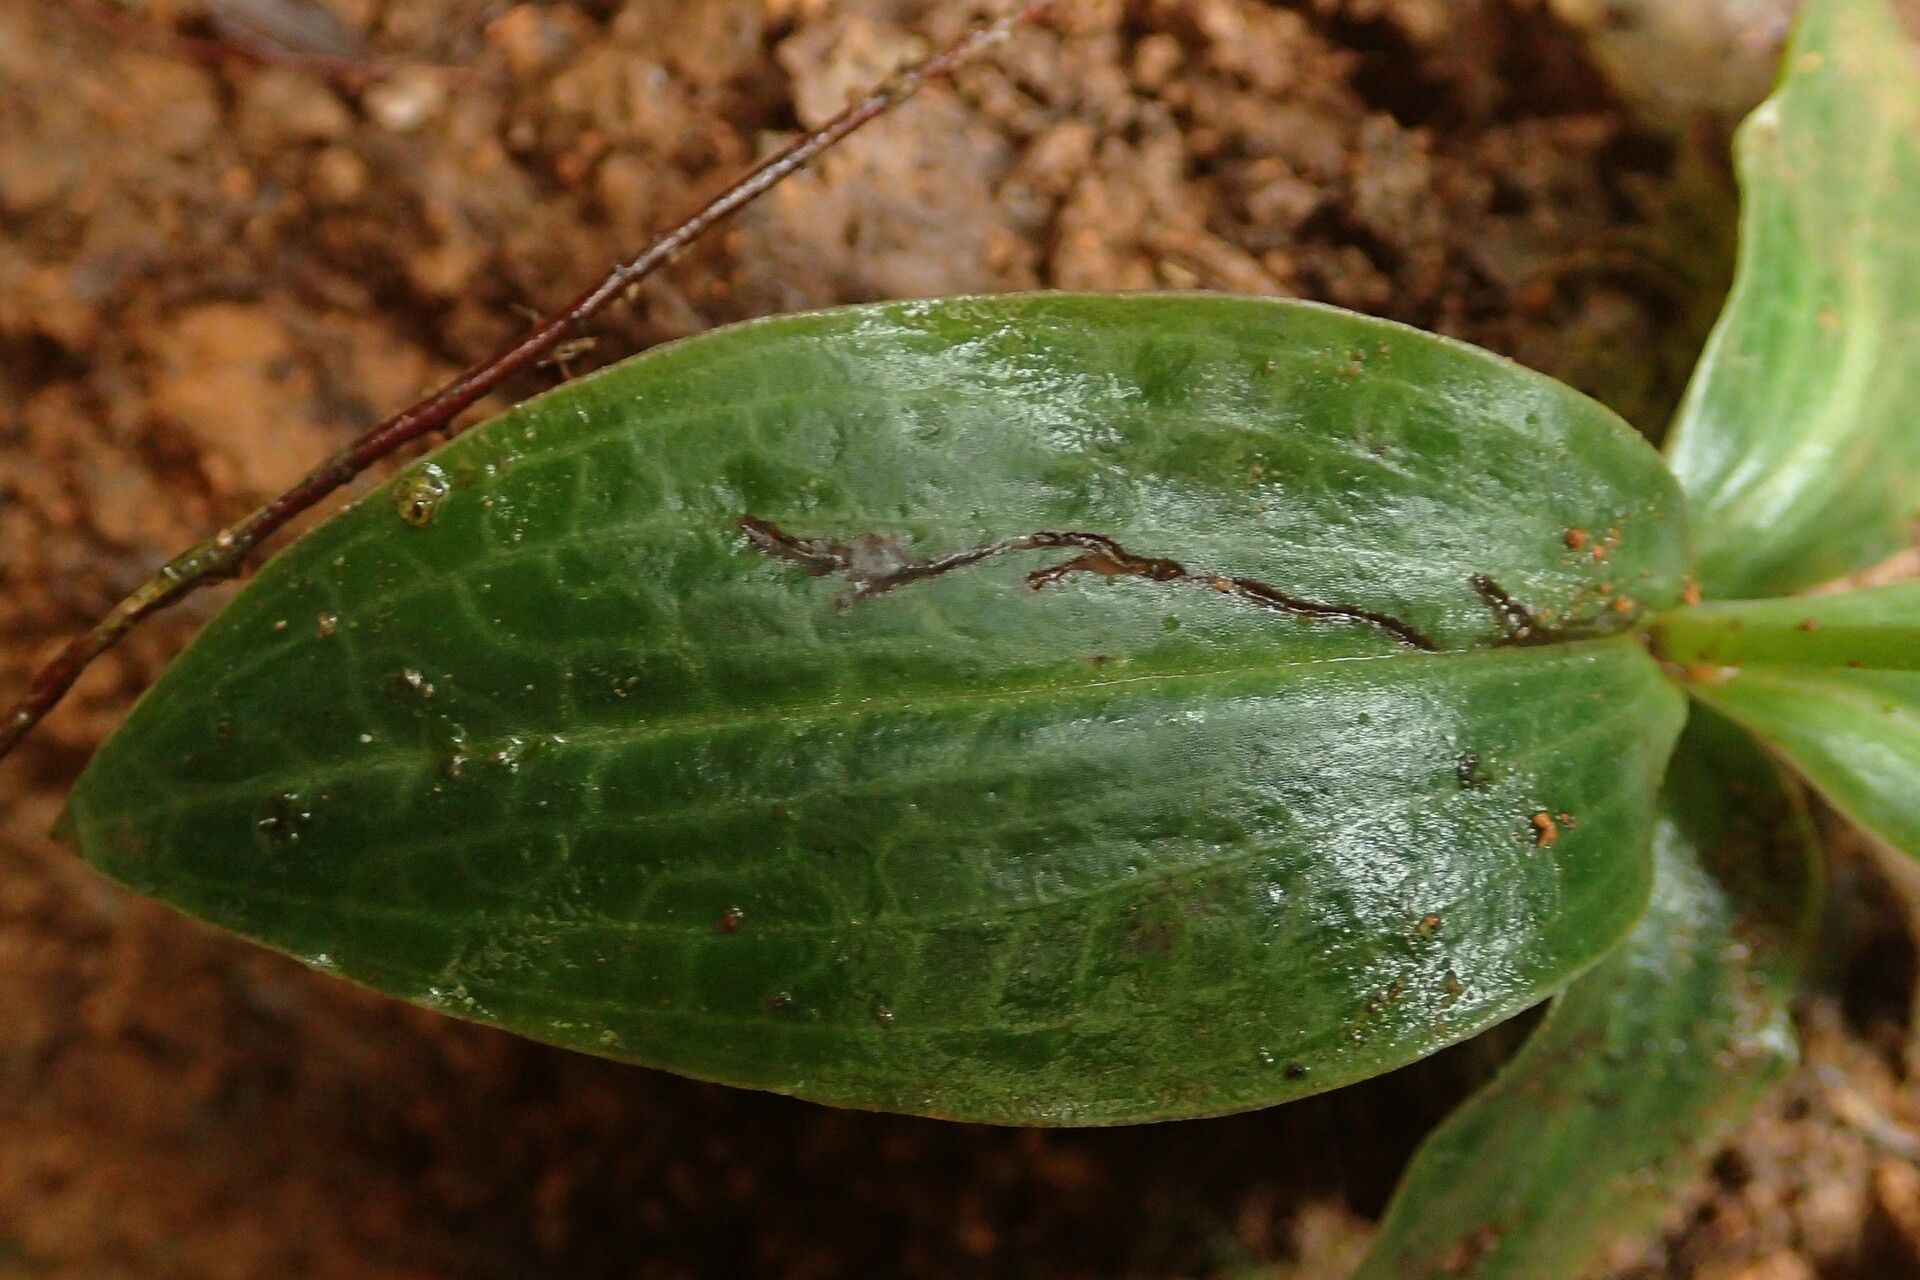
Oh, hello there! Pull up a chair and let’s talk about a truly special orchid: Cynorkis gabonensis. If you’re looking for a plant that offers delicate beauty and a bit of a delightful challenge, you’ve found it. These treasures, with their charming blooms, are a joy to have gracing a windowsill or a bright corner of your greenhouse. And the best part? Propagating them yourself. It feels a little like magic, watching a tiny piece of your beloved plant transform into a whole new, thriving individual.
Now, for the honesty you’d expect from a fellow gardener: Cynorkis gabonensis isn’t exactly a beginner orchid for propagation. It requires a bit more finesse than, say, a simple succulent cutting. But don’t let that deter you! With a little patience and the right approach, it’s absolutely achievable, and oh-so-rewarding.
The Best Time to Start
Timing is everything, as we know in the garden, and for Cynorkis gabonensis, the sweet spot is just as the plant is finishing its flowering cycle and entering its active growth phase. Think late spring to early summer. You’ll see new pseudobulbs starting to plump up or maybe even tiny new shoots emerging from the base. This is when the plant has stored up the most energy and is most receptive to putting out roots. Avoid propagating when the plant is dormant or in full bloom; it just doesn’t have the reserves to spare.
Supplies You’ll Need
Gathering your tools beforehand makes the whole process so much smoother. Here’s what I always have on hand:
- Sterile Pruning Shears or a Sharp Knife: Cleanliness is paramount to prevent disease.
- Well-Draining Potting Mix: A blend of orchid bark, perlite, and a bit of sphagnum moss works wonders. You want aeration!
- Small Pots or Seed Trays: Clean, with drainage holes, of course.
- Hormone Rooting Powder (Optional but Recommended): This can give your cuttings a helpful nudge.
- Spray Bottle: For gentle misting.
- Clear Plastic Bag or Dome: To create a humid environment.
- Bottom Heat Source (Optional but Highly Beneficial): A propagation mat or a warm windowsill.
- Clean Water: Rainwater or distilled water is best.
Propagation Methods
For Cynorkis gabonensis, the most successful route is typically through division. These orchids tend to form clumps, and separating these clumps is your best bet.
Division Method:
- Gently Remove from Pot: Carefully unpot your Cynorkis gabonensis. You might need to loosen the soil around the edges with a clean tool.
- Clean the Roots: Gently brush away as much of the old potting mix as you can from the root ball. This allows you to see the pseudobulbs and where new growths are emerging.
- Identify Divisions: Look for distinct pseudobulbs that have at least one or two healthy-looking “eyes” or developing shoots. You want to divide where the plant naturally wants to split, usually where the rhizome between pseudobulbs is clearest.
- Make the Cut: Using your sterilized pruning shears or knife, carefully cut between the divisions. Make sure each new division has at least two healthy pseudobulbs and a good portion of roots attached. If you’re struggling to find a natural break, it’s okay to cut through the rhizome, but try to do so cleanly.
- Let Them Callus: This is a crucial step. After dividing, place the separated divisions in a dry, warm spot for 24-48 hours. This allows any cut surfaces to dry and form a protective callus, which helps prevent rot.
- Repot: Plant each division into its own small pot filled with your well-draining orchid mix. Don’t bury them too deeply; the pseudobulbs should be mostly at the surface. Water very lightly at first.
The “Secret Sauce” (Pro Tips)
Ah, the little tricks that make a big difference!
- Don’t Over-Water After Division: This is probably the most common mistake. The divisions can’t take up much water until they root, so keep them on the drier side. Water sparingly in the first few weeks, just enough to keep the potting mix from drying out completely.
- Mimic Tropical Humidity: Cynorkis gabonensis love a humid environment, especially when trying to root. Once potted, if you’re not using a dome, consider placing the pots on a tray filled with pebbles and water (make sure the pots aren’t sitting in the water, mind you!). Or, tent loosely with a clear plastic bag to create a humid microclimate.
- Patience is Truly Your Best Friend: These orchids can be slow to establish. Don’t panic if you don’t see new growth immediately. It can take several weeks, even a couple of months, for them to show real signs of settling in and starting to grow.
Aftercare & Troubleshooting
Once your divisions are potted and settled, keep them in a spot with bright, indirect light. Maintain that humidity, but ensure good air circulation to prevent fungal issues. As they begin to grow vigorously, you can gradually increase watering and fertilizing with a diluted orchid fertilizer.
The main thing to watch out for is rot. If you see pseudobulbs softening and turning mushy, especially with dark spots, it’s usually a sign of overwatering or poor air circulation. If this happens, you might be able to save a healthy portion of the pseudobulb if you catch it early, but more often than not, it’s a sign the division wasn’t successful. Also, watch for wilting leaves; this can be from lack of water if they haven’t rooted yet, or sometimes from stress.
A Friendly Farewell
So there you have it! Propagating Cynorkis gabonensis is a journey, not a race. Embrace the learning curve, and celebrate each tiny new leaf or plump pseudobulb. Gardening is all about the process, the connection to nature, and the quiet satisfaction of nurturing new life. I’m wishing you all the very best as you embark on this rewarding adventure. Happy growing!
Resource:
https://identify.plantnet.org/k-world-flora/species/Cynorkis%20gabonensis%20Summerh./data