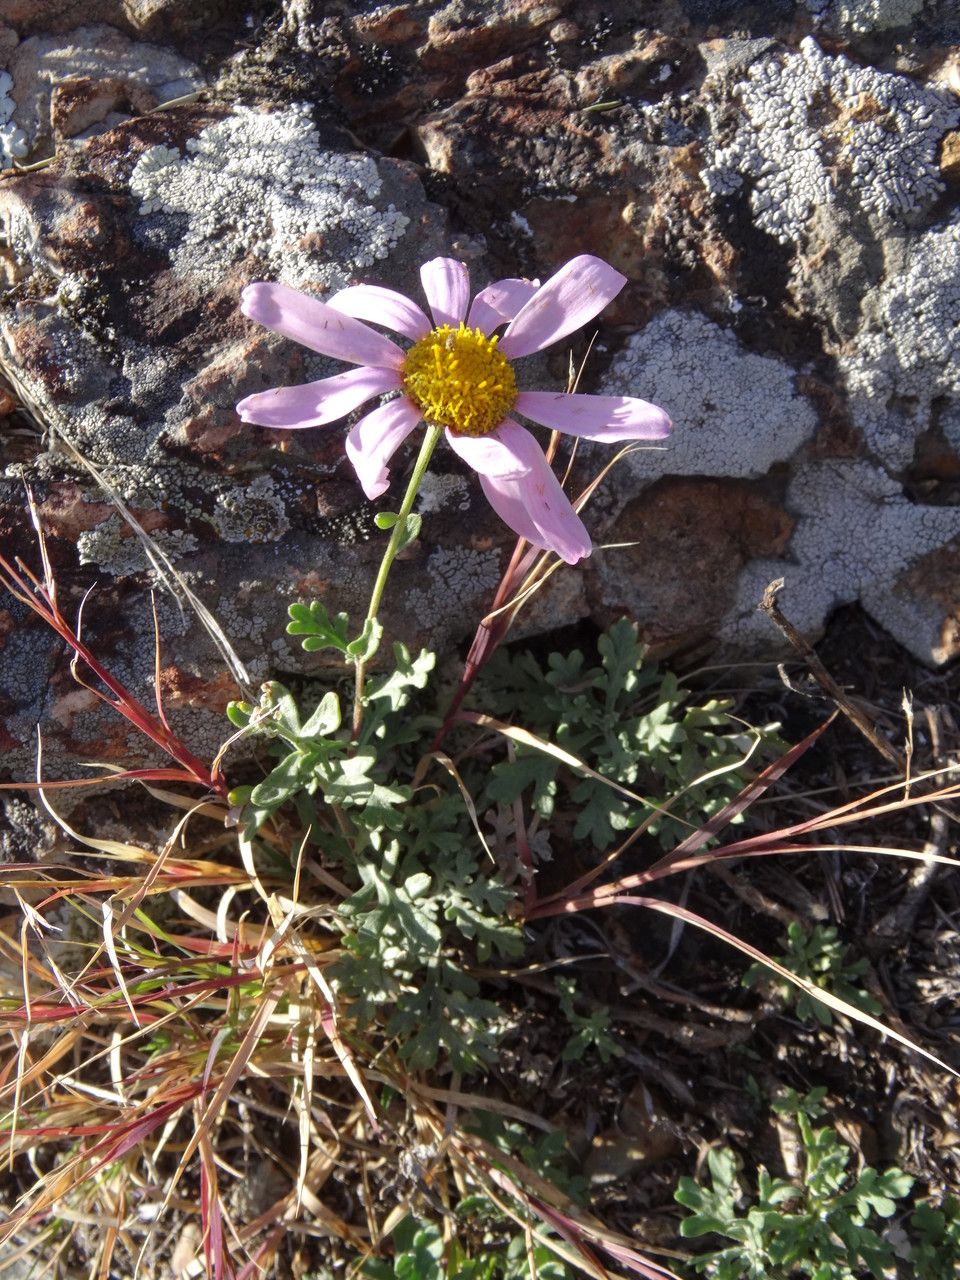
Hello fellow plant lovers! Today, I want to talk about a flower that brings a splash of sunshine and a whole lot of cheer to the garden: Chrysanthemum sinuatum, often called the painted daisy or fringed chrysanthemum. Their delicate, often fringed petals and vibrant colors are just irresistible. And the best part? They’re surprisingly easy to bring more of into your garden! If you’re new to propagation, you’ll find Chrysanthemum sinuatum to be a wonderfully rewarding plant to start with. It’s quite forgiving, which is always a bonus in my book.
The Best Time to Start
For the absolute best chance of success with Chrysanthemum sinuatum, I always recommend propagating in late spring to early summer. This is when the plants are actively growing and have plenty of fresh, green shoots to work with. Trying to take cuttings too early in the spring, when things are still waking up, or too late in the fall, when the plant is focusing on setting seeds, just doesn’t yield as good results.
Supplies You’ll Need
Before we get our hands dirty, let’s gather our tools. Having everything ready makes the process so much smoother.
- Sharp pruning shears or a clean knife: For taking neat, precise cuttings.
- Potting mix: A light, well-draining mix is crucial. I like to use a blend of peat moss, perlite, and a bit of compost.
- Small pots or trays: Clean pots are a must to prevent disease.
- Rooting hormone (optional but recommended): This can give your cuttings an extra boost in developing roots.
- Watering can or spray bottle: For gentle watering.
- Plastic bags or a propagator: To create a humid environment for your cuttings.
Propagation Methods
There are a couple of fantastic ways to get new Chrysanthemum sinuatum plants. I tend to favor stem cuttings because they’re straightforward and usually very effective.
1. Stem Cuttings: The Classic Approach
This is my go-to method for Chrysanthemum sinuatum.
- Select Your Cuttings: Look for healthy, non-flowering shoots on your established plant. You want stems that are about 4-6 inches long. Gently bend a stem – if it snaps cleanly, it’s a good sign it’s ready. Avoid woody or old stems.
- Make the Cut: Using your sharp shears or knife, cut just below a leaf node. This is the point on the stem where a leaf grows out. It’s packed with growth hormones and the best place for roots to form. Remove the lower leaves from the cutting, leaving just a few at the top. This reduces moisture loss.
- Rooting Hormone (if using): Dip the cut end of the stem into rooting hormone, tapping off any excess.
- Planting: Fill your clean pots with your moistened potting mix. Make a hole with your finger or a pencil, then gently insert the cut end of the stem. Firm the soil around it to ensure good contact. You want the leaf nodes that were below the soil line to be covered.
- Create Humidity: Water the soil gently. Then, cover the pot with a plastic bag, propping it up with stakes so it doesn’t touch the leaves, or place the pots inside a propagator. This creates a mini-greenhouse.
2. Water Propagation: A Visual Treat
This is a fun one to watch, as you can literally see the roots grow!
- Prepare Your Cuttings: Follow the same steps as above for selecting and preparing your stem cuttings.
- Place in Water: Fill a clean jar or glass with fresh water. Place the cuttings in the water, ensuring that no leaves are submerged. Leaves in the water will rot and can infect the cutting.
- Location and Changes: Place the jar in a bright spot out of direct sunlight. Change the water every few days to keep it fresh and prevent bacterial growth.
- Planting: Once you see prominent roots, about an inch or so long, it’s time to pot them up into your soil mix, just as you would with cuttings that have rooted in hormone.
The “Secret Sauce” (Pro Tips)
Here are a few things I’ve learned over the years that can really make a difference:
- The Bottom Heat Advantage: If you can, use a heat mat underneath your pots. Chrysanthemum sinuatum just loves a little warm encouragement from below. It helps stimulate root development much faster than ambient room temperature alone.
- Don’t Overcrowd: When planting multiple cuttings in one pot or tray, give them a little breathing room. Allow for good air circulation between them. This reduces the risk of fungal diseases, especially when they’re young and vulnerable.
- Gentle Watering is Key: Once your cuttings are planted, resist the urge to drench them every day. Keep the soil consistently moist, but never soggy. A good watering and then letting the top inch of soil dry out slightly before watering again is usually just right.
Aftercare & Troubleshooting
Once you start seeing new leaf growth or a gentle tug on the cutting reveals resistance (meaning roots have formed!), you’re almost there!
- Gradual Acclimation: If you’ve used a plastic bag or propagator, slowly introduce your new plants to open air. Remove the cover for a few hours each day, gradually increasing the time until they are accustomed to normal humidity.
- Transplanting: Once the roots are well-established and filling the pot, you can transplant them into larger pots or directly into the garden after the danger of frost has passed and they’ve been hardened off.
- Troubleshooting Rot: The most common problem you’ll encounter is rot. If a cutting turns black and mushy, it’s usually a sign of too much moisture and not enough air circulation. Unfortunately, these can’t be saved. Remove and discard them to prevent any disease from spreading to your other cuttings. Good drainage and avoiding overwatering are your best defense against this.
And there you have it! Propagating your beloved Chrysanthemum sinuatum is a deeply satisfying way to expand your garden and share these beauties with friends. Don’t be discouraged if your first few attempts aren’t perfect. Gardening is all about learning and observing. Be patient, enjoy the process of nurturing these little ones, and soon you’ll be surrounded by an abundance of cheerful blooms. Happy propagating!
Resource:
https://identify.plantnet.org/k-world-flora/species/Chrysanthemum%20sinuatum%20Ledeb./data