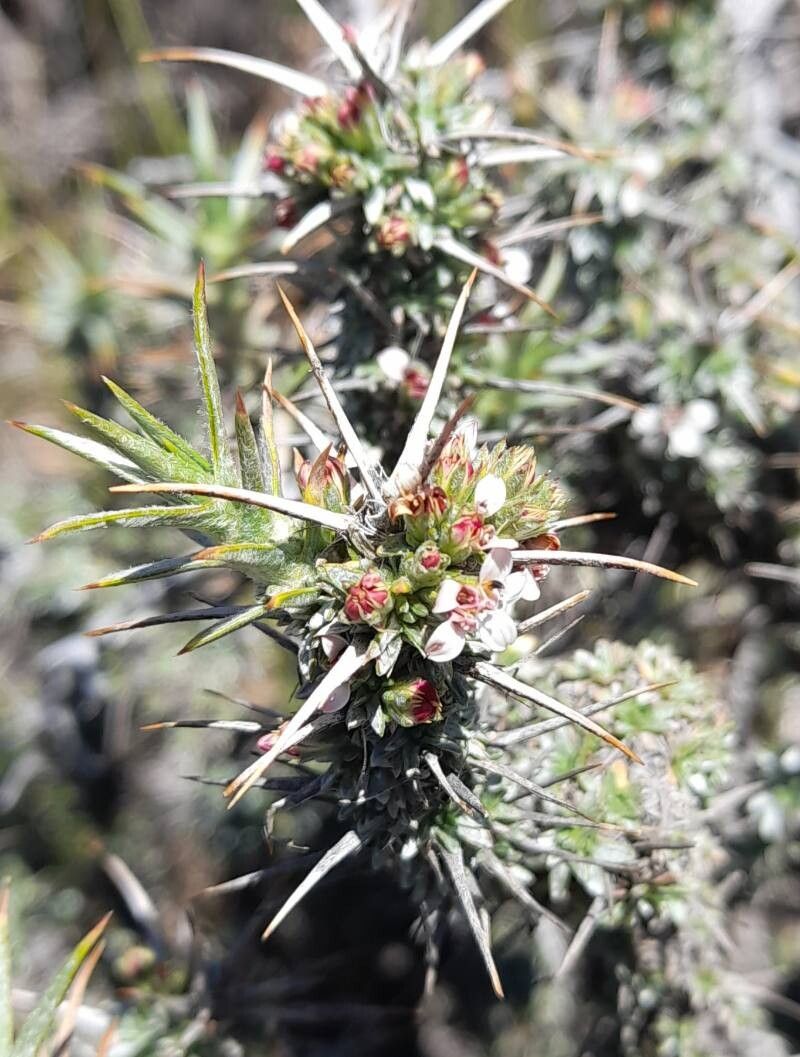
Hello fellow plant lovers! Today, we’re diving into the wonderful world of propagating Nassauvia axillaris. If you’ve ever admired those charming, often fuzzy, and sometimes daisy-like blooms of this unique plant, you’re in for a treat. Bringing new life into your garden from existing beauties is one of the most satisfying parts of being a gardener. Honestly, I find Nassauvia axillaris to be a rather forgiving plant to propagate, which makes it a delightful project even if you’re just dipping your toes into the propagation waters.
The Best Time to Start
For the most success with Nassauvia axillaris, I find that late spring to early summer is your golden window. This is when the plant is actively growing and has plenty of energy to put into new root development. Trying to propagate when the plant is stressed, say during a heatwave or right after flowering, can make things a little trickier. Look for new, healthy growth that’s not yet woody.
Supplies You’ll Need
Before we get our hands dirty, let’s gather our tools. Having everything ready makes the process so much smoother.
- Sharp, clean pruning shears or a sharp knife: Essential for making clean cuts.
- Rooting hormone (optional, but recommended): This little powder or gel can give your cuttings a real boost.
- Well-draining potting mix: A good blend is key. I often use a mix of equal parts peat moss, perlite, and coarse sand. You can also find premade cactus and succulent mixes that work wonderfully.
- Small pots or seed trays: Clean ones are a must to prevent disease.
- Plastic bags or a propagator: To create a humid environment for your cuttings.
- Watering can or spray bottle: For gentle watering.
- Labels: So you don’t forget what you planted!
Propagation Methods
Nassauvia axillaris is wonderfully versatile, and I’ve had great success with a couple of methods.
Stem Cuttings
This is my go-to for this plant.
- Take Cuttings: Select healthy, non-flowering stems that are about 4-6 inches long. Using your sharp shears, make a clean cut just below a leaf node. A leaf node is where a leaf attaches to the stem; this is where roots are most likely to form.
- Prepare the Cuttings: Gently remove any lower leaves from the cutting, leaving just a few at the top. This prevents them from rotting in the soil. If you’re using rooting hormone, dip the cut end into it, tapping off any excess.
- Plant the Cuttings: Fill your small pots with your well-draining potting mix. Make a small hole in the center with your finger or a pencil. Insert the cutting into the hole, ensuring the leaf nodes are buried. Gently firm the soil around the stem.
- Water and Cover: Water gently to settle the soil. Then, cover the pot with a plastic bag or place it in a propagator. This creates a mini-greenhouse, keeping the humidity high, which is crucial for rooting. You can prop the bag up with a skewer or two if it touches the leaves.
Division (for established plants)
If you have a larger, established clump, division can be a great option.
- Prepare to Dig: Gently remove the entire plant from its pot or the ground.
- Separate the Clumps: Carefully untangle the root system. You’re looking to divide the plant into smaller sections, each with its own set of roots and some healthy foliage. You might need to use your fingers or even a clean knife to help separate stubborn clumps.
- Replant Immediately: Once you have your divisions, plant each one into its own pot filled with well-draining soil, just as you would a cutting. Water gently.
The “Secret Sauce” (Pro Tips)
Here are a few things I’ve learned over the years that really make a difference.
- Don’t let the leaves touch the soil (initially): When rooting cuttings in pots, ensure the leaves remaining at the bottom stay above the soil line. If they get buried, they’re far more prone to rot, which can take your cutting down with it.
- Bottom heat is your friend: While not strictly necessary, a little gentle warmth from below can significantly speed up the rooting process. A heated propagator mat or even placing pots on top of a gently warmed (not hot!) router can work wonders.
- Patience is paramount with water: If you decide to try water propagation (though I find soil generally more successful for Nassauvia), never let the leaves touch the water. Only the submerged stem should be in contact with the water. Change the water every few days to keep it fresh.
Aftercare & Troubleshooting
Once your cuttings have taken root – and you’ll often see this by the appearance of new growth or feel a gentle tug when you lightly pull on the stem – it’s time for a little adjustment.
- Gradually Acclimate: Slowly remove the plastic bag over a week or two, allowing the new plant to get used to the drier air.
- Light: Place your new plants in a bright, indirect light location. Avoid direct, harsh sun while they’re still establishing.
- Watering: Water when the top inch of soil feels dry. Overwatering is the most common mistake and can lead to dreaded root rot, which often presents as mushy, black stems or leaves that wilt and yellow despite being in moist soil. If you see this, unfortunately, it’s usually a sign the cutting is lost. You might also see fungal growth on the soil surface; this is a sign of too much moisture and not enough air circulation.
A Encouraging Closing
Propagating plants is a beautiful dance with nature. Sometimes it takes a few tries, and that’s perfectly okay! Enjoy the process of nurturing these new lives. Be patient, celebrate the small victories, and soon you’ll have a whole happy family of Nassauvia axillaris to enjoy. Happy propagating!
Resource:
https://identify.plantnet.org/k-world-flora/species/Nassauvia%20axillaris%20D.Don/data