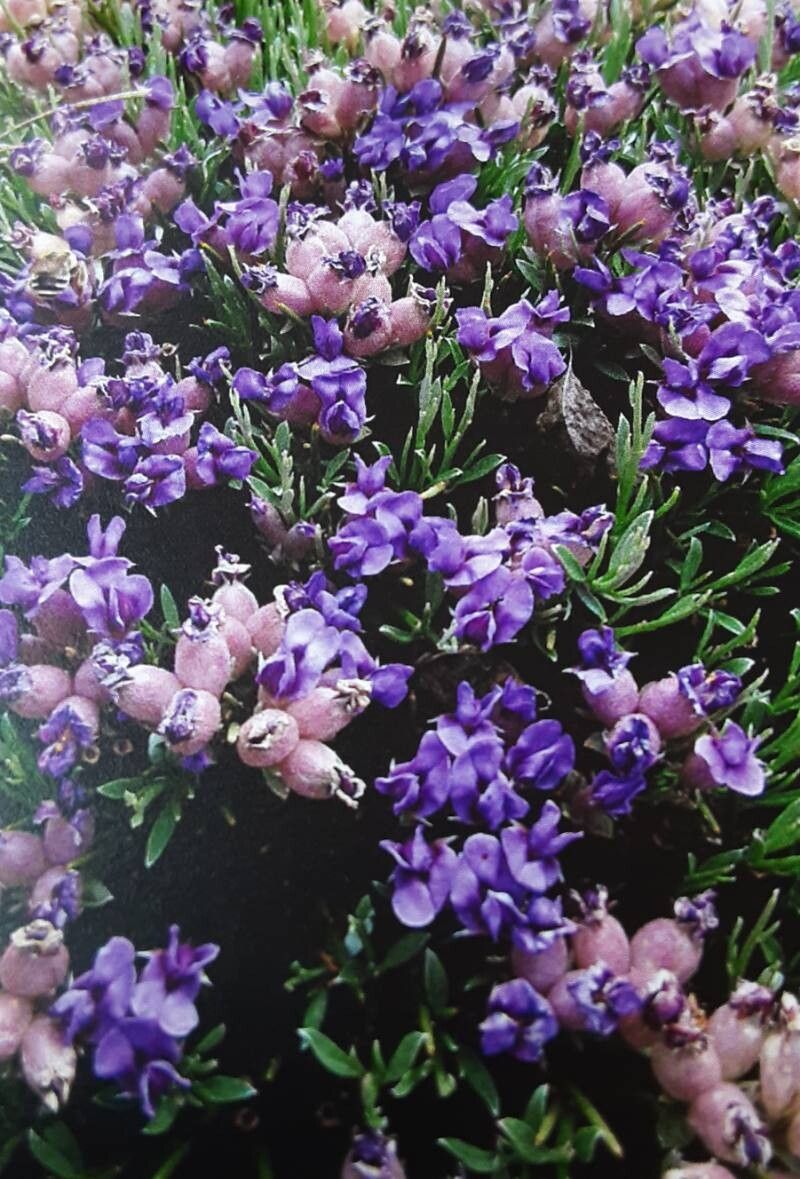
Hello, fellow garden enthusiasts! I’m so excited to chat with you today about a real gem in the plant world: Erinacea anthyllis, also known as “Hedysarum glomeratum” or just Hedgehog Beans. If you’ve ever seen these darling little plants, with their fuzzy, grey-green foliage and delicate, pea-like flowers that tumble out in a soft cascade, you know their charm. They bring this wonderful, soft texture and a touch of wild beauty to any garden.
Propagating Erinacea anthyllis is a deeply satisfying endeavor. It’s like giving the gift of life, watching a tiny cutting transform into a robust new plant. Now, I won’t lie to you – it’s not for the absolute beginner who’s never touched a trowel. Erinacea anthyllis can be a little particular, but with a bit of care and attention, you’ll find great success. Think of it as a delightful challenge that rewards patience!
The Best Time to Start
The sweet spot for propagating Erinacea anthyllis is late spring to early summer. This is when the plant is actively growing and has plenty of energy to put into developing new roots. You’ll want to take cuttings from healthy, non-flowering stems that are still somewhat soft and pliable – think of last year’s growth that’s just starting to harden up a bit. Avoid taking cuttings from woody, old stems or when the plant is stressed by extreme heat or drought.
Supplies You’ll Need
Gathering your tools beforehand makes the whole process so much smoother. Here’s what I like to have on hand:
- Sharp, clean pruning shears or a sharp knife: For making clean cuts that heal well.
- Rooting hormone: A powdered or liquid form can really give your cuttings a boost.
- Sterile potting mix: A good blend is 50% perlite and 50% peat moss or coco coir. This ensures excellent drainage, which is crucial!
- Small pots or seedling trays: Clean ones, of course!
- Plastic bags or propagation domes: To create a humid environment for your cuttings.
- Watering can with a fine rose: For gentle watering.
- Labels and a marker: So you don’t forget what you planted where!
Propagation Methods
The most reliable way I’ve found to propagate Erinacea anthyllis is through stem cuttings. It’s a tried-and-true method that usually gives good results.
- Take Your Cuttings: On a bright morning, after the dew has dried, select a healthy stem that’s about 4-6 inches long. Make a clean cut just below a leaf node (where a leaf attaches to the stem). You want to try and get at least a couple of leaf nodes on each cutting.
- Prepare the Cuttings: Gently remove the lower leaves from the cutting, leaving just the top couple of leaves. This prevents them from rotting when you plant the cutting. You can then dip the cut end into your rooting hormone, tapping off any excess.
- Plant the Cuttings: Fill your small pots or trays with the sterile potting mix. Gently insert the prepared cuttings into the soil, making sure the rooting hormone is in contact with the soil. You can insert them about an inch deep. If you’re planting multiple cuttings in one pot, give them a little space.
- Create Humidity: Water the soil gently until it’s evenly moist, but not waterlogged. Then, cover the pots with a clear plastic bag or a propagation dome. This creates a small greenhouse effect, keeping the humidity high, which is essential for preventing the cuttings from drying out before they root.
The “Secret Sauce” (Pro Tips)
Here are a couple of things I’ve learned over the years that can really make a difference for fussy plants like Erinacea anthyllis:
- Don’t Over-Water: While humidity is key, soggy soil is the enemy of root development and can lead to rot. Water only when the top layer of soil feels dry to the touch, and always ensure your pots have good drainage holes.
- Bottom Heat is Your Friend: If you have a heat mat, placing your pots on it can significantly speed up rooting. The warmth encourages root growth from below, giving your cuttings that extra push they need. Around 70-75°F (21-24°C) is ideal.
Aftercare & Troubleshooting
Once your cuttings are potted, place them in a bright location but out of direct, hot sunlight. Too much sun can scorch those delicate new cuttings. Keep an eye on the moisture level of the soil and mist them occasionally if the humidity starts to drop inside the bag.
You’ll know your cuttings are rooting when you see new leaf growth or feel a slight resistance when you gently tug on the cutting. This typically takes anywhere from 4 to 8 weeks, sometimes longer. Be patient! Once roots have developed sufficiently (you might see them peeking through the drainage holes), you can carefully remove the plastic covering and gradually acclimatize your new plants to less humid conditions. Start by opening the bag for a few hours each day, then remove it completely.
The most common issue you might encounter is rot. If you see a cutting turning black and mushy, it’s usually a sign of too much moisture and not enough air circulation. Unfortunately, a rotted cutting can’t be saved. This is why good drainage and avoiding overwatering are so vital!
So there you have it – a little guide to successfully propagating your own Erinacea anthyllis. It’s a journey that requires a touch of patience and a willingness to experiment. Don’t be discouraged if not every cutting takes. That’s part of the gardening adventure! Enjoy the process, celebrate your successes, and soon you’ll have more of these delightful plants to share with friends or to fill your garden with their unique charm. Happy propagating!
Resource:
https://identify.plantnet.org/k-world-flora/species/Erinacea%20anthyllis%20Link/data