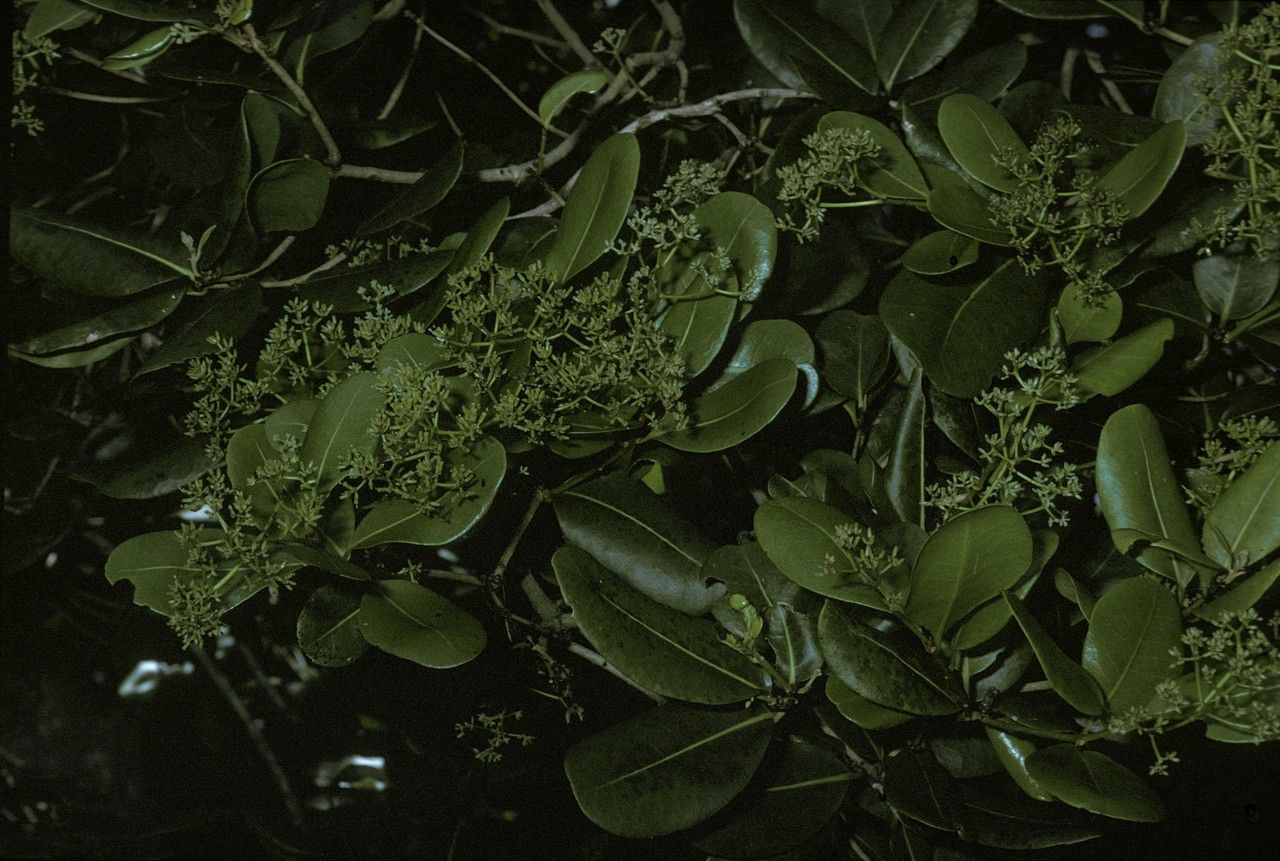
Oh, hello there! Pull up a chair and let’s chat about a real gem in the plant world – Guapira obtusata, or as some of us affectionately call it, the Brazilian Holly. I’ve been growing this beauty for two decades now, and let me tell you, it’s got a certain charm. Its glossy, dark green leaves are just so lush, and when it bursts into those delicate little white flowers, followed by those stunning red berries – well, it’s just delightful.
Bringing a new Guapira obtusata into your life through propagation is incredibly rewarding. Watching a tiny cutting transform into a thriving plant feels like a small miracle. Now, for my beginner friends out there, I’d say Guapira obtusata is moderately easy to propagate. It’s not as fuss-free as a Pothos, but with a little attention, you’ll be successful.
The Best Time to Start
Generally, the happiest time to take cuttings from your Guapira obtusata is in the late spring or early summer. This is when the plant is in an active growth phase, meaning those young stems have plenty of energy to put into developing roots. You’re looking for stems that are semi-hardwood – not brand new, flimsy growth, but also not old, woody stems. Think of it as a firm but somewhat flexible twig. This stage offers the best balance for successful rooting.
Supplies You’ll Need
Here’s what I always have on hand when I’m ready to propagate:
- Sharp Pruning Shears or a Clean Knife: For making clean cuts. We don’t want to crush those delicate tissues.
- Rooting Hormone: A powder or gel form works great. It’s not strictly essential for Guapira obtusata, but it definitely gives cuttings a helpful boost.
- Well-Draining Potting Mix: I like a blend of perlite, coco coir, and a little bit of peat moss. You want something that holds moisture but doesn’t stay soggy. A good seed-starting mix is also a fine choice.
- Small Pots or Seedling Trays: Clean, about 4-inch pots are usually perfect.
- Plastic Bags or a Propagation Dome: To create a humid environment around your cuttings.
- Watering Can with a Fine Rose or a Spray Bottle: For gentle watering.
- Labeling Stakes: To mark what you’ve propagated and when!
Propagation Methods
Let’s get our hands dirty! Stem cuttings are my go-to method for Guapira obtusata.
Stem Cuttings
- Take Your Cuttings: Select a healthy branch that fits the semi-hardwood description. Using your clean shears, take a cutting that is 6 to 8 inches long. Make the cut just below a leaf node (where a leaf attaches to the stem). This is where roots are most likely to form.
- Prepare the Cuttings: Gently remove the leaves from the bottom half of the cutting. You’ll want to leave just a few leaves at the top to help with photosynthesis. If the remaining leaves are very large, you can halve them to reduce water loss.
- Apply Rooting Hormone: Dip the cut end of the stem into your rooting hormone, tapping off any excess.
- Plant Your Cuttings: Fill your small pots with your prepared potting mix. Make a small hole in the center of the mix with your finger or a pencil. Insert the cutting into the hole, ensuring the rooting hormone stays on the wounded part. Gently firm the soil around the base of the cutting.
- Water Gently: Water the soil thoroughly but gently. You want it moist, not waterlogged.
- Create Humidity: Place the potted cuttings into a plastic bag, sealing it loosely to create a mini-greenhouse effect. Alternatively, you can use a propagation dome. Make sure the leaves don’t touch the sides of the bag if possible, as this can encourage rot.
Water Propagation (for the impatient!)
While stem cuttings in soil are my preferred method for Guapira obtusata, you can try water propagation.
- Prepare the Cuttings: Follow steps 1 and 2 above.
- Place in Water: Put the cuttings in a jar or vase of clean water.
- “The Secret Sauce” Tip: Ensure NO leaves are submerged in the water. Submerged leaves will rot very quickly and can kill your cutting. Change the water every few days to keep it fresh.
- Wait for Roots: You should start to see tiny white roots forming in a few weeks. Once the roots are about an inch long, carefully transplant them into your well-draining potting mix, following the planting steps for stem cuttings.
The “Secret Sauce” (Pro Tips)
Here are a few little tricks I’ve learned over the years that often make a big difference for Guapira obtusata:
- Bottom Heat is Your Friend: If you have a seedling heat mat, place your potted cuttings on it. This gentle warmth encourages root development significantly, especially if your room temperature is a bit cooler. It really speeds things up!
- Don’t Disturb Too Soon: Resist the urge to pull on your cuttings to check for roots. Give them at least 4-6 weeks before you even think about a gentle tug. You can often tell if they’ve rooted by seeing new leaf growth.
- Cleanliness is Key: This bears repeating. Always use clean tools and clean pots. Introducing any bacteria or fungus to a fresh cutting is an express ticket to failure. A quick wash with soapy water is usually sufficient.
Aftercare & Troubleshooting
Once you see signs of new growth – tiny leaves unfurling or a slight tug indicating resistance – your cutting has likely rooted!
- Acclimate Gradually: If you used a plastic bag or dome, slowly start to acclimate your new plant to normal room humidity. Open the bag for a few hours each day, gradually increasing the time over a week.
- Watering: Water when the top inch of soil feels dry. Continue to err on the side of slightly drier rather than soggy.
- Light: Place your new Guapira obtusata in a bright spot with indirect sunlight. Avoid harsh, direct sun which can scorch its young, tender leaves.
The most common sign of failure you’ll see is rot. If your cutting suddenly turns black and mushy, or the leaves wilt and turn yellow without new growth, it’s likely succumbed to too much moisture or a fungal issue. Don’t be discouraged! It happens to the best of us. Just discard the failed cutting, sterilize your pot, and try again. Sometimes, it takes a few tries to get the conditions just right.
A Encouraging Closing
Propagating Guapira obtusata is a wonderful journey. Be patient, enjoy the process, and celebrate every little success. Seeing those new roots emerge or that first bit of new growth is so incredibly satisfying. Happy gardening!
Resource:
https://identify.plantnet.org/k-world-flora/species/Guapira%20obtusata%20(Jacq.)%20Little/data