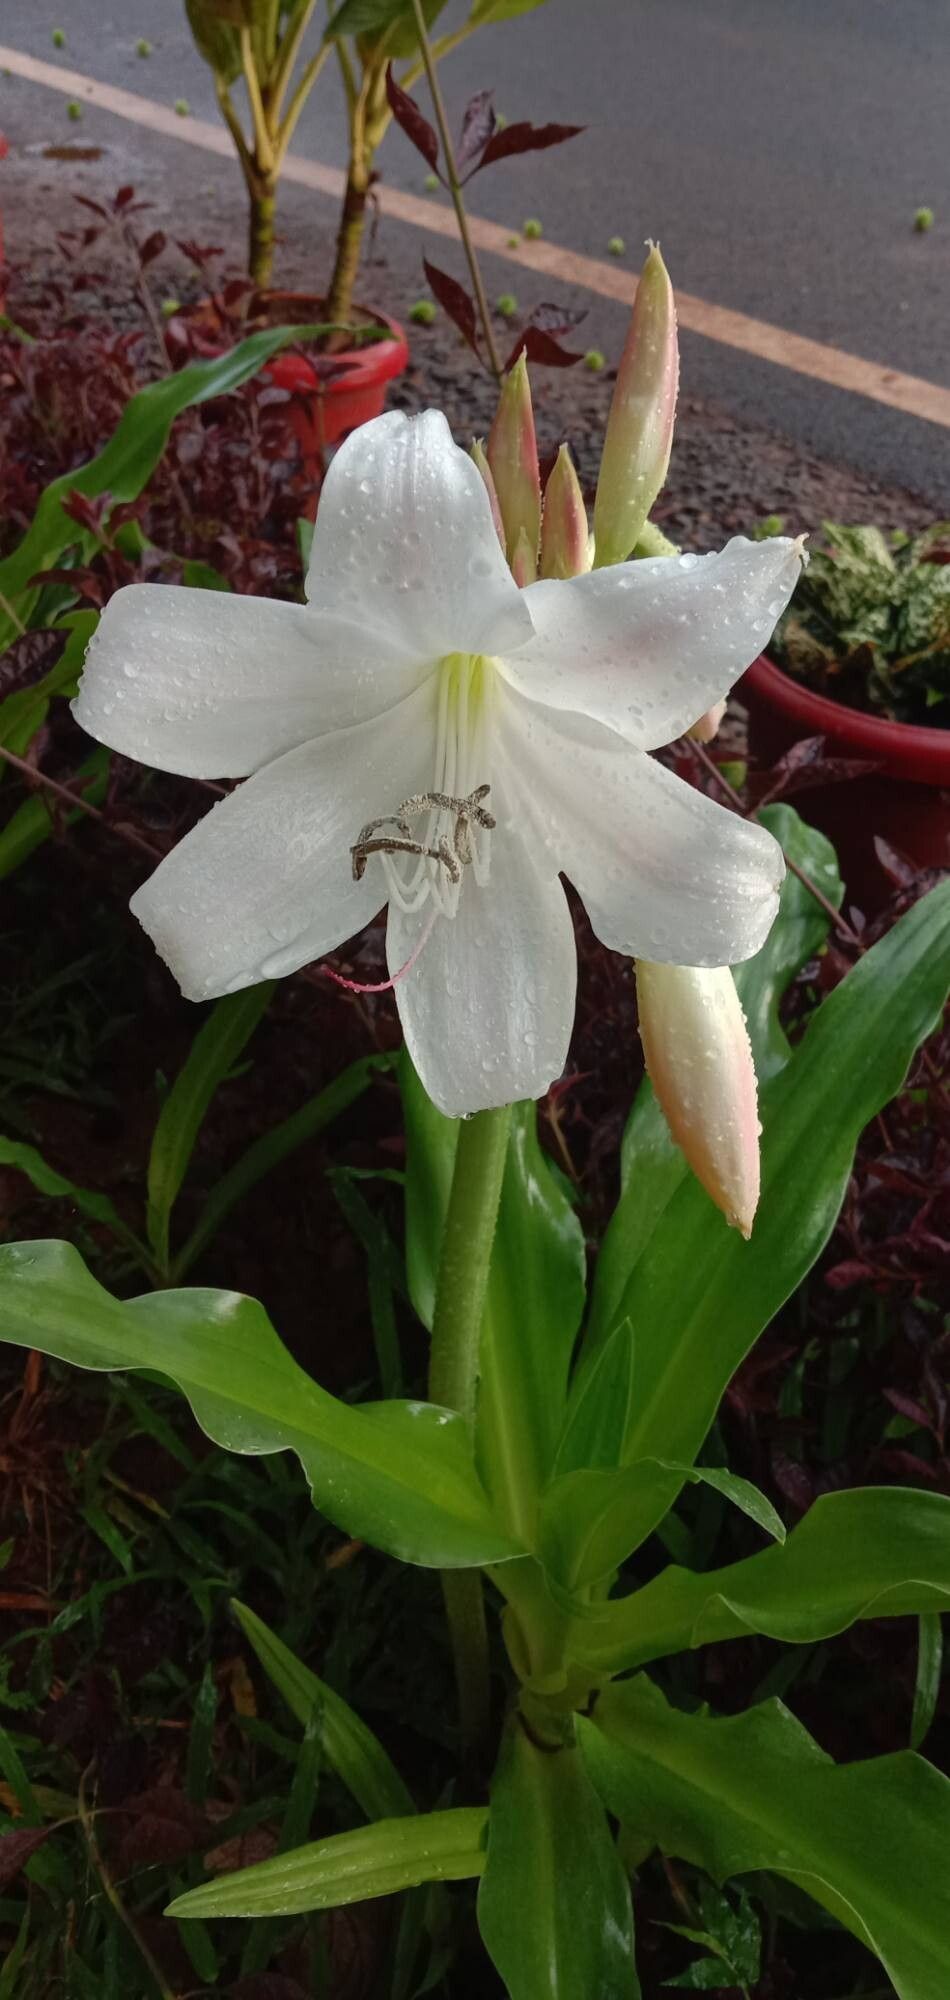
Oh, Crinum lilies! Aren’t they just magnificent? Those enormous, trumpet-shaped blooms, often fragrant, gracing the garden with their tropical elegance. They’re like statuesque beauties, whispering tales of warmer climes. And the best part? You can easily multiply these stunners, sharing their charm with friends or filling every sunny corner of your own yard. Trust me, propagating Crinum latifolium is a deeply satisfying endeavor, and while it might seem a touch daunting at first, I promise you, it’s far from impossible for the enthusiastic beginner.
The Best Time to Start
When it comes to giving your Crinums the best shot at a new life, spring is your golden ticket. Think of it as their grand reawakening after a winter’s nap. During this period, the plant is bursting with energy, sending out new growth and preparing to put on its spectacular show. This vigor translates directly to better success in propagation. You can also attempt propagation in early summer, but spring gives them that extra boost.
Supplies You’ll Need
Gathering your tools beforehand makes the whole process so much smoother. You won’t need much, really:
- Clean, sharp pruning shears or a sturdy knife: For making clean cuts.
- Well-draining potting mix: A blend of peat moss, perlite, and coarse sand works wonders.
- Small pots or trays: With drainage holes, of course!
- Rooting hormone (optional but helpful): Especially for division.
- Watering can with a fine rose: For gentle watering.
- Labels: So you don’t forget what you’ve planted!
Propagation Methods
Crinum latifolium is best propagated by division, which is essentially giving it a healthy haircut and splitting it into smaller, manageable pieces.
- Gently Excavate: The ideal time to divide is when the plant is actively growing, typically in spring. Carefully dig around the existing clump, trying not to damage the roots too much. You want to lift the entire root ball out of the ground.
- Clean Up: Gently brush away as much of the old soil as you can from the roots. This allows you to see the structure of the bulb and where natural divisions occur.
- Identify the Divisions: You’ll see offsets or smaller bulbs attached to the main bulb, or sometimes the main bulb itself will have naturally split. Look for points where these divisions can be separated without causing undue damage. You might see natural cracks or constrictions.
- Make the Cut (or Break): Using your clean pruning shears or a sturdy knife, carefully separate the divisions. If they are strongly attached, you may need to use a bit of force, but try to maintain as many roots as possible on each new piece. If you’re using rooting hormone, dip the cut surface of each division into it now.
- Plant Them Up: Fill your pots with your well-draining potting mix. Plant each division so the top of the bulb is just at or slightly below the soil surface. You want them snug and secure.
- Water Gently: Water the newly potted divisions thoroughly, but gently, ensuring the soil is evenly moist.
The “Secret Sauce” (Pro Tips)
Here are a few things I’ve learned over the years that can really give your Crinum propagation a leg up:
- Don’t Be Afraid to “Sacrifice” a Bulb: Sometimes, a large, established Crinum bulb can be quite a maze of offsets! Don’t feel guilty about cutting through a healthy bulb if it means cleanly separating multiple viable divisions. They are remarkably resilient.
- Let Them “Scab Over”: After dividing, especially if you’ve had to make a more significant cut, I like to let the divisions sit out of soil for a day or two in a shady, protected spot. This allows any cut surfaces to dry and form a protective callus, reducing the risk of rot.
- Bottom Heat is Your Friend: If you’re propagating in a cooler part of spring or want to give them an extra nudge, placing your pots on a seedling heat mat can significantly speed up root development. It mimics that warm spring soil that they love.
Aftercare & Troubleshooting
Once your divisions are planted and happily tucked into their pots, keep the soil consistently moist but never waterlogged. Think of a wrung-out sponge. Avoid letting them dry out completely, as this can stress the young plants.
When you start to see new leaf growth emerging, that’s a fantastic sign! Give it a few more weeks, and you can gently tug on a leaf. If you feel resistance, it means roots have formed. You can then transplant them into slightly larger pots or into their permanent garden spots once they’ve developed a good root system and the danger of frost has passed.
The most common enemy here is rot. If you see your divisions becoming mushy or turning a dark, slimy color, it’s usually a sign of too much moisture or poor drainage. If you catch it early, you might be able to unearth the affected part, cut away the rotten bits with a clean knife, and repot into fresh, dry soil.
A Encouraging Closing
Propagating Crinum latifolium is a journey, not a race. Be patient with your new green babies. Sometimes they take a little while to show you they’re happy. But with a little care and attention, you’ll soon be rewarded with beautiful new plants to admire. So grab your tools, get your hands in the soil, and enjoy the wonderful process of bringing more of these gorgeous lilies into the world! Happy gardening!
Resource:
https://identify.plantnet.org/k-world-flora/species/Crinum%20latifolium%20L./data