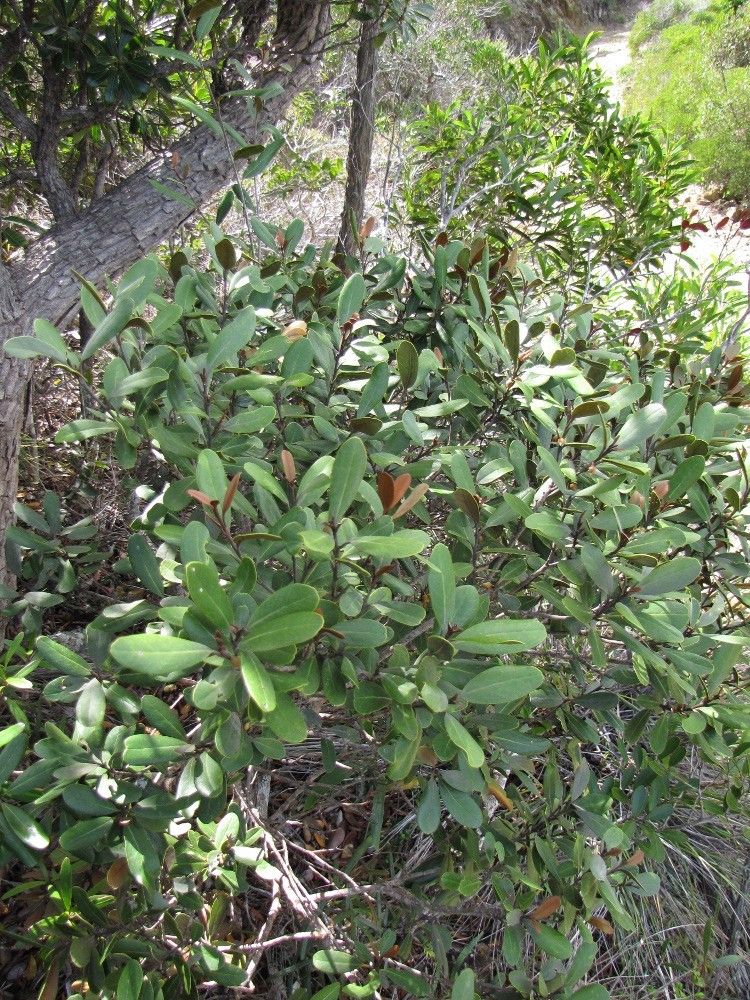
Hello fellow green thumbs! It’s so lovely to have you here. Today, we’re diving into the world of Planchonella contermina, a truly gorgeous specimen that brings a touch of the tropics right into our gardens. With its glossy, leathery leaves and often stunning new growth, it’s a plant that just oozes natural beauty. Growing more of these beauties from scratch is incredibly satisfying, a little bit magical, really. Now, for those of you just starting out, I’d say Planchonella contermina is moderately easy to propagate. It’s not quite as forgiving as a simple pothos, but with a little attention to detail, you’ll find it a very achievable project.
The Best Time to Start
For the highest success rates, I always recommend starting your propagation efforts in the late spring or early summer. This is when the plant is actively growing and has plenty of energy to put into developing new roots. You can often tell it’s the right time because you’ll see new shoots emerging or the plant looking particularly robust. Avoid trying to propagate during the plant’s dormant period; it’s just not ready to share its energy then.
Supplies You’ll Need
Gathering your tools beforehand makes the whole process so much smoother. Here’s what you’ll want to have on hand:
- Sharp, clean pruning shears or a knife: For making clean cuts.
- Rooting hormone (optional but recommended): Look for one specifically for softwood or semi-hardwood cuttings.
- Well-draining potting mix: A blend of peat moss, perlite, and a touch of compost works wonders. You can also use specialized seed-starting or propagation mixes.
- Small pots or propagation trays: Clean and with drainage holes, of course!
- Plastic bags or a propagator with a lid: To create a humid environment.
- Watering can with a fine rose: For gentle watering.
- Labeling stakes: To keep track of your precious new plants.
Propagation Methods
We’ll focus on the most reliable method for Planchonella contermina: stem cuttings.
- Select Your Cuttings: Find a healthy, vigorous stem on your mature plant. Look for stems that have started to harden off slightly but are still flexible – usually about pencil thickness. Avoid very soft, new growth or old, woody stems. You want a cutting that’s about 4-6 inches long.
- Make the Cut: Using your clean, sharp shears, make a clean cut just below a leaf node. A leaf node is where a leaf attaches to the stem. This is where the magic happens, as this is where roots are most likely to form.
- Prepare the Cutting: Gently remove the leaves from the bottom two-thirds of the cutting. If the remaining leaves are very large, you can cut them in half horizontally to reduce water loss.
- Apply Rooting Hormone (Optional): Dip the cut end of the stem into your rooting hormone, tapping off any excess. This gives the cutting a little boost to get started.
- Plant Your Cuttings: Fill your small pots or trays with your prepared potting mix. Make a small hole in the center of the mix with your finger or a pencil. Carefully insert the cut end of your Planchonella cutting into the hole, ensuring the nodes where you removed the leaves are buried. Gently firm the soil around the stem.
- Create Humidity: Water the soil gently until it’s evenly moist but not soggy. Then, cover the pot or tray with a clear plastic bag, a propagator lid, or even place the pot inside a larger clear bag. This creates a mini greenhouse effect, keeping the humidity high, which is crucial for cuttings to root.
- Placement: Place your newly potted cuttings in a bright location that receives indirect sunlight. Avoid direct sun, as this can scorch the delicate cuttings.
The “Secret Sauce” (Pro Tips)
Now, for a few little tricks I’ve learned over the years that can make a big difference:
- Don’t Drown Your Leaves: When you water, make sure none of the remaining leaves are touching the soil surface. If they sit in damp soil, they’ll rot before they have a chance to root. This is particularly important with moisture-loving plants.
- A Little Warmth Goes a Long Way: Planchonella contermina just adores a bit of gentle warmth. If your home tends to be on the cooler side, I highly recommend using a heat mat placed underneath your propagation tray or pots. It mimics the warmth of the soil in their native tropical environment and can significantly speed up root development.
- Sterilize Everything! I can’t stress this enough. Before you start, sterilize your pruning shears, pots, and any tools you’ll be using with rubbing alcohol or a mild bleach solution. This prevents the spread of any nasty fungal diseases that can bring your propagation efforts to a swift and sad end.
Aftercare & Troubleshooting
Once your cuttings have been planted, the waiting game begins! Keep the soil consistently moist but never waterlogged. Mist the leaves occasionally if the humidity seems to be dropping. You’ll want to lift the plastic bag or propagator lid for a few minutes each day to allow for air circulation and prevent mold.
After about 4-8 weeks, you should start to see signs of new growth, like tiny leaves emerging. You can also gently tug on a cutting; if you feel resistance, it means roots have formed. Once you see roots and new growth, you can gradually acclimate your new plant by removing the plastic cover for longer periods over a week or two.
The most common sign of failure is rot. If your cutting starts to look mushy, black, or smells bad, it’s likely succumbed to rot. This usually happens from overwatering or poor air circulation. If you see this, unfortunately, it’s best to discard the cutting and start again, paying close attention to drainage and airflow. Drooping leaves can also be a sign of insufficient humidity or that the cutting hasn’t rooted yet and is struggling for water.
A Gentle Encouragement
Propagating plants is a journey, and like any good journey, there will be ups and downs. Don’t be discouraged if your first attempt isn’t a roaring success. Be patient with your little Planchonella contermina cuttings. Observe them, learn from them, and most importantly, enjoy the process of bringing new life into your home and garden. Happy propagating!
Resource: