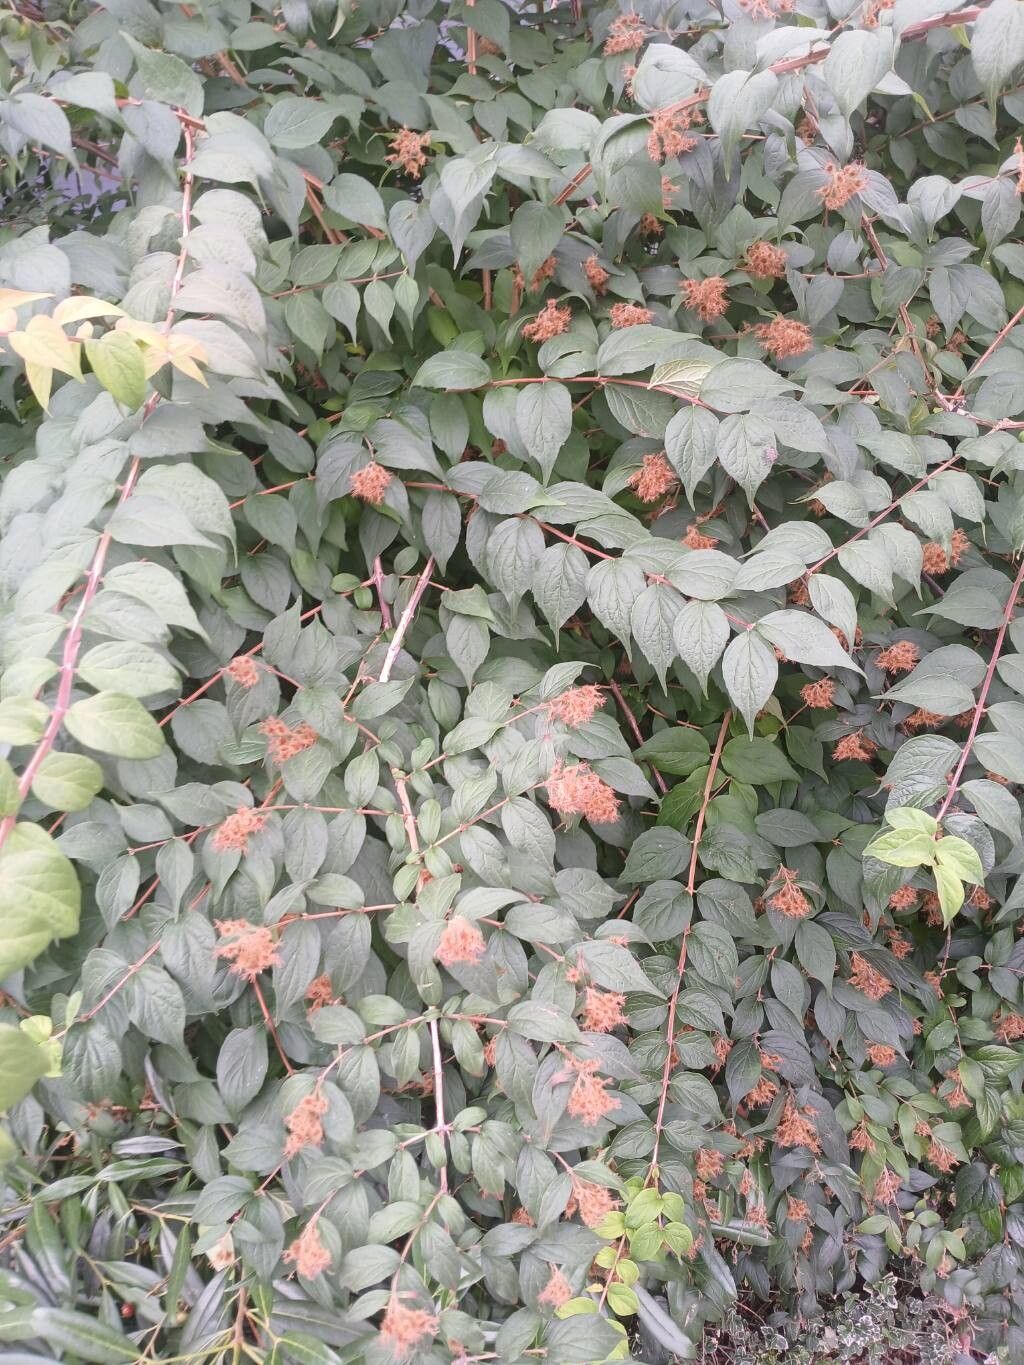
Oh, how I love the beauty of the Beautybush, Kolkwitzia amabilis! It’s one of those shrubs that just radiates charm, especially in late spring when it’s absolutely dripping with soft pink, bell-shaped flowers. They look like tiny, delicate bells tinkling in the breeze. Plus, the arching branches create such a graceful silhouette in the garden. If you’ve ever admired one, you’ll find propagating your own incredibly rewarding. It’s a lovely way to share this beauty with friends or simply expand your own green sanctuary. And for those of you just dipping your toes into the world of propagation, I’m happy to say that Beautybush is quite forgiving. You can absolutely achieve success with this one!
The Best Time to Start
For the highest success rate, I always find late spring to early summer to be the sweet spot. This is when the new shoots have started to develop but are still soft and pliable. We’re looking for what we call semi-hardwood cuttings. These are stems that are no longer brand new and floppy, but haven’t quite hardened off into stiff wood yet. This stage has the perfect balance of flexibility and energy to root.
Supplies You’ll Need
Before we get our hands dirty, let’s gather our tools. Having everything ready makes the process a breeze:
- Sharp Pruning Shears or a Knife: Clean cuts are crucial for healthy rooting.
- Rooting Hormone: This isn’t strictly essential for Beautybush, but it can give your cuttings a significant boost. I like the powdered kind.
- Small Pots or Trays: About 4-6 inch pots usually do the trick. Make sure they have draining holes!
- Sterile Potting Mix: A mix specifically designed for seed starting or cuttings works best. I often use a blend of peat moss and perlite (about a 50/50 ratio) or a good quality seed starting mix.
- Plastic Bags or a Clear Dome: To create a humid environment for your cuttings.
- Watering Can with a Fine Rose: Gentle watering is key.
- Marker and Labels: To keep track of what’s what!
Propagation Methods
There are a couple of reliable ways to create new Beautybushes. I’ll walk you through the one I find the most straightforward and successful: stem cuttings.
Stem Cuttings:
- Select Your Stems: Head out to your Beautybush in late spring or early summer. Look for healthy, non-flowering shoots that are about pencil-thick. You want stems that bend slightly without snapping.
- Take Your Cuttings: Using your sharp shears or knife, cut lengths of stem that are 6 to 8 inches long. Make your cut just below a leaf node (where a leaf attaches to the stem). This is the area where roots are most likely to form.
- Prepare the Cuttings: Gently remove the leaves from the bottom two-thirds of each cutting. You want to leave just a few leaves at the very top to help with photosynthesis. If the remaining leaves are very large, you can cut them in half to reduce water loss.
- Apply Rooting Hormone (Optional but Recommended): Dip the cut end of each stem into your rooting hormone, tapping off any excess.
- Pot Your Cuttings: Fill your small pots with your prepared potting mix. Make a hole in the center of the soil with your finger or a pencil. Carefully insert the bottom of each cutting into the hole, ensuring the leaf nodes that were in the soil are now buried. Gently firm the soil around the stem. You can place 2-3 cuttings per pot, spaced a few inches apart.
- Water Gently: Water the soil thoroughly until you see water draining from the bottom of the pot.
- Create Humidity: Place a clear plastic bag over the pot, securing it with a rubber band, or put a clear plastic dome over your tray of cuttings. This creates a mini-greenhouse effect, keeping the humidity high, which is essential for preventing the cuttings from drying out.
- Provide Light and Warmth: Place your pots in a spot that receives bright, indirect light. Avoid direct sun, as this can scorch the tender cuttings. A greenhouse or a bright windowsill is ideal.
The “Secret Sauce” (Pro Tips)
Here are a few little tricks that have served me well over the years:
- Don’t Drown the Leaves: If you’re using a bag and some leaves are touching the soil or the sides of the bag, it can encourage rot. Try to prop the bag up with a couple of sticks if needed, or mist the inside of the bag so condensation drips down rather than pooling.
- Bottom Heat is Your Friend: While not absolutely necessary for Beautybush, placing your pots on a heated propagator mat can significantly speed up the rooting process. It warms the soil from below, encouraging root development.
- Patience is Key with Leaf Dropping: New cuttings can sometimes look a bit sad and start dropping leaves. Don’t panic! As long as the stem itself looks firm and isn’t mushy, it’s still a good sign. New leaf growth is the ultimate confirmation of success.
Aftercare & Troubleshooting
Once your cuttings have been potted, keep the soil consistently moist but not soggy. Check them regularly. After about 4-6 weeks, you can gently tug on a cutting. If you feel resistance, roots have formed! At this point, you can remove the plastic bag or dome and gradually acclimate your new plants to lower humidity over a week or two. Once they’ve adjusted, they’re ready to be transplanted into individual pots or their permanent garden home when they are larger and well-established.
The most common issue you might encounter is rot. This usually happens if the soil stays too wet or the humidity is too high without enough air circulation. If you see a cutting turn black and mushy, it’s best to discard it to prevent it from affecting others. Again, good drainage and avoiding overwatering are your best defenses.
A Encouraging Closing
Propagating your own Beautybush is a wonderfully rewarding journey. It takes a little bit of patience and observation, but seeing those tiny roots emerge is such a thrill! Don’t be discouraged if not every single cutting takes – that’s just part of the learning process. Enjoy the satisfaction of nurturing new life and the beauty it will bring to your garden. Happy gardening!
Resource:
https://identify.plantnet.org/k-world-flora/species/Kolkwitzia%20amabilis%20Graebn./data