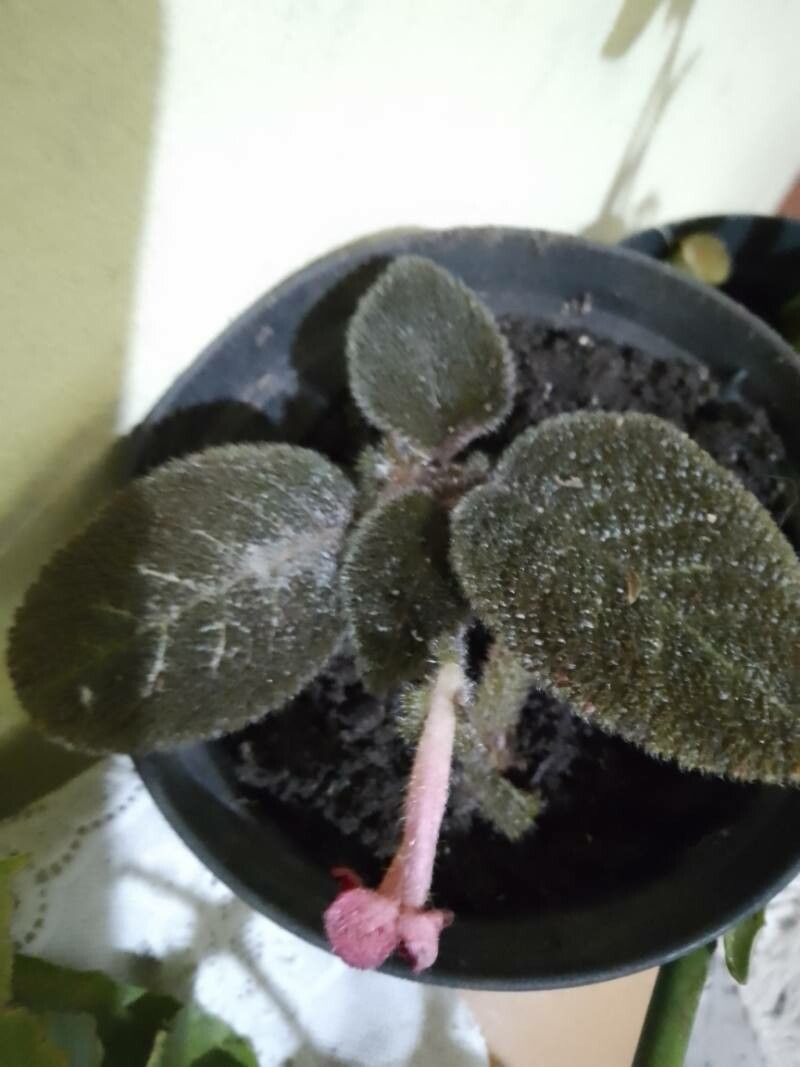
Hello, fellow plant lovers! Today, we’re diving into the wonderful world of propagating one of my absolute favorites: the Episcia sphalera, often called the Flame Violets. These beauties are just spectacular with their velvety, jewel-toned leaves and delicate, often vibrant, little flowers. Growing them is a joy, and propagating them? Well, that’s where the real magic happens. It’s how you fill your home with even more of these treasures, or share them with friends. Don’t worry if you’re new to this; while they’re not quite as hands-off as a snake plant, Episcias are refreshingly rewarding to propagate. I’d say they fall into the “moderately easy” category, perfect for a budding enthusiast looking for a bit of a challenge.
The Best Time to Start
When it comes to getting the best results with your Episcias, spring and early summer are your golden windows. This is when the plant is naturally in its most vigorous growth phase. You’ll find it’s putting out plenty of healthy new stems, perfect for taking cuttings. Waiting until the plant is actively growing rather than trying to propagate during its dormant period will give you a much higher chance of success. Think of it like this: you’re trying to catch the plant when it’s full of energy.
Supplies You’ll Need
Before we get our hands dirty, let’s gather our tools. Having everything ready makes the whole process smooth sailing.
- Sharp Pruning Shears or a Clean Knife: For taking clean cuts. A dull tool can crush stems and invite disease.
- Rooting Hormone (Optional but Recommended): Especially for stem cuttings. It gives them a little boost. Look for a powdered or liquid form.
- Well-Draining Potting Mix: I like to use a blend of equal parts peat moss or coco coir, perlite, and a bit of orchid bark. You want something that holds moisture but doesn’t stay soggy. A standard African violet mix also works beautifully.
- Small Pots or Seedling Trays: Clean ones are a must! Small 2-3 inch pots are perfect for starters.
- Plastic Bags or a Clear Dome: To create a humid environment for your cuttings.
- Watering Can with a Fine Rose or a Spray Bottle: For gentle watering.
- A Bright, Indirect Light Location: Avoid direct sun, as it can scorch delicate new growth.
Propagation Methods
Episcias are wonderfully versatile and can be propagated using a couple of reliable methods. I’ve had great luck with both stem cuttings and leaf cuttings. Let’s walk through them.
Stem Cuttings
This is my go-to for a quick start.
- Select a Healthy Stem: Look for a healthy, non-flowering stem that’s at least 2-3 inches long. You want to see at least two or three sets of leaves on it.
- Make the Cut: Using your clean shears or knife, make a clean cut just below a leaf node. A leaf node is where a leaf attaches to the stem, and that’s where the magic of rooting happens.
- Prepare the Cutting: Gently remove the lower leaves from the stem, leaving only the top couple of leaves. This prevents them from rotting in the propagation medium.
- Apply Rooting Hormone (Optional): If you’re using rooting hormone, dip the cut end of the stem into the powder or liquid, tapping off any excess.
- Plant Your Cutting: Fill your small pot with your prepared potting mix. Make a hole with your finger or a pencil and gently insert the cut end of the stem. Firm the soil gently around it. Ensure the leaf nodes are at least partially buried.
- Water Gently: Water the soil thoroughly, allowing excess water to drain away.
- Create Humidity: Place the pot inside a plastic bag or cover it with a clear dome. This creates the high humidity Episcias crave while they root. Ensure the leaves don’t touch the plastic if possible, as this can lead to rot.
Leaf Cuttings
This method is a bit slower but yields lovely results, often giving you small plantlets emerging from the leaf stalk.
- Select a Healthy Leaf: Choose a firm, healthy leaf with its stalk (petiole) still attached.
- Make the Cut: Using your clean tool, cut the leaf off the mother plant, taking as much of the stalk as possible.
- Prepare the Cutting: You can root the entire leaf, or for a slightly different growth pattern, you can cut the leaf blade into sections, ensuring each section has a bit of the main vein. I usually just use the whole leaf.
- Plant the Leaf: Fill your pot with the well-draining mix. Insert the stalk end of the leaf into the soil at a slight angle, so the leaf blade is above the surface. If you’ve cut the leaf into sections, bury the cut edge that contains a bit of the main vein.
- Water and Cover: Water gently and cover the pot with a plastic bag or dome to maintain humidity.
The “Secret Sauce” (Pro Tips)
Here are a few little tricks I’ve learned over the years that can really make a difference with your Episcia propagation.
- Bottom Heat is Your Friend: Episcias absolutely love warmth, especially when they’re trying to root. If you have a heat mat designed for seedlings, placing your pots on that can significantly speed up root development. It creates a cozy environment for those new roots to emerge.
- Don’t Drown Your Babies: While they love humidity, soggy soil is the enemy. Make sure your potting mix is super well-draining, and be careful not to overwater, especially when the cuttings are still trying to establish roots. Let the surface of the soil dry out slightly between waterings.
- Patience with the “Stolons”: Sometimes, especially with stem cuttings, you’ll see tiny thread-like growths called stolons emerge before obvious roots form. Don’t be tempted to pull them out! They are signs of developing roots and are totally normal. Just keep providing consistent humidity and light.
Aftercare & Troubleshooting
Once you see signs of new growth – a tiny leaf unfurling or a bit more vigor on the cutting – you know roots are forming!
- Gradual Acclimation: Once those roots are established (you can gently tug on the cutting, and it should offer some resistance), slowly start to acclimate your new plant to normal room humidity. Gradually open the plastic bag or dome over a week or two.
- Move to a Slightly Larger Pot: When the plantlet is about 1-2 inches across and has a few healthy leaves, it’s ready for a slightly larger pot (a 3-4 inch pot is usually a good size). Continue to use your well-draining mix.
- Watering and Light: Continue to keep them evenly moist but not waterlogged, and provide bright, indirect light.
- Troubleshooting: Rot is the Main Culprit: The most common problem you’ll encounter is rot. This usually happens from overwatering or poor drainage, especially in the early stages. If you see a stem or leaf turning black and mushy, unfortunately, that part is lost. You can try to salvage any healthy parts nearby, but the key is to adjust your watering habits and ensure good airflow. Another sign of trouble is cuttings that just stay limp for weeks on end; this can indicate a lack of humidity or that the cutting wasn’t viable from the start. Don’t be discouraged; try again!
And there you have it! Propagating Episcia sphaleras is a truly rewarding endeavor. Remember to be patient, observe your little plantlets closely, and celebrate every bit of new growth. It’s all part of the wonderful journey of gardening. Happy propagating!
Resource:
https://identify.plantnet.org/k-world-flora/species/Episcia%20sphalera%20Leeuwenb./data