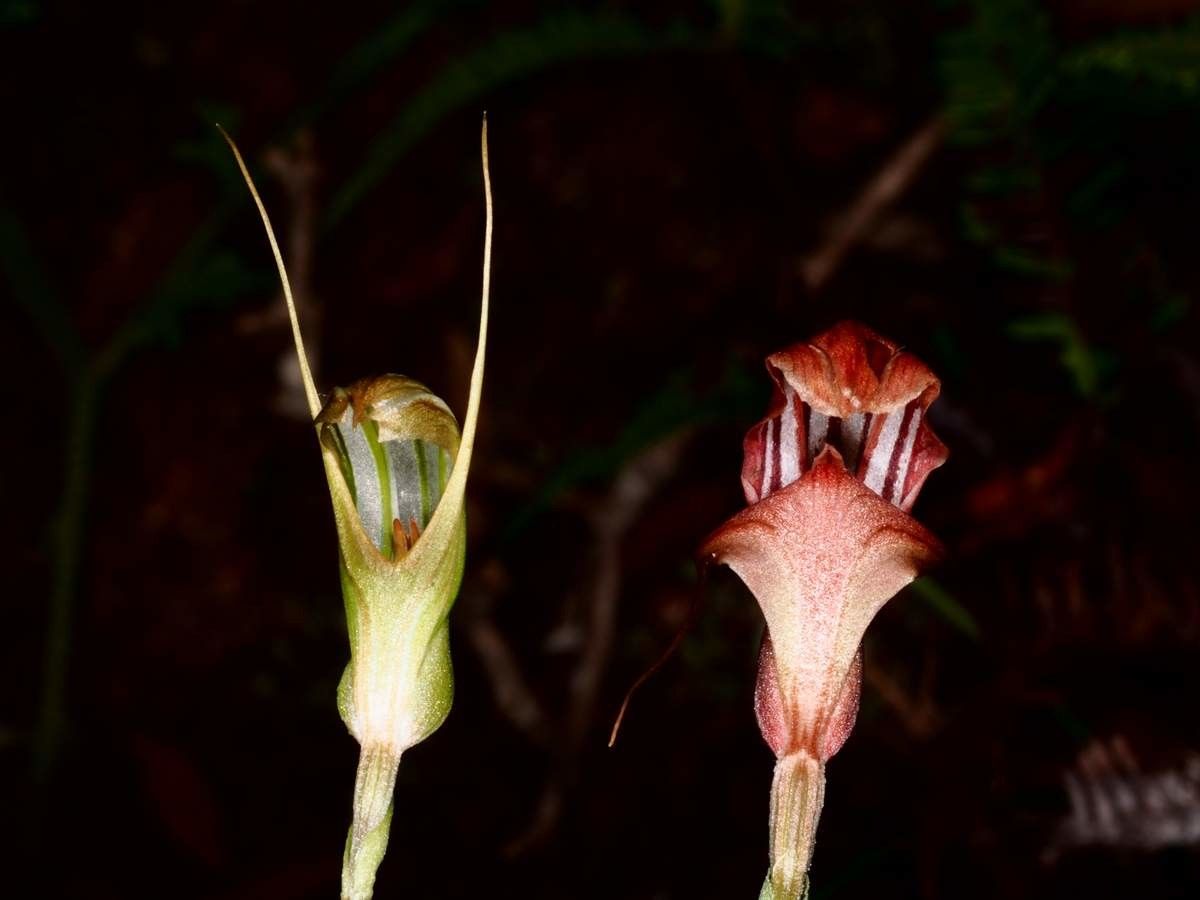
Hey there, fellow plant lovers! I’ve got something truly special to share with you today, a little gem that truly lives up to its name: Pterostylis splendens. If you’re not familiar, imagine slender, elegant green leaves that unfurl like miniature dancers, often with streaks of deep burgundy or even a touch of emerald. They have this captivating, almost sculptural quality that adds so much charm to any shady corner.
Propagating Pterostylis splendens can be a truly rewarding journey. Watching a tiny piece of your beloved plant transform into a new, thriving individual is pure gardening magic. Now, I won’t lie – this isn’t the absolute easiest plant for a complete beginner, but with a little patience and the right approach, it’s definitely achievable. Think of it as a fun challenge that will deepen your connection with your plants.
The Best Time to Start
For Pterostylis splendens, the sweet spot for propagation is generally during its active growing season, which typically falls in late spring to early summer. This is when the plant is full of energy and ready to direct resources into producing new growth – and hopefully, new roots! You’ll want to look for healthy, mature plants that are actively pushing out new shoots. Avoid trying to propagate when the plant is dormant or stressed.
Supplies You’ll Need
To get your Pterostylis splendens propagation off to a great start, gather these essential tools:
- Well-draining potting mix: A blend specifically for orchids or a mix of peat moss, perlite, and a bit of orchid bark works wonders.
- Sharp, sterile pruning shears or a clean knife: This ensures clean cuts and minimizes the risk of disease.
- Small pots or seed trays: Clean, shallow containers are ideal.
- Clear plastic bags or a propagation dome: To create a humid environment around your cuttings.
- Rooting hormone (optional but recommended): A powder or gel can give your cuttings a helpful boost.
- Watering can with a fine rose or a spray bottle: For gentle watering.
- Optional: Heat mat: This can be a game-changer, especially if your propagation area is on the cooler side.
Propagation Methods
The most reliable way I’ve found to propagate Pterostylis splendens is through division. This method is best done when you repot the plant, typically in the spring.
- Gently remove the plant from its pot. Be careful not to damage the roots.
- Examine the root ball. You’re looking for natural divisions – areas where the plant has grown into separate clumps with their own roots and shoots.
- Using your clean shears or knife, carefully separate the clumps. Aim to leave at least two or three healthy shoots with a good chunk of root attached to each division. If the roots are tangled, you can very gently tease them apart with your fingers.
- Pot up each division into its own small pot filled with your well-draining potting mix.
The “Secret Sauce” (Pro Tips)
Over the years, I’ve picked up a few tricks that seem to make a real difference with these beauties:
- Don’t overwater those divisions! This is probably the biggest mistake people make. While they need some moisture, soggy soil is a fast track to rot for Pterostylis. Water thoroughly after potting, then let the soil dry out slightly before watering again. Trust your soil moisture.
- Bottom heat is your friend. If you have a heat mat, place your potted divisions on it. This gentle, consistent warmth from below encourages root development much faster than ambient room temperature alone. It’s like giving them a cozy little incubator.
- Acclimation is key. Once your divisions show signs of new growth (you’ll see tiny new leaves emerging), start gradually introducing them to less humid conditions. Remove the plastic bag for increasing periods each day. This prevents shock when they eventually go into their permanent, less humid home.
Aftercare & Troubleshooting
Once your Pterostylis splendens divisions are planted, keep them in a bright spot with dappled light – no direct sun, please! They love humidity, so that plastic bag or dome is your friend for the first few weeks. Mist the leaves occasionally, but again, avoid letting them sit in water.
The most common issue you might encounter is rot. If you notice your division becoming mushy or developing brown, slimy spots, it’s a sign of too much moisture and possibly a fungal infection. Unfortunately, rot is often difficult to recover from. If you catch it early, you might be able to cut away the affected parts with a sterile knife, but often, it’s best to discard the rotting division and learn from the experience for your next attempt. Healthy new growth is your best indicator of success!
A Great Endeavor
Propagating Pterostylis splendens is such a rewarding endeavor. It takes a little practice, a lot of observation, and a good dose of patience. Don’t be discouraged if your first attempt isn’t perfect. Enjoy the process of learning and watching these unique plants grow. Happy gardening!
Resource: