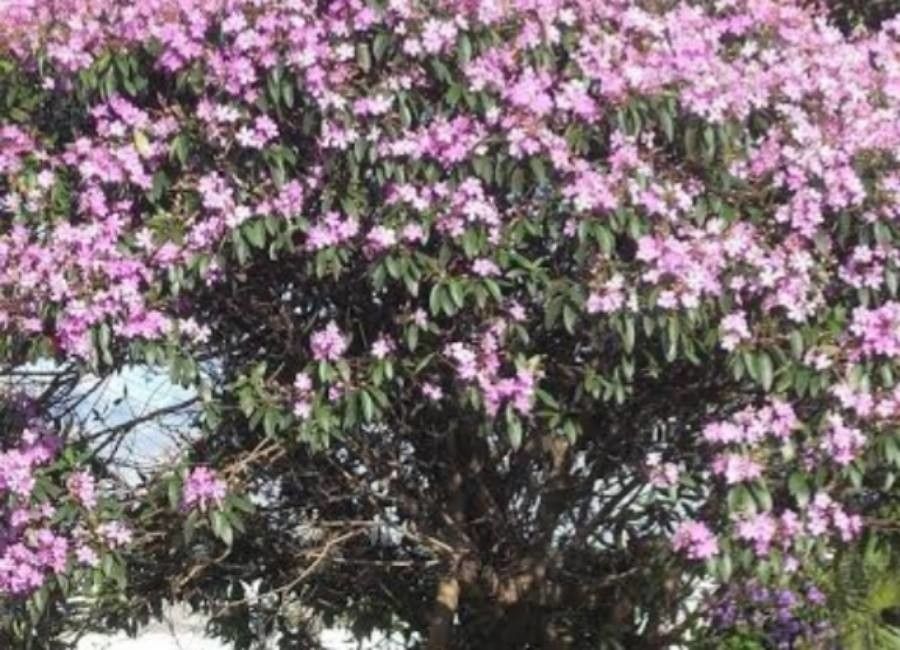
Hello, fellow plant enthusiasts! Today, we’re diving into the wonderful world of Pleroma arboreum, also known as the Brazilian Glory Bush. If you’ve ever seen its vibrant purple blossoms, you know exactly why it captures our hearts. It’s a true showstopper, and the idea of creating more of these beauties from just one is incredibly fulfilling. Now, for those of you just starting out, I’d say Pleroma arboreum is a moderately easy plant to propagate. It’s not as instantly rewarding as some of the super-fast propagators, but with a little patience and the right approach, you’ll be well on your way.
The Best Time to Start
For the highest success rate with Pleroma arboreum, aim to propagate during its active growing season. For most of us, this means late spring through summer. You’re looking for new growth that’s not too soft and floppy, but also not fully woody. Think of it as slightly firm, like a pencil. Avoid taking cuttings from plants that are stressed by extreme heat or drought, and definitely steer clear of flowering stems – we want all that energy going into roots!
Supplies You’ll Need
Here’s what I like to have on hand when I’m getting ready to propagate:
- Sharp Pruning Shears or a Knife: Clean cuts are crucial. I always give mine a wipe with rubbing alcohol between plants.
- Rooting Hormone: While not strictly necessary for Pleroma, it can definitely give you a leg up. I prefer a powder or gel.
- A Well-Draining Potting Mix: A good blend is key! I usually mix equal parts perlite and peat moss or coco coir. Some gardeners also add a bit of coarse sand.
- Small Pots or Trays: Clean containers are a must. I often use 4-inch pots for individual cuttings.
- Plastic Bags or a Propagator: This helps maintain humidity, which is vital for cuttings.
- Watering Can with a Fine Rose: Gentle watering is important.
Propagation Methods
Two methods usually work best for Pleroma arboreum: stem cuttings and, occasionally, layering.
Stem Cuttings: My Go-To
- Select Your Cuttings: Find those semi-hardwood stems I mentioned earlier. Look for healthy growth that’s about 4-6 inches long.
- Make the Cut: Using your clean shears, make a straight cut just below a leaf node (where a leaf attaches to the stem). This is where root-forming hormones are most concentrated.
- Prepare the Cutting: Gently remove the lower leaves from the bottom half of the cutting. You want to keep at least one or two sets of leaves at the tip to help with photosynthesis, but too many can lead to rot underwater or in the soil. If the remaining leaves are very large, I sometimes cut them in half horizontally to reduce water loss.
- Apply Rooting Hormone: Dip the cut end of the stem into your chosen rooting hormone, coating about an inch of the base. Tap off any excess.
- Plant Your Cuttings: Fill your pots with your prepared well-draining mix. Make a small hole with a pencil or your finger. Carefully insert the cutting into the hole, ensuring the base is well-covered, and gently firm the soil around it.
- Water Gently: Water the soil thoroughly until it’s evenly moist but not soggy.
- Create a Humid Environment: Place the potted cutting into a clear plastic bag, forming a mini-greenhouse. You can prop the bag up with stakes or skewers so it doesn’t touch the leaves. Alternatively, place the pots in a propagator.
Air Layering (If you want to try something different)
This method is a bit more involved but can be very successful, especially with larger branches.
- Choose a Healthy Branch: Select a branch that’s at least pencil-thick and healthy.
- Make a Wound: About 12 inches from the tip, make a slight upward-slanting cut about one-third of the way into the stem. You can also scrape away a thin ring of bark about an inch wide at the same point. To keep the wound open, you can insert a small sliver of wood or a toothpick.
- Apply Rooting Hormone: Dust the exposed cambium layer with rooting hormone.
- Cover with Sphagnum Moss: Thoroughly moisten some sphagnum moss and pack it firmly around the wounded area, forming a good-sized ball.
- Wrap with Plastic: Cover the moss ball with a piece of clear plastic wrap, securing the top and bottom tightly with floral tape or twist ties. This creates a humid environment for roots to form.
- Wait: Keep an eye on the moss ball – it should remain moist. You should start to see roots forming within a few weeks to a couple of months. Once a good root ball has formed, you can carefully cut the branch below the roots and plant it in its own pot.
The “Secret Sauce” (Pro Tips)
Here are a couple of things I’ve learned over the years that make a difference:
- Don’t let the leaves touch the water if you decide to try water propagation for a very young, soft cutting (though I generally don’t recommend it for Pleroma). Always aim for the stem to be in the water, not the leaves. This prevents them from rotting. For Pleroma, soil propagation is usually more reliable.
- Bottom Heat is Your Friend. If you have a propagation mat or can place your pots on a slightly warm surface (like near a router or on top of a refrigerator that’s not too hot), this consistent warmth encourages root development remarkably. It’s like a cozy heated blanket for your cuttings.
Aftercare & Troubleshooting
Once you start seeing new leaf growth on your cuttings, it’s a great sign! This usually indicates that roots have formed.
- Gradually Acclimate: Slowly begin to air out your plastic tent or propagator over a week or two. This helps the new plant adjust to lower humidity.
- Watering: Continue to keep the soil consistently moist but not waterlogged.
- Transplanting: Once the roots have filled the pot (you might see them peeking out the drainage holes), it’s time to transplant your new Pleroma into a larger pot with fresh, well-draining soil.
Now, what if things go wrong? The most common issue is rot. If your cutting turns black and mushy, it’s usually a sign of too much moisture and not enough air circulation. Ditch any rotting cuttings and inspect your other ones. Ensure your potting mix is draining well and that you aren’t overwatering. If your cutting simply shrivels and dies without rotting, it might be that it just didn’t have enough stored energy or the environment wasn’t humid enough.
A Little Patience Goes a Long Way
Propagating Pleroma arboreum is a journey, not a race. Don’t get discouraged if your first attempts aren’t perfect. Each cutting you nurture is a little victory, and soon you’ll have your own vibrant display of these beautiful purple blooms. Enjoy the process, connect with your plants, and happy propagating!
Resource:
https://identify.plantnet.org/k-world-flora/species/Pleroma%20arboreum%20Gardner/data