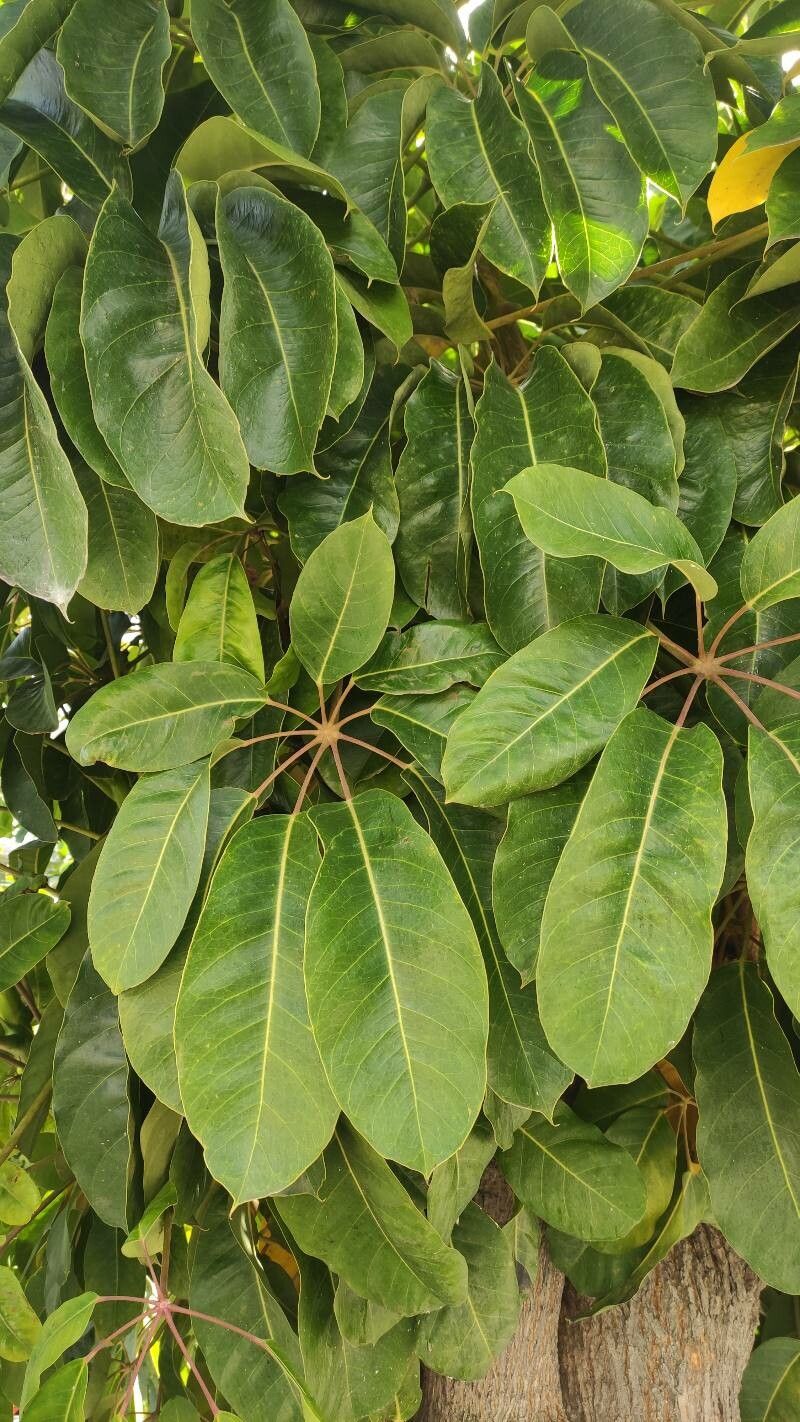
Oh, hello there! Come on in and pull up a chair. I’m so glad you’re interested in propagating Heptapleurum actinophyllum, or as many of us affectionately call it, the Umbrella Tree. It’s such a striking plant with those glossy, divided leaves, and it really brings a touch of the tropics indoors. Growing them from cuttings is incredibly rewarding. You get to watch new life emerge from a small piece of an established plant, and honestly, it’s not as intimidating as you might think. I’d say for beginners, it’s moderately easy – a little patience goes a long way, and I’m here to help you every step of the way.
The Best Time to Start
Timing is everything in the garden, right? For Umbrella Trees, the absolute spring and early summer are your golden windows. This is when the plant is bursting with new growth and has the most energy to put into rooting. Think of it as the plant waking up and saying, “Let’s make more of us!” Trying to propagate in the dead of winter is just asking for a tough time.
Supplies You’ll Need
Before we dive in, let’s get our tools ready. Having everything at hand makes the process so much smoother.
- Sharp Pruning Shears or a Clean Knife: For taking clean cuts.
- Rooting Hormone Powder (Optional but Recommended): Especially for stem cuttings, this gives them a real boost.
- Well-Draining Potting Mix: I usually mix about 50% peat moss or coco coir with 50% perlite or coarse sand. This is crucial to prevent soggy roots.
- Small Pots or Propagation Trays: Clean ones are a must!
- Plastic Bags or a Clear Propagation Dome: To create a humid environment.
- Watering Can with a Gentle Spout: Or a spray bottle for misting.
- Label and Pen: To jot down what you’ve planted and when.
Propagation Methods
There are a couple of ways we can go about this, and I find both to be quite effective.
Stem Cuttings
This is my go-to for multiplying Umbrella Trees.
- Take Cuttings: Look for healthy, new growth on your mature plant. You want stems that are about 6-8 inches long. Using your sharp shears or knife, make a clean cut right below a leaf node. A leaf node is where a leaf attaches to the stem – that’s where the magic happens for rooting. Try to get a few of these!
- Prepare the Cuttings: Gently remove the lower leaves from your cutting. You want to expose about 2-3 leaf nodes without leaves. This is where the roots will emerge. If your cutting has very large leaves, you can even cut them in half horizontally to reduce water loss.
- Apply Rooting Hormone (Optional): Dip the cut end of the stem into your rooting hormone powder, tapping off any excess.
- Plant the Cuttings: Fill your small pots with your prepared, well-draining mix. Moisten the mix slightly. Now, make a small hole with your finger or a pencil and insert the cutting, ensuring at least one or two of the bare leaf nodes are buried in the soil. Gently firm the soil around the stem.
- Create a Humid Environment: Water the soil gently. Then, cover the pot with a plastic bag or place it under a propagation dome. Make sure the leaves don’t touch the sides of the bag if possible; you can use small stakes to prop it up.
Water Propagation (for the Impatient!)
This method lets you watch the roots grow, which is a joy in itself.
- Take Cuttings: Follow step 1 from the stem cuttings method.
- Prepare the Cuttings: Remove the lower leaves, leaving just a few at the top.
- Place in Water: Find a clean glass jar or vase. Fill it with room-temperature water. Place the cuttings in the water, ensuring the leaf nodes that you’ve stripped are submerged. Make sure no leaves are submerged in the water – they’ll just rot.
- Location: Place the jar in a warm spot with bright, indirect light.
- Change Water Regularly: This is key! Change the water every few days to keep it fresh and prevent bacterial growth.
The “Secret Sauce” (Pro Tips)
I’ve learned a few little tricks over the years that help make a big difference.
- Bottom Heat is Your Friend: For stem cuttings, a gentle heat mat placed underneath the pots can significantly speed up rooting. It mimics the warmth of the soil in spring and encourages root development.
- Don’t Overwater the Soil: It sounds counterintuitive, but slightly drier conditions are often better once the cutting is planted. The goal is consistently damp, not waterlogged. Let the top inch of soil dry out a bit between waterings.
- Patience with the Leaves: If you’re doing water propagation, I can’t stress enough: don’t let those leaves touch the water. They create a breeding ground for bacteria and will rot the whole cutting before roots even have a chance.
Aftercare & Troubleshooting
Once you see roots! Hooray!
- Once roots are about an inch long (for water propagation), it’s time to pot them up. Gently transplant them into your well-draining potting mix, just as you would with the initial stem cuttings.
- Keep the newly potted cuttings in a warm location with bright, indirect light. Continue to keep them consistently moist but not soggy.
- Gradually remove the humidity cover over a few days to acclimate the new plant to normal room humidity.
- Troubleshooting: The most common issue is rot. If your cutting turns black and mushy, it’s likely due to too much moisture or standing water. Sadly, those are usually unsalvageable. Yellowing leaves can indicate too much light or a need for a touch more water, while drooping leaves often mean they need more humidity or better light.
A Gardener’s Encouraging Closing
Growing plants is a journey, and propagating your own Umbrella Trees is a wonderful part of that. There might be a cutting or two that doesn’t make it, and that’s perfectly okay. Don’t get discouraged! Just try again. Celebrate the successes, learn from the stumbles, and most importantly, enjoy the process of nurturing new life. Happy propagating!
Resource: