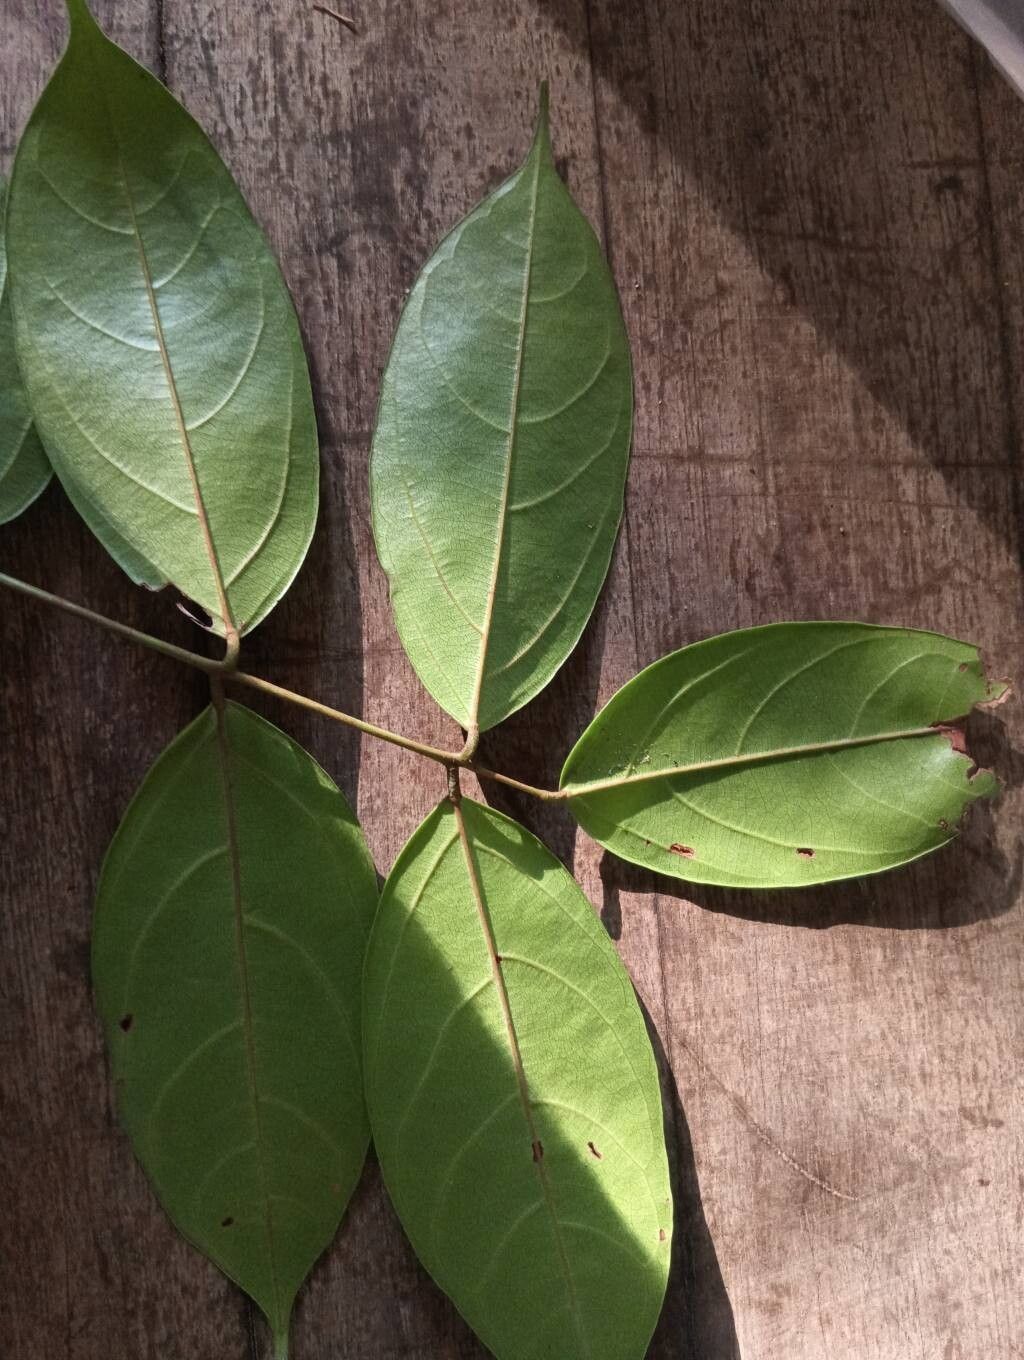
Oh, hello there! Come on in, let’s chat about this wonderful little plant, Connarus patrisii. I’ve been growing it for years, and honestly, its lush foliage and vibrant personality always bring a smile to my face. It’s one of those plants that just exudes life, don’t you think? And the best part? Getting more of them to share the joy – that’s what propagation is all about! Now, if you’re new to this, don’t you worry. Connarus patrisii can be a bit of a diva, but with a few tricks up your sleeve, you’ll be a pro in no time.
The Best Time to Start
For the highest chance of success with Connarus patrisii, I always aim for late spring to early summer. This is when the plant is in its most vigorous growth phase. Think of it as the plant’s prime time to be energetic and ready to put out new roots. Trying early in spring or late in fall can work, but you might find things take a bit longer to get going. You want a healthy, actively growing stem, not something that’s looking a little tired.
Supplies You’ll Need
Here’s what I always have on hand when I’m propagating:
- Sharp Pruning Shears or a Knife: Make sure they’re clean!
- Rooting Hormone: A powder or liquid works. It really gives cuttings a boost.
- Potting Mix: I like a blend of peat moss, perlite, and a little bit of coco coir. This keeps things light and airy, which is crucial for developing roots.
- Small Pots or Trays: With drainage holes, of course!
- Clear Plastic Bags or a Propagator: To create a humid environment.
- Water
- A Spray Bottle
Propagation Methods
Let’s get our hands dirty! Here are the methods that work best for Connarus patrisii:
Stem Cuttings: My Go-To Method
This is my favorite because it’s so straightforward.
- Select a Healthy Stem: Look for a stem that’s about 4-6 inches long and seems robust. Ideally, it should have at least two sets of leaves.
- Make Your Cut: Using your clean shears, make a clean cut just below a leaf node. A leaf node is where a leaf attaches to the stem – that’s where the magic of rooting happens.
- Prepare the Cutting: Gently remove the lower leaves, leaving only the top two or three. This prevents them from rotting when buried.
- Dip in Rooting Hormone: Dip the cut end into your rooting hormone, tapping off any excess.
- Plant Your Cutting: Make a small hole in your prepared potting mix with a pencil or your finger. Gently insert the cutting, ensuring the leaf nodes are buried. Firm the soil around it.
- Water and Cover: Water the soil lightly. Then, cover the pot with a clear plastic bag or place it in a propagator. This keeps the humidity high, which is essential for cuttings as they don’t have roots to take up water yet. You can use stakes to keep the bag from touching the leaves.
Water Propagation: A Visual Treat
This is a lovely way to watch the roots develop!
- Prepare Your Cutting: Follow steps 1 and 2 from the stem cutting method.
- Place in Water: Instead of potting mix, place your cutting in a jar or glass of clean water. Make sure the leaf nodes are submerged, but none of the leaves are touching the water.
- Change Water Regularly: Change the water every 2-3 days to keep it fresh and prevent bacterial growth.
- Wait for Roots: You should start to see tiny white roots appearing within a few weeks.
- Pot Up: Once the roots are about an inch long, you can carefully transplant the cutting into potting mix, following the same principles as planting a stem cutting.
The “Secret Sauce” (Pro Tips)
Here are a couple of little secrets that make all the difference:
- Bottom Heat is Your Friend: If you have the space, placing your pots on a gentle heating mat can significantly speed up root development. It mimics the warmth of spring soil and really encourages those roots to get going.
- Don’t Be Afraid of Light Mist: While you want to maintain high humidity, it’s also a good idea to lightly mist your cuttings every day or two, especially if your home is on the dry side. This helps keep the leaves turgid and encourages nutrient uptake.
Aftercare & Troubleshooting
Once you see new growth or feel resistance when you gently tug on the cutting (a sign of roots!), it’s time for a new routine.
- Gradual Acclimation: Slowly introduce your new plant to drier air by gradually opening the plastic bag or propagator over a week.
- Consistent Moisture: Keep the soil consistently moist, but not waterlogged. You don’t want those precious new roots to dry out.
- Bright, Indirect Light: Place your propagated plant in a spot with bright, indirect light. Direct sun can scorch delicate new leaves.
Now, what if things go wrong? The most common issue is rot. If your cutting turns black and mushy, it’s usually a sign of too much moisture and not enough air circulation. If you see this, it’s best to discard the affected cutting and start again, ensuring better drainage and airflow next time. Sometimes, a cutting just doesn’t take – and that’s okay! Plant propagation is a bit of an art, and there’s always a learning curve.
A Little Encouragement
Don’t get discouraged if your first few attempts aren’t instantly successful. Gardening is all about patience and learning from our green friends. Just keep trying, observe what works best in your environment, and most importantly, enjoy the process! Watching a new plant emerge from a tiny cutting is one of the most rewarding experiences a gardener can have. Happy propagating!
Resource:
https://identify.plantnet.org/k-world-flora/species/Connarus%20patrisii%20(DC.)%20Planch./data