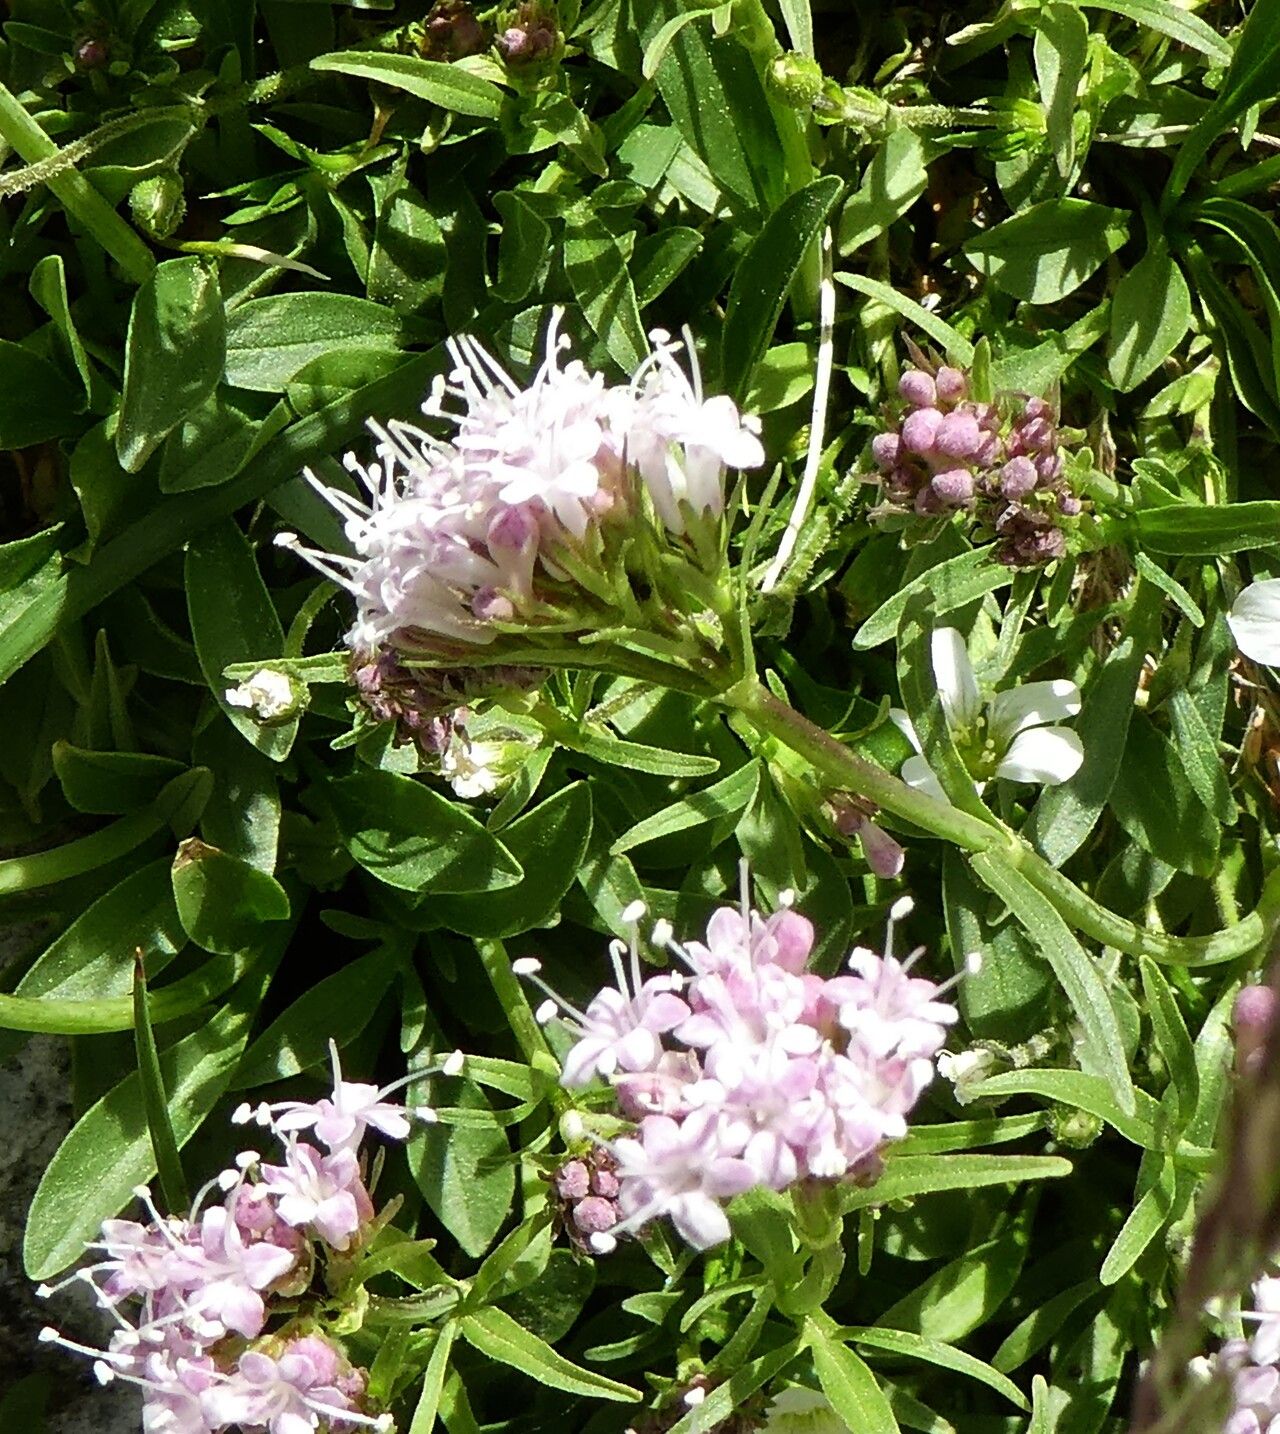
Oh, hello there! Come on in, pull up a chair. Let’s chat about Valeriana apula, a plant that’s really captured my heart over the years. If you’re looking for a charming, low-growing plant with delicate, star-shaped white flowers that just beg to be admired, then this is for you. It forms lovely little mounds and has this subtle, sweet fragrance that’s just divine on a warm evening.
Now, you might be wondering if this is a project for the seasoned pro or if you, my budding gardener friend, can jump right in. I’m happy to report that propagating Valeriana apula is surprisingly straightforward. It’s a fantastic choice for beginners, and the reward of seeing those tiny new plants thrive is just immense, isn’t it? There’s a special kind of joy in growing your own, and this little beauty makes it easy to experience that.
The Best Time to Start
For the best success with propagating Valeriana apula, I always lean towards late spring or early summer. This is when the plant is really in its active growing phase after waking up from its winter rest. The stems are usually firm and have plenty of energy to put into developing roots. Trying to take cuttings too late in the season, when growth is slowing down, can be a bit more of a challenge, so aim for that sweet spot when nature is really buzzing.
Supplies You’ll Need
Before we get our hands dirty, let’s get our toolkit ready. Having everything on hand makes the process so much smoother.
- Sharp Pruning Shears or a Clean Knife: You want a clean cut to minimize damage and disease.
- Rooting Hormone (Optional but Recommended): This can give your cuttings a real boost. A powder or gel will work.
- Well-Draining Potting Mix: I like a mix of peat moss, perlite, and a bit of compost. You can also buy a good quality “seed starting” mix.
- Small Pots or Trays: Clean containers with drainage holes are a must.
- Watering Can or Spray Bottle: Gentle watering is key.
- Plastic Bags or a Propagation Dome: To create a humid environment.
- Labels: So you don’t forget what you planted where!
Propagation Methods
Valeriana apula is quite happy to be propagated by division, and stem cuttings are also a reliable method. I’ll walk you through both.
Division: The Natural Multiplier
This is probably the easiest method, especially if you already have a mature plant.
- Gently Unpot the Plant: In late spring or early summer, carefully dig up your Valeriana apula. You want to disturb the roots as little as possible.
- Inspect the Root Ball: You’ll see that the plant naturally forms clumps or divisions.
- Separate the Divisions: Use your hands or a clean trowel to gently pull apart the root ball. Look for sections that have their own roots and at least a few stems. If a division is stubborn, a clean knife can help you make a neat cut.
- Replant Immediately: Pot up your new divisions into their own containers with your well-draining potting mix. Water them in gently.
Stem Cuttings: Starting Anew
This method is fantastic for increasing your collection.
- Take the Cuttings: Look for healthy, non-flowering stems. Using your sharp shears, cut sections about 4-6 inches long. Make the cut just below a leaf node (where a leaf attaches to the stem).
- Prepare the Cuttings: Strip off the lower leaves, leaving just two or three at the very top. This reduces moisture loss. If you’re using rooting hormone, dip the cut end into it now.
- Pot Them Up: Stick the prepared ends into small pots filled with your moistened potting mix. Make a small hole with a pencil or your finger so you don’t brush off the rooting hormone.
- Provide Humidity: Cover the pots loosely with a plastic bag or a propagation dome. This creates that humid environment cuttings need to develop roots. You can prop up the bag with sticks so it doesn’t touch the leaves.
The “Secret Sauce” (Pro Tips)
Every gardener has a few little tricks up their sleeve, right? Here are a couple of things I’ve learned that have really helped me with Valeriana propagation:
- Don’t Overwater the Cuttings: This is crucial! Soggy soil is a recipe for rot. The mix should be moist but not waterlogged. I always think of it as being like a wrung-out sponge – damp, but not dripping.
- Bottom Heat is Your Friend: If you can, placing your pots on a gentle heat mat can significantly speed up root development for stem cuttings. It mimics the warm soil environment, giving those roots a real encouragement to emerge. Just make sure it’s not too hot; you just want a little warmth.
Aftercare & Troubleshooting
Once you see new growth appearing on your cuttings or divisions, that’s a great sign! It means roots are forming.
- Gradual Acclimation: If you’ve covered your cuttings, start by taking the plastic bag off for a few hours each day, gradually increasing the time until they’re fully acclimatized to open air.
- Continued Gentle Watering: Keep the soil consistently moist but not wet.
- Light: Place your newly potted divisions and rooted cuttings in a bright location with indirect sunlight. Direct sun can be too harsh for these delicate youngsters.
Now, what if things don’t go as planned? The most common issue is rot. If your cuttings turn brown and mushy, or if the leaves start to yellow and drop very quickly, it’s usually a sign of too much moisture or a lack of light. Don’t be disheartened by this! It happens to all of us. Sometimes it’s just trial and error, and learning what your specific plant and environment need.
A Encouraging Closing
So there you have it! Propagating Valeriana apula is a wonderfully rewarding experience, and I truly encourage you to give it a try. Be patient with your new plants, observe them closely, and enjoy the process of nurturing them into glorious life. Each little seedling, each new division, is a testament to your green thumb and a beautiful addition to your garden. Happy propagating!
Resource:
https://identify.plantnet.org/k-world-flora/species/Valeriana%20apula%20Pourr./data