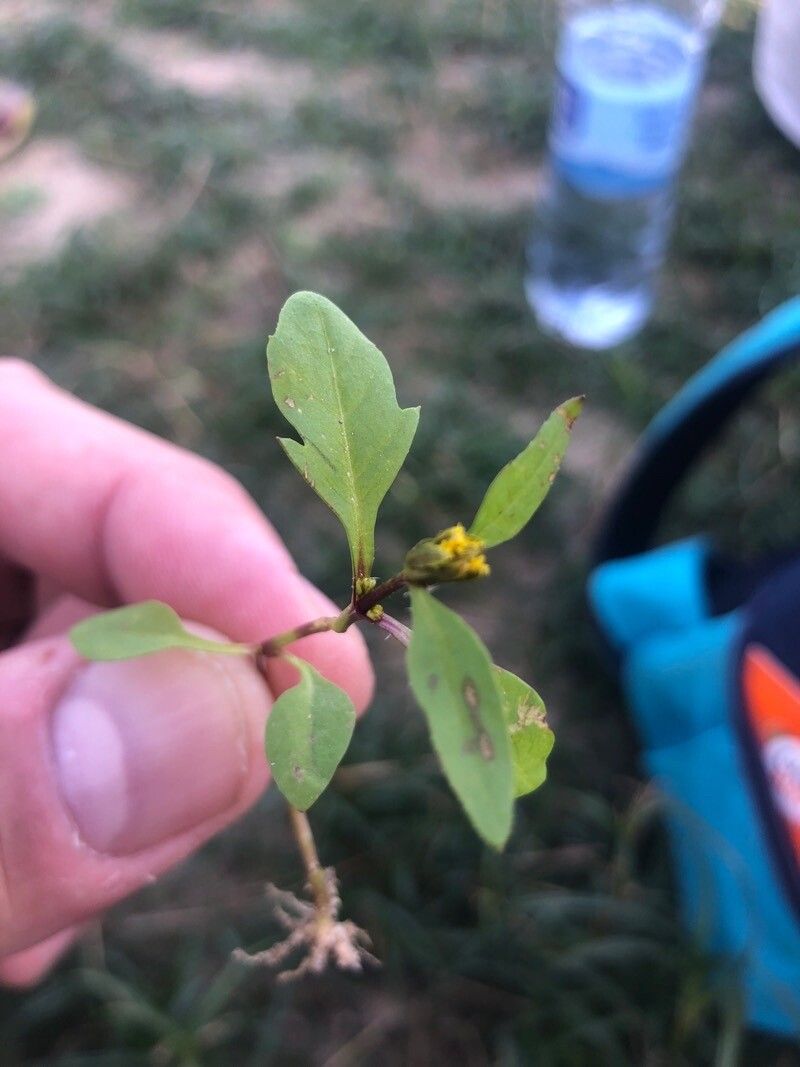
Oh, Bidens tripartita! What a cheerful and surprisingly versatile little plant. If you’ve fallen for its bright, daisy-like flowers and its ability to add a touch of sunshine to any spot, you’re in for a treat. Propagating it is a wonderful way to keep those happy blooms coming year after year, and I’m so excited to share how easy it can be. Honestly, for a beginner, Bidens is a real friend in the garden. You’ll likely find it quite forgiving, which is always a lovely confidence booster when you’re starting out.
When’s the Perfect Moment to Get Started?
For the absolute best shot at success with your Bidens, late spring through early summer is your golden window. This is when the plant is actively growing, full of vigor, and ready to whip up new roots with enthusiasm. You want to take cuttings from healthy, non-flowering stems. Think of it like asking a young, energetic person for a favor – they’re much more likely to say yes and get it done efficiently!
What You’ll Need for Your Propagation Adventure
Gathering your supplies beforehand makes the whole process smoother. Think of it as preparing your kitchen before baking a cake!
- Sharp Pruning Shears or a Craft Knife: Clean and sharp is key for a clean cut.
- Small Pots or Trays: Anything that can hold your potting mix and cuttings.
- Well-Draining Potting Mix: A 50/50 blend of seed starting mix and perlite or horticultural grit is my go-to. It prevents soggy bottoms, which is crucial!
- Rooting Hormone (Optional but Recommended): This really gives your cuttings a fighting chance. Look for a powder or gel formula.
- A Small Watering Can or Spray Bottle: For gentle hydration.
- Plastic Bags or a Propagator with a Lid: To create a humid environment.
Let’s Get Propagating: My Favorite Methods
Bidens is pretty adaptable, so you have a couple of lovely options. I usually lean towards stem cuttings because it’s so straightforward.
Method 1: The Stem Cutting Superstar
This is my most reliable method for Bidens.
- Select Your Cuttings: Choose healthy, non-flowering shoots from the main plant. Look for stems that are about 4-6 inches long.
- Make the Cut: Using your sharp shears or knife, make a clean cut just below a leaf node. This is the bump on the stem where leaves emerge.
- Prepare the Cutting: Gently remove the lower leaves, leaving just a couple at the very top. This helps the plant focus its energy on rooting, not on keeping too many leaves alive.
- Dip in Rooting Hormone (If Using): Lightly dip the cut end of the stem into the rooting hormone powder or gel. Tap off any excess.
- Plant Them Up: Fill your small pots with your prepared potting mix. Make a small hole with your finger or a pencil.
- Insert the Cuttings: Place the cut end of the cutting into the hole and gently firm the soil around it. You want good contact between the stem and the soil.
- Water Gently: Water the soil thoroughly but be careful not to wash the cuttings out.
- Create Humidity: Cover the pots with a plastic bag (make sure it doesn’t touch the leaves too much!) or place them in a propagator. This creates a mini greenhouse.
Method 2: Water Propagation (for the Impatient!)
If you like to watch things happen, this is fun!
- Prepare Your Cuttings: Follow steps 1-3 from the stem cutting method above.
- Place in Water: Put the prepared cuttings in a clean jar or glass of lukewarm water. Make sure the leaf nodes you removed are submerged, but don’t let the leaves themselves touch the water.
- Change the Water: Change the water every couple of days to keep it fresh and prevent rot.
- Wait for Roots: In a few weeks, you should start to see little white roots appearing! Once those roots are about an inch long, you can carefully plant them into your potting mix as described in step 6 of the stem cutting method.
My Little “Secret Sauce” Tips
After years of playing with plants, you pick up a few tricks that can make all the difference.
- Bottom Heat is Your Friend: If you have a heat mat designed for seedlings, placing your pots on it can significantly speed up root formation. Plants just love their toes to be warm! Keep the humidity up, too, and avoid opening the propagator too often.
- Don’t Over-Water Initially: While humidity is key, you don’t want the soil to be a swamp. Let the surface of the soil dry out slightly between waterings, but never let the cuttings completely wilt. It’s a delicate balance, but you’ll get the feel for it.
- Watch for Signs of Life: The most obvious sign is new leafy growth appearing from the top of your cutting. It’s like a little cheer of “I’m alive!” from your new plant.
Aftercare and What to Watch Out For
Once you see those lovely new roots – hooray!
- Gradual Acclimation: If you’ve used a plastic bag or propagator, start by opening it up for a few hours each day to help your new plant adjust to normal humidity.
- Potting On: When the roots have filled the small pot and you see good top growth, it’s time to pot them into slightly larger containers with your regular potting soil.
- Troubleshooting: The main culprit with cuttings is rot. If your stem turns black and mushy, that’s usually a sign of too much moisture and not enough airflow. Unfortunately, once rot sets in, it’s hard to save the cutting. If you see fuzzy grey mold on the surface of your soil, try letting it dry out a bit more and ensure you have good air circulation.
Keep Going, Keep Growing!
Propagating Bidens tripartita is a truly rewarding experience, and I hope this guide gives you the confidence to give it a go. Be patient with yourself and with your new little plants. Sometimes they take their sweet time, but the joy of seeing a tiny cutting transform into a full bloom is absolutely worth it. Happy gardening!
Resource:
https://identify.plantnet.org/k-world-flora/species/Bidens%20tripartita%20L./data