Hello there, fellow plant lovers!
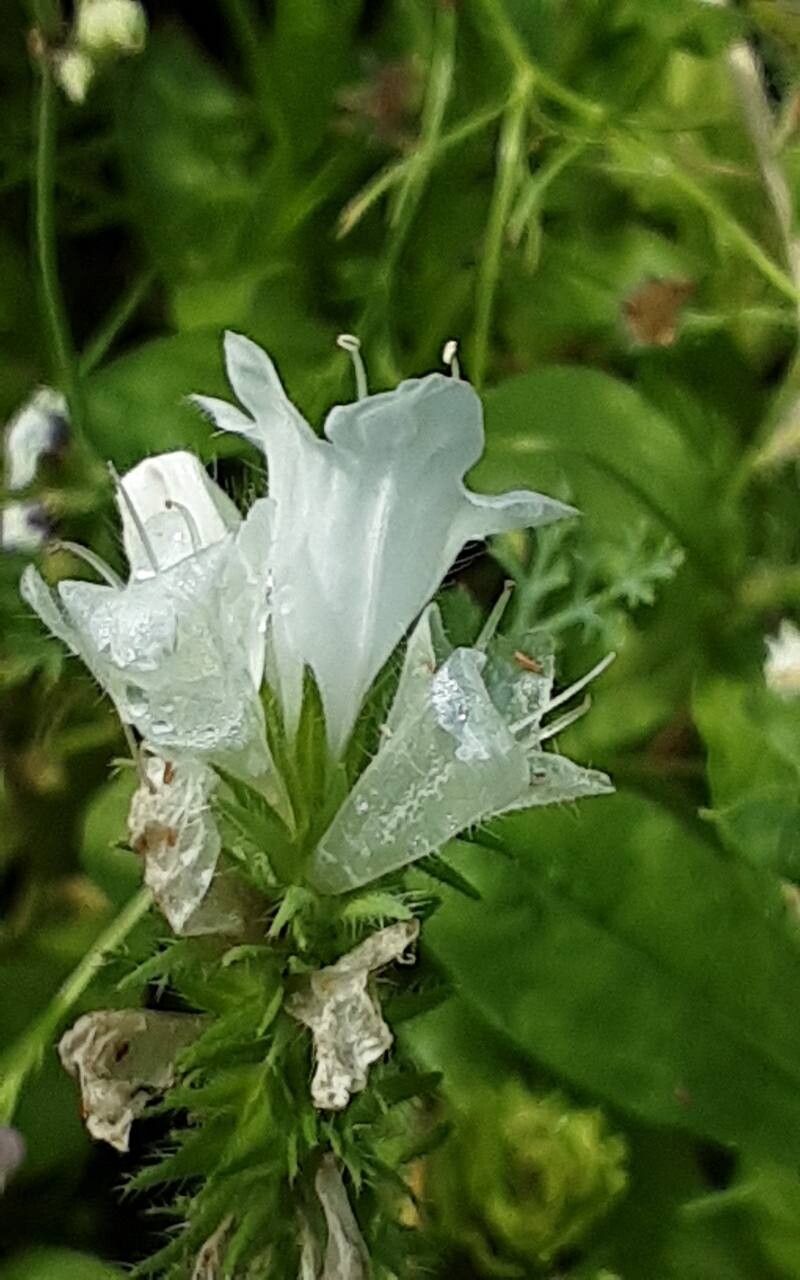
There’s something truly special about watching a tiny piece of a beloved plant transform into a whole new life. And Echium italicum, with its striking silver foliage and dramatic summer spires, is a plant that just begs to be shared. If you’ve ever admired these beauties in a garden and thought, “I wish I had more of those!”, then you’re in the right place. Propagating Echium italicum is a wonderfully rewarding endeavor, and I’m here to guide you through it. Don’t worry, it’s not nearly as complicated as you might think!
The Best Time to Start
Generally, the late spring or early summer is your sweet spot for propagating Echium italicum. This is when the plant is actively growing and has plenty of energy to put into producing new roots. Aim to take cuttings from a plant that is healthy and vigorous, not one that looks stressed or is just finishing its blooming cycle.
Supplies You’ll Need
Gathering your tools beforehand makes the whole process much smoother. Here’s what I usually have on hand:
- Sharp, clean pruning shears or a sharp knife: For taking clean cuts.
- Potting mix: A well-draining mix is crucial. I like to use a blend of half perlite and half peat moss or coco coir. You can also find pre-made cactus and succulent mixes that work well.
- Small pots or seed trays: With drainage holes, of course!
- Rooting hormone (optional but helpful): This can give your cuttings a little boost.
- Watering can or spray bottle: For providing gentle moisture.
- Plastic bag or propagation dome: To create a humid environment.
Propagation Methods
Echium italicum is quite amenable to propagation from stem cuttings. It’s usually the most straightforward method for beginners.
Stem Cuttings:
- Select a healthy stem: Look for a stem that isn’t woody or too soft. About 4-6 inches long is ideal.
- Make the cut: Using your sharp shears or knife, make a clean cut just below a leaf node (where a leaf attaches to the stem). This is where roots are most likely to form.
- Prepare the cutting: Gently remove the lower leaves from the cutting, leaving just a few at the top. You don’t want any leaves submerged in the soil as this can encourage rot. If your cutting is particularly long, you can even cut it in half horizontally; each part can potentially root!
- Apply rooting hormone (optional): Dip the cut end into your rooting hormone powder, tapping off any excess.
- Plant the cutting: Make a small hole in your potting mix with your finger or a pencil. Insert the cut end of the stem into the hole and firm the soil gently around it.
- Water lightly: Water the potting mix thoroughly but gently.
- Create humidity: Place the pot in a plastic bag, sealing it loosely, or cover it with a propagation dome. This helps to keep the moisture in and the cutting from drying out while it develops roots. Place it in a bright spot, but out of direct, harsh sunlight.
The “Secret Sauce” (Pro Tips)
Over the years, I’ve learned a few tricks that seem to make all the difference.
- Don’t be afraid of the “old wood”: Sometimes, even a piece of slightly older, less flexible stem can root successfully. If you’re taking a larger stem from your established plant, don’t discard the lower, tougher sections. They can often be cut into smaller pieces, each with a leaf node, and still root.
- Bottom heat is your friend: While not strictly necessary, placing your pots on a heated seed mat can significantly speed up root development. The warmth encourages the plant to send out roots more actively. Just keep an eye on the moisture levels if you’re using bottom heat, as it can dry out the soil faster.
Aftercare & Troubleshooting
Once you see new growth emerging, that’s a good sign roots are forming! You can gently tug on the cutting – if there’s resistance, it means roots have taken hold.
- Gradually introduce to normal conditions: Once roots appear, slowly acclimatize your new plants to normal room humidity by opening the plastic bag a little each day, or by lifting the propagation dome for increasing periods.
- Watering: Continue to water as needed, allowing the top inch of soil to dry out between waterings.
- Common issues: The most common problem you’ll encounter is rot. This usually happens when cuttings are kept too wet, or if leaves are touching damp soil. If you see a cutting turning black and mushy, unfortunately, it’s probably best to discard it to prevent it from affecting others. Don’t get discouraged; propagation is a numbers game, and some will always fail.
A Little Encouragement to Finish
Propagating Echium italicum is a journey, not a race. Be patient with your little cuttings. Observe them, enjoy the small changes, and celebrate each success. You’re not just growing a plant; you’re participating in the magic of growth, and that’s a truly wonderful thing. Happy propagating!
Resource:
https://identify.plantnet.org/k-world-flora/species/Echium%20italicum%20L./data