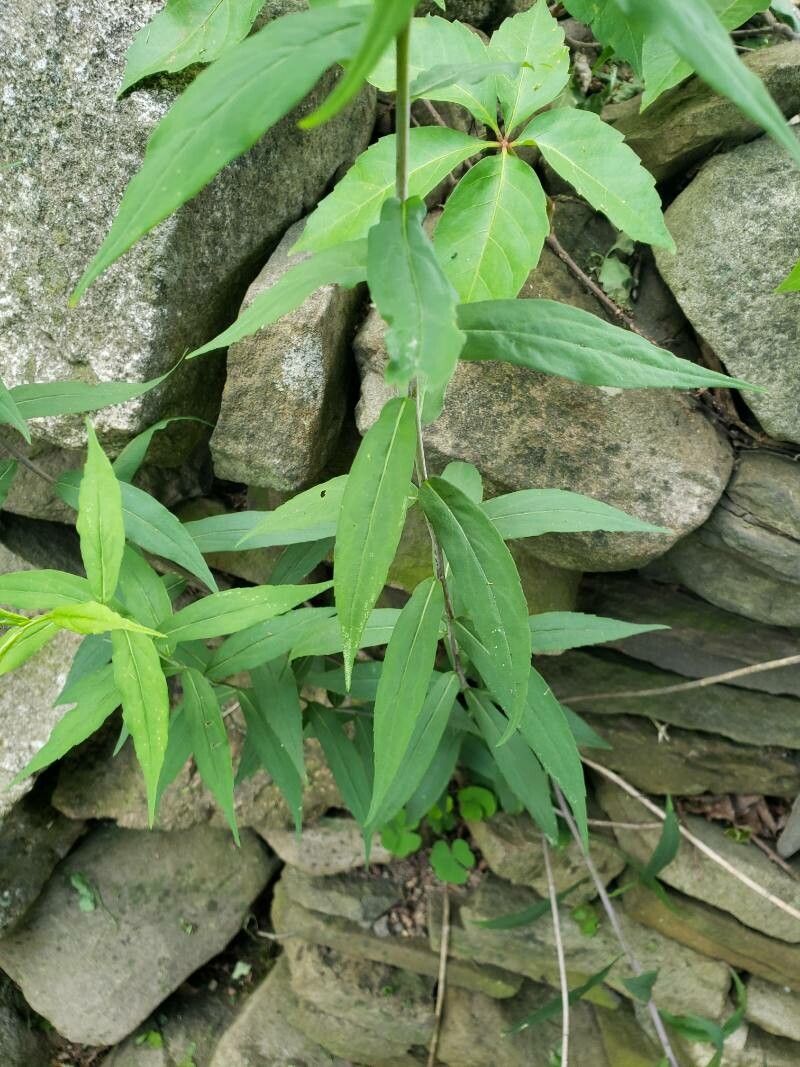
Oh, hello there! I’m so glad you’re interested in propagating Solidago caesia, also known as woodland goldenrod. If you’ve ever seen this graceful plant gracing a shady spot with its delicate yellow blooms, you know what a gem it is. It’s a native beauty that adds so much sparkle to the garden, and sharing its offspring with friends or simply expanding your own patch is just one of those deeply satisfying gardening joys.
For beginners, I’d say propagating woodland goldenrod is a moderately easy endeavor. It’s not as fussy as some delicate tropicals, but it does appreciate a bit of thoughtful attention. You’ll likely have a good success rate if you follow a few key steps.
The Best Time to Start
Hands down, the early spring, just as the plant is waking up and starting new growth, is your golden ticket to success. You can also have good luck with late summer, after the main flowering flush has passed but before the days get too short. The plant is actively growing and has plenty of energy to spare for making new roots.
Supplies You’ll Need
Here’s what I like to have on hand:
- Sharp pruning shears or a clean knife: For making clean cuts.
- Potting mix: A well-draining mix is crucial. I often use a blend of peat-based potting soil and perlite (about 70/30) or a specialized seed-starting mix.
- Small pots or trays: Clean pots are a must to prevent disease.
- Rooting hormone (optional but recommended): This can significantly boost your success rates, especially for cuttings. Look for a powder or gel.
- Watering can with a fine rose: For gentle watering.
- Plastic bag or clear plastic dome: To create a humid environment for cuttings.
- Labels and a permanent marker: You’ll want to remember what you planted where!
Propagation Methods
Woodland goldenrod is a fantastic candidate for propagation by division. It tends to form clumps, and separating these into smaller pieces is the most straightforward way to get new plants.
Propagation by Division:
- Digging Up the Plant: In early spring or late fall, dig up the entire clump of Solidago caesia. Be gentle to avoid damaging the roots. You can usually lift the whole plant out of the ground.
- Loosening the Soil: Gently shake off excess soil from the root ball. This will make it easier to see where the divisions are.
- Visually Inspect: Look for natural separation points. You’ll see new shoots emerging from different parts of the root system.
- The Break or Cut: Gently pull the clump apart with your hands, or use a clean trowel or knife to slice through the root ball, ensuring each division has plenty of healthy roots and at least one or two leafy stems.
- Potting Up: Fill your clean pots with your prepared potting mix. Make a hole in the center of the mix big enough for the roots of your division.
- Planting the Divisions: Place each division into its pot, spreading the roots out. Backfill with soil, pressing down gently to remove air pockets.
- Water Thoroughly: Water each pot well until water drains from the bottom. This helps settle the soil around the roots.
- Placement: Place the newly potted divisions in a partially shaded spot. They don’t need direct sun right away; they have enough stored energy in their roots and foliage to get established. Keep them consistently moist but not soggy.
While division is my go-to, you can try stem cuttings with Solidago caesia, though it’s a bit more fiddly and might have a lower success rate than division.
Propagation by Stem Cuttings:
- Take Cuttings: In early spring, choose healthy, non-flowering stems. Using your sharp shears, take cuttings about 4-6 inches long. Make the cut just below a leaf node (where a leaf attaches to the stem).
- Prepare the Cuttings: Remove the lower leaves, leaving only a few at the very top. This prevents leaves from rotting when they’re buried in soil or touching water.
- Apply Rooting Hormone (Optional): Dip the cut end of each stem into rooting hormone, tapping off any excess.
- Plant the Cuttings: Fill small pots with your well-draining potting mix. Make a small hole with a pencil or your finger. Gently insert the cut end of the stem into the hole, deep enough so that the node where you removed the leaves is buried.
- Firm the Soil: Gently firm the soil around the base of the cutting.
- Create a Humid Environment: Water the pot gently. Then, cover the pot with a plastic bag (loosely, so it doesn’t crush the leaves) or place it under a clear plastic dome.
- Placement and Care: Place the pots in a bright, indirect light location. Keep the soil consistently moist. Mist the leaves occasionally if not using a dome.
The “Secret Sauce” (Pro Tips)
- When dividing, don’t be afraid to be a little firm. If a clump is really dense, a sharp knife or even a small spade can help you separate it cleanly. Ensure each division has both root and shoot material.
- For stem cuttings, think about where the new roots will form – at those leaf nodes! That’s why ensuring the node is buried is key. And that humidity dome? It’s like a little greenhouse that keeps the moisture in the air, preventing those delicate cuttings from drying out before they can make roots.
- If you’re using bottom heat for cuttings (like a heat mat), it can really speed up root development. Just make sure the soil temperature is warm, not hot.
Aftercare & Troubleshooting
Once you see new growth appearing on your divisions or cuttings, that’s a great sign they’re rooting! For divisions, continue to keep them moist and gradually introduce them to more light as they grow stronger. For cuttings, you can carefully tentatively un-cover them for short periods to let them acclimatize, eventually removing the cover altogether once they show robust growth.
The biggest culprit for failure is too much water, leading to rot. If your cuttings look mushy or your divisions seem to be wilting and the soil is saturated, you likely have a rot issue. Ensure your soil drains well from the get-go and don’t overwater. Yellowing leaves can also be a sign of too much or too little water, or sometimes not enough light.
A Little Patience Goes a Long Way
Propagating plants is a bit like watching a slow-motion magic trick. It takes time, a little effort, and a whole lot of watching. Don’t get discouraged if not every single attempt is a superstar. The joy is in the process, the learning, and the reward of seeing new life emerge from your efforts. Happy propagating!
Resource:
https://identify.plantnet.org/k-world-flora/species/Solidago%20caesia%20L./data