Hello, fellow garden enthusiasts!
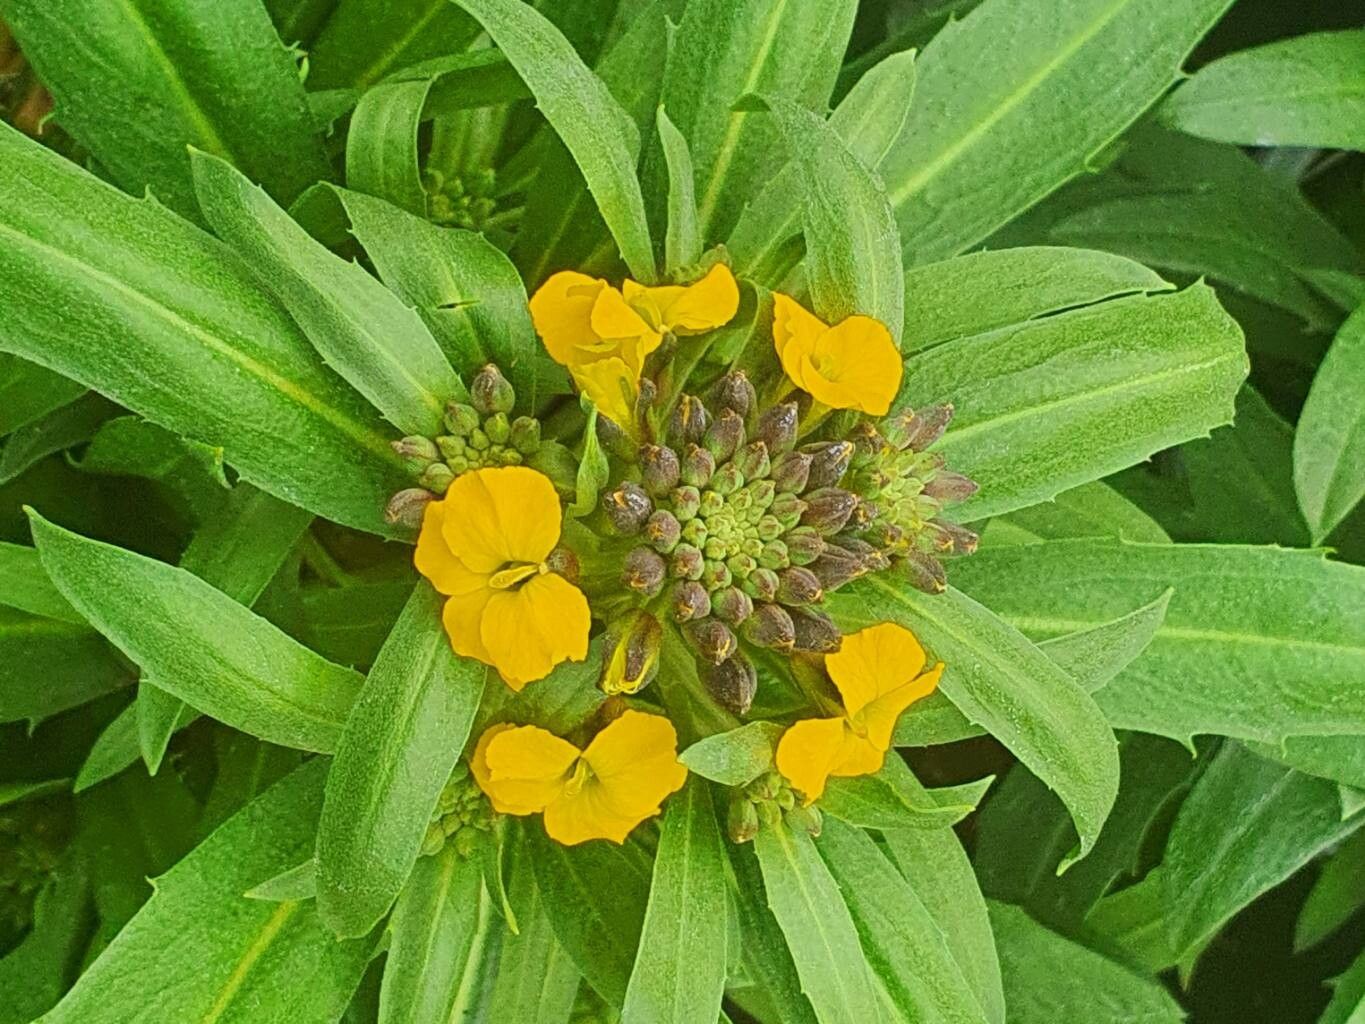
There’s a certain charm to Erysimum cheiranthoides, also known as Wormseed Wallflower. Its cheerful, often fragrant blossoms bring a delightful burst of color, and the subtle, sometimes spicy scent is just lovely. For me, propagating these beauties is one of those incredibly rewarding gardening experiences. It’s a way to multiply that joy, fill more corners of your garden, or share a bit of floral happiness with friends. And the good news? This particular wallflower is quite agreeable and easy for beginners to get started with.
The Best Time to Start
When it comes to getting the best results with Erysimum cheiranthoides, seasonality plays a role. I’ve found the late spring to early summer is absolutely prime time. This is when the plant is in its active growth phase, brimming with energy to produce roots. Waiting until after the main flowering flush often means you’ll have plenty of healthy new shoots to work with.
Supplies You’ll Need
To set yourself up for success, gather these essentials:
- Sharp pruning shears or a clean knife: For taking cuttings.
- Seed starting mix or a light, well-draining potting mix: Avoid heavy garden soil. A good blend might include peat moss, perlite, or coco coir.
- Small pots or trays with drainage holes: About 3-4 inches is a good starting size.
- Rooting hormone (optional but recommended): A powder or gel.
- Watering can with a fine rose: To water gently.
- Clear plastic bags or a propagation dome: To create a humid environment.
- A warm spot: This is key for encouraging root development.
Propagation Methods
For Erysimum cheiranthoides, taking stem cuttings is my go-to method. It’s straightforward and consistently successful.
- Select Your Cuttings: Look for healthy, non-flowering shoots from your established plant. They should be about 3-4 inches long.
- Make the Cut: Using your clean shears or knife, make a clean cut just below a leaf node (where a leaf attaches to the stem).
- Prepare the Cutting: Gently remove the lower leaves from the cutting, leaving just a few at the top. This prevents them from rotting when buried.
- Apply Rooting Hormone (Optional): Dip the cut end into rooting hormone, tapping off any excess. This step really gives your cuttings a boost.
- Plant Your Cuttings: Fill your small pots with the prepared potting mix. Make a small hole with your finger or a pencil, and gently insert the cutting. Firm the soil gently around it.
- Water Gently: Water the soil thoroughly but avoid waterlogging. You want the soil to be consistently moist, not soggy.
- Create Humidity: Cover the pots with a clear plastic bag, securing it around the rim with a rubber band, or place them under a propagation dome. This creates that humid microclimate cuttings love.
- Provide Warmth: Place the pots in a warm location, out of direct sunlight. A sunny windowsill that doesn’t get intense afternoon sun is usually perfect.
The “Secret Sauce”
Here are a couple of things I’ve learned over the years that make a real difference:
- Don’t touch the water! If you happen to try a water propagation method (though less reliable for Erysimum), ensuring the leaves don’t dip into the water and rot is crucial. For stem cuttings in soil, this means making sure your soil moisture is just right – damp, not swimming.
- Bottom heat is a game-changer. If you have a heating mat designed for propagation, using it for your cuttings significantly speeds up root development. It mimics the warmth of spring soil and gives those tiny root cells the energy they need to spread.
Aftercare & Troubleshooting
Once your cuttings have been in place for a few weeks, you might start seeing signs of new growth at the top – a great indicator that roots are forming! You can gently tug on a cutting; if there’s resistance, roots have taken hold.
Once you see this, you can begin to gradually acclimatize them to less humid conditions by opening the plastic bag or dome for longer periods each day. Eventually, remove the cover altogether. Continue to keep the soil consistently moist and in bright, indirect light.
The most common issue you might encounter is rot. This usually happens when there’s too much moisture and not enough air circulation. If you see a cutting turning mushy or blackening, it’s best to discard it to prevent it from affecting others. Ensure your pots have good drainage and that you’re not overwatering.
A Warm Encouragement
Remember, gardening is a journey, and propagation is a wonderful way to become part of that process. Be patient with your little cuttings. Some will take off faster than others, and that’s perfectly fine. Celebrate each new root and each tiny leaf. Enjoy the magic of watching life emerge. Happy propagating!
Resource:
https://identify.plantnet.org/k-world-flora/species/Erysimum%20cheiranthoides%20L./data